
Creating a Workflow
Overview
This article describes how to create a workflow, either by using a template, making one from scratch, or importing from a file.
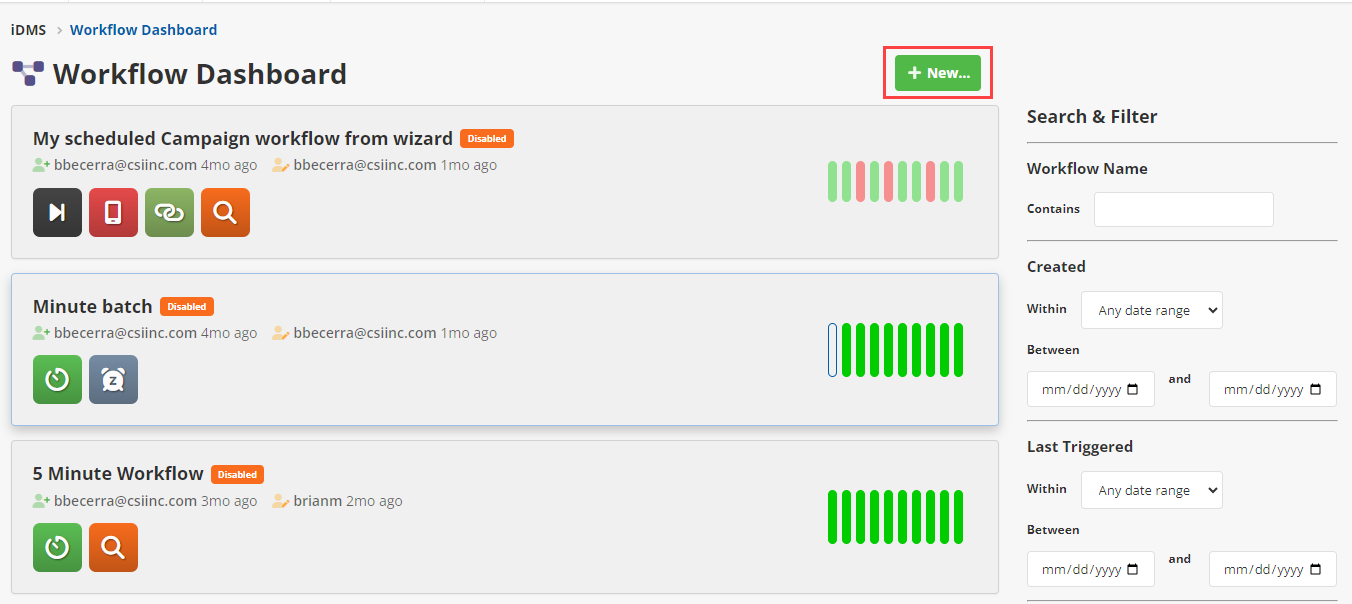
Creating a New Workflow
From the dashboard, click the ![]() button
button
Creating from Wizard
A template can be used to Schedule iUpdate Tasks, Export Data to URL, and Schedule a Text Manager Campaign.
Schedule iUpdate Tasks
Schedule one or more iUpdate tasks to run in sequence. The outcome of one step won’t affect the next one. Similar to an “hourly” or “nightly” job.
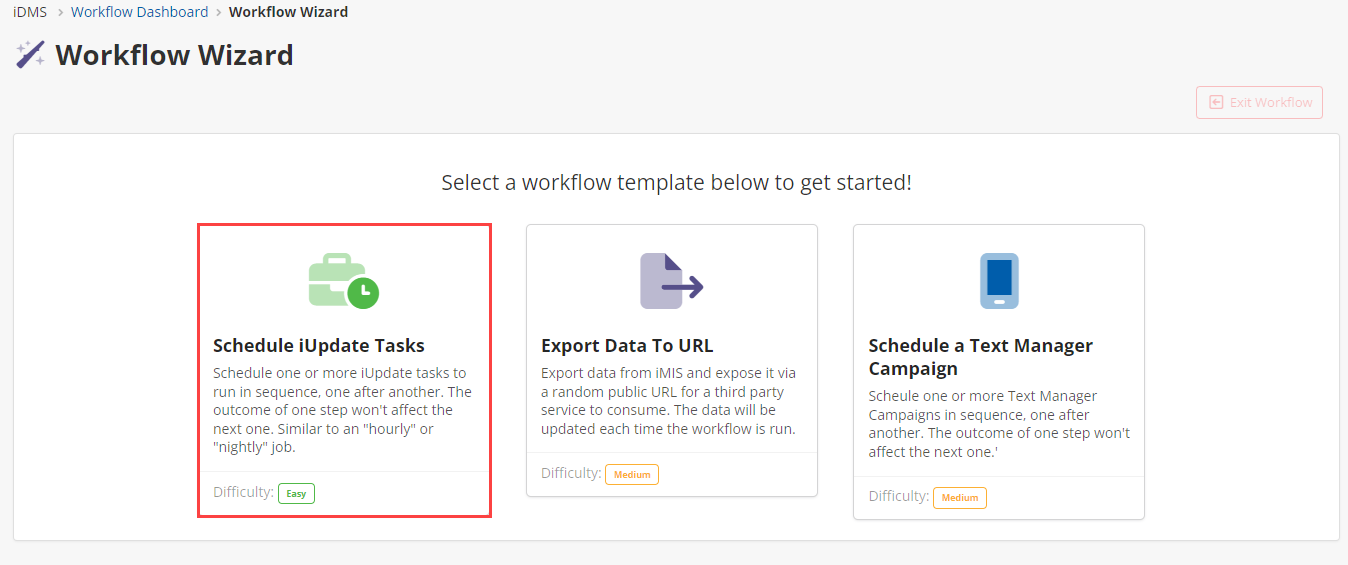
Select “Schedule iUpdate Tasks” then click the “Start” button.
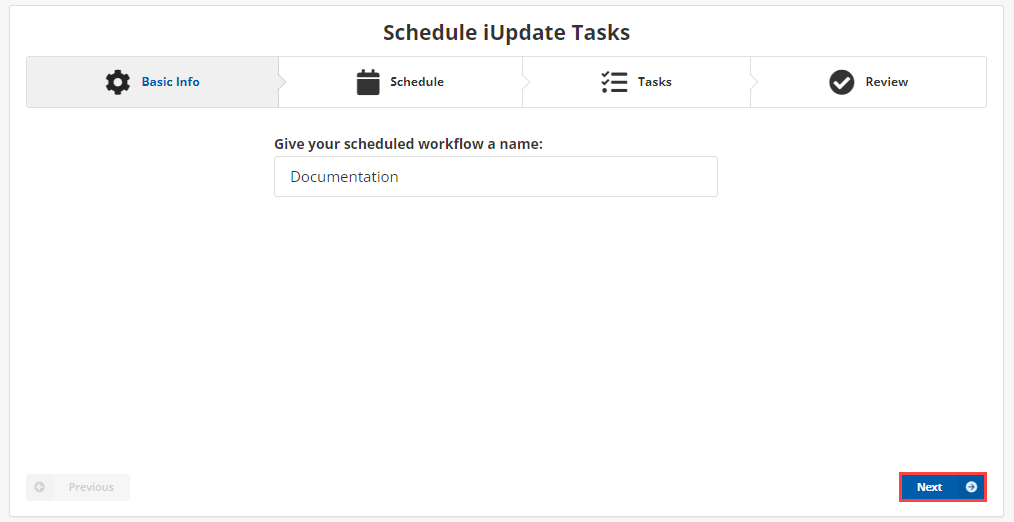
Name the workflow, then click “Next”.
Select when the job should run.
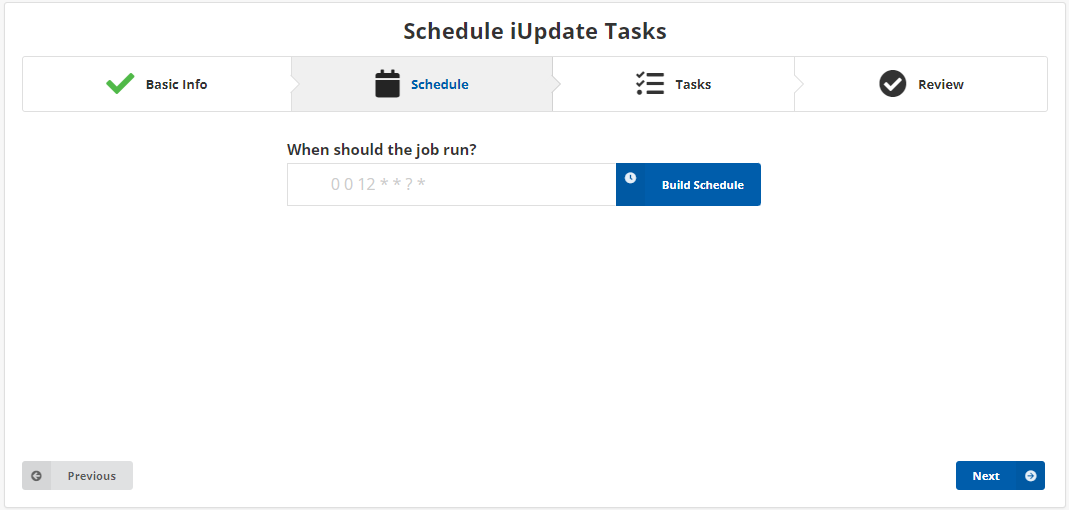
The schedule uses a Cron expression. If you are not familiar with Cron expressions, the “Build Schedule” button will help to create one for hourly, daily, weekly, monthly, and one time run schedules. For more advanced expressions, this online tool can help.
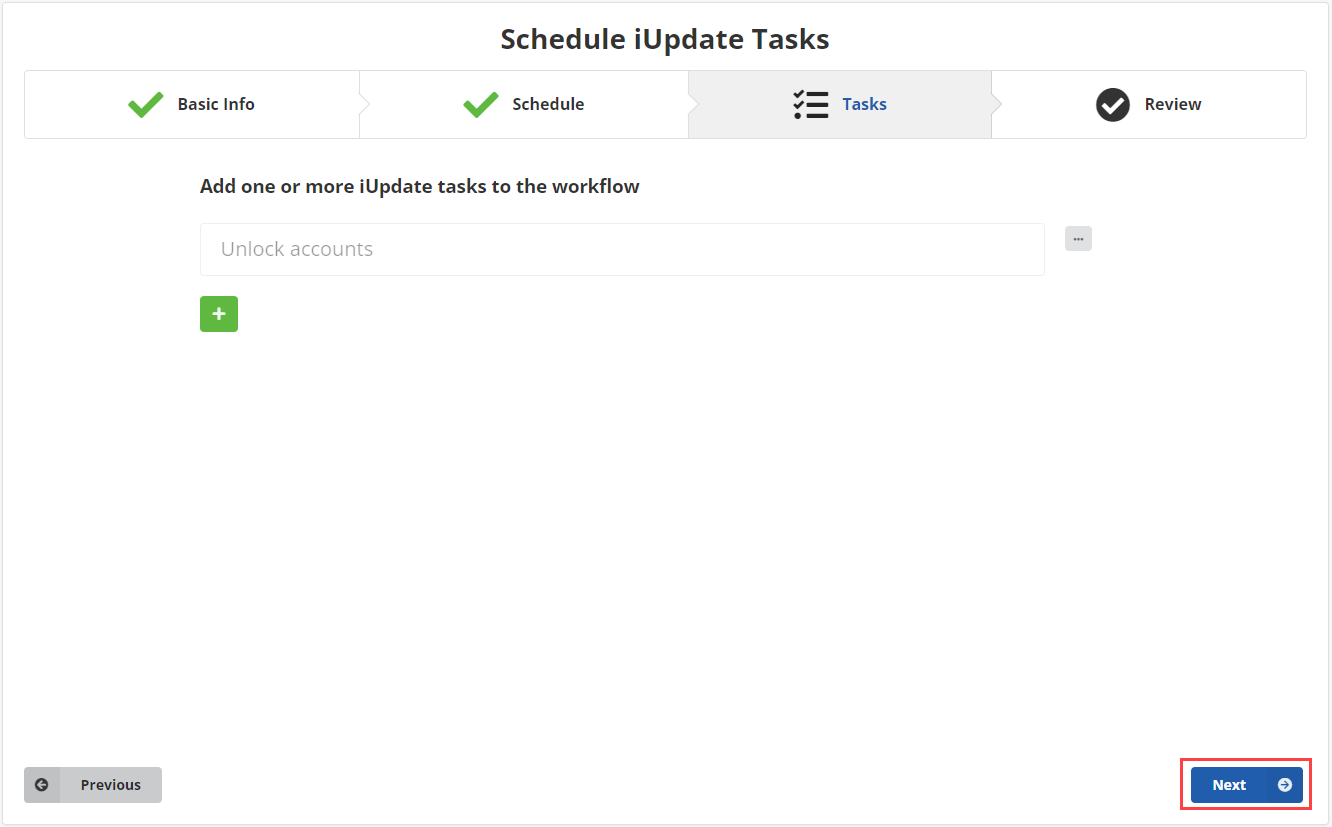
Add iUpdate tasks to the workflow.

Click the green plus ![]() to add an iUpdate task. Then click the dropdown arrow
to add an iUpdate task. Then click the dropdown arrow ![]() to select the task. The task must already be saved as an iUpdate task. Saving a task can be done after setting mappings by clicking
to select the task. The task must already be saved as an iUpdate task. Saving a task can be done after setting mappings by clicking ![]() , then
, then ![]() after giving the task a name. You may also click
after giving the task a name. You may also click ![]() which will save the task then open iWorkflow.
which will save the task then open iWorkflow.
You may add multiple iUpdate tasks to this workflow. Then, click “Next”.
Review the workflow and click “Finish”.
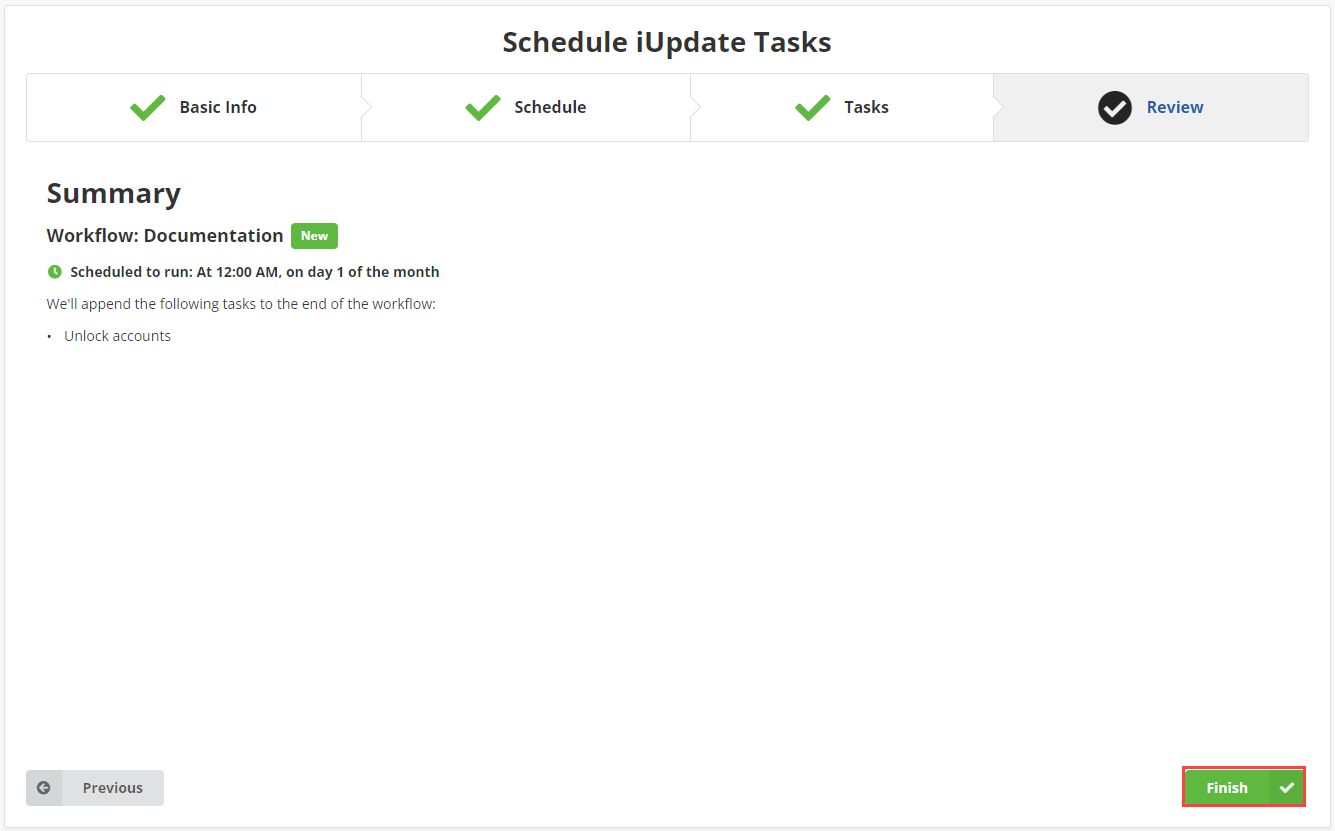
The workflow will then be enabled. To learn how to edit a workflow, click here.
Export Data to URL
Export data from iMIS and expose it via a random public URL for a third party service to consume. The data will be updated each time the workflow is run.
This workflows will have the Manual trigger, meaning they will be ran manually. This can be changed. To do so, see Editing a Workflow.
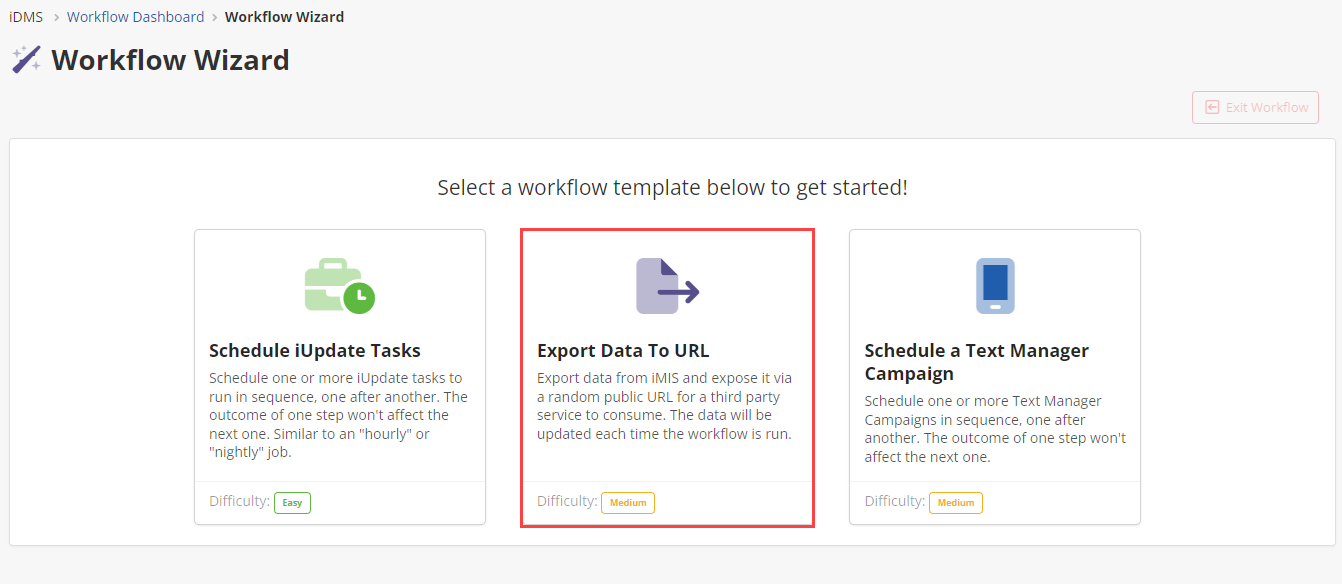
Select “Export Data To URL” then click the “Start” button.
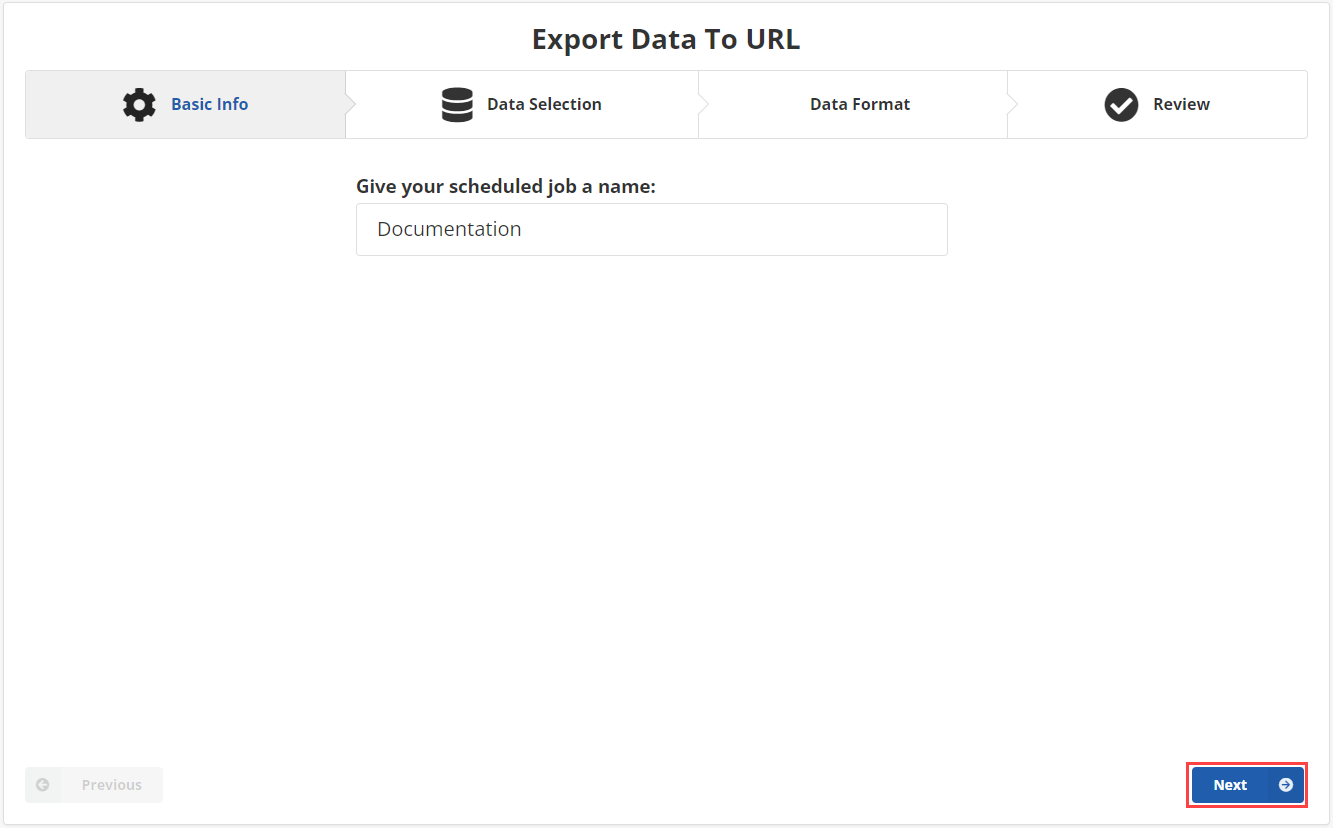
Name the workflow, then click “Next”.
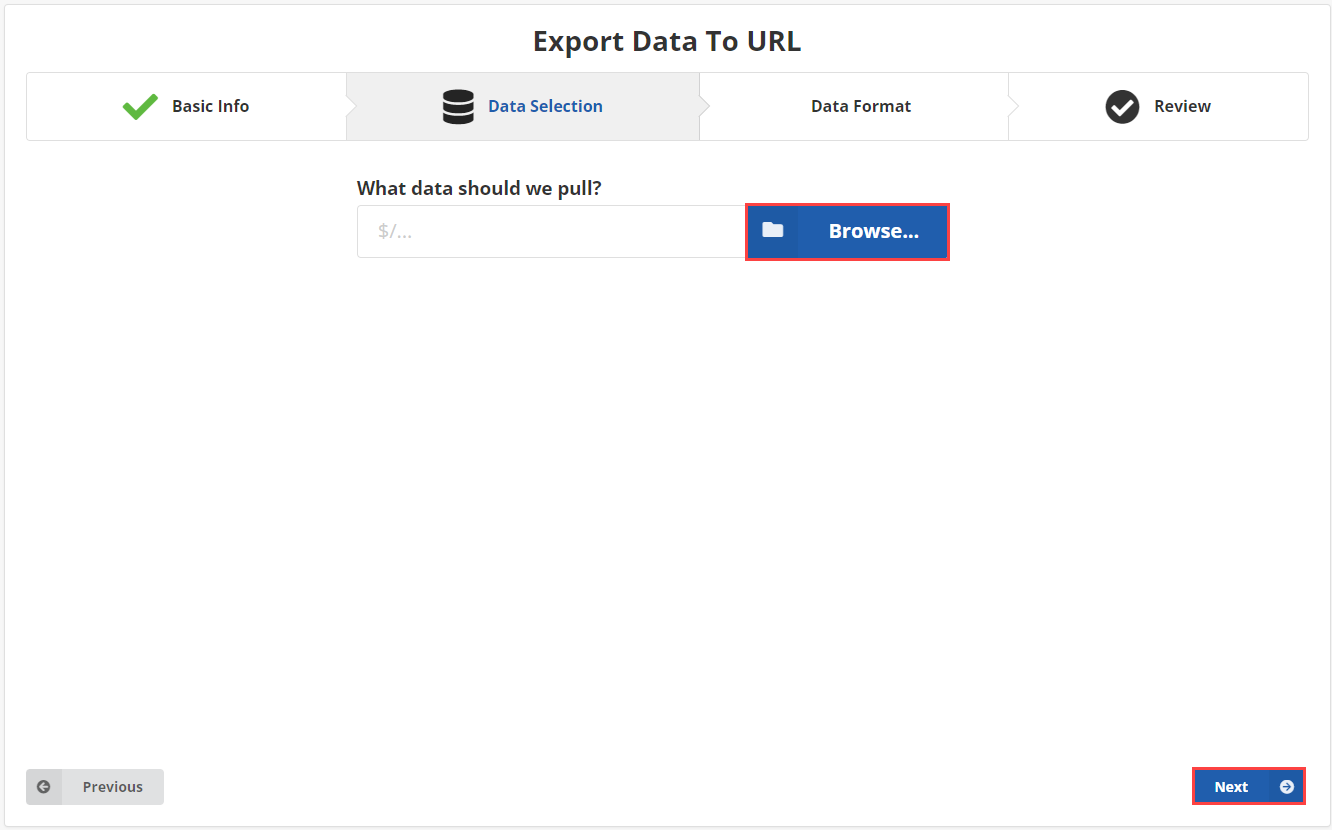
Select the data to use.
Click “Browse” to select the IQA query to pull data from.
Then click “Next”.
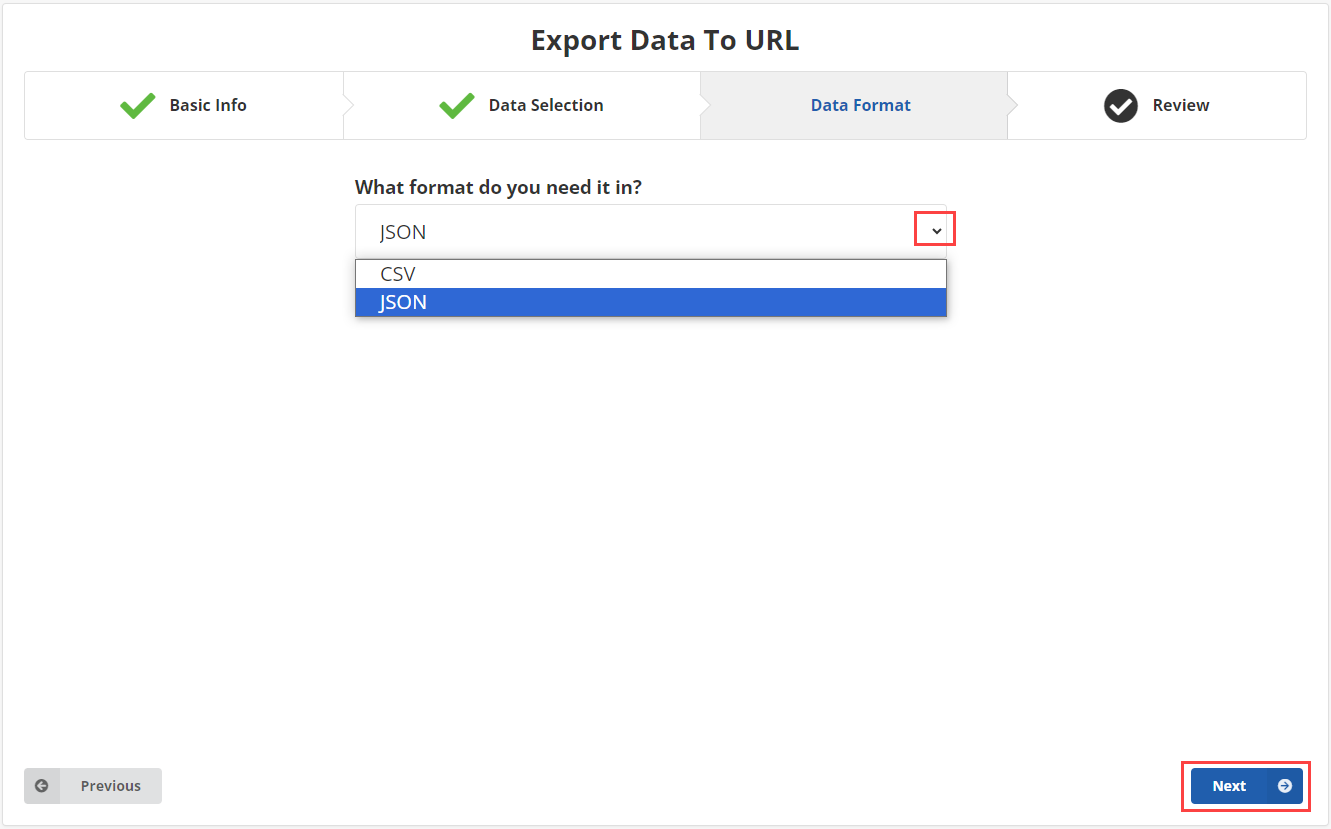
Choose the data format form the dropdown. The IQA query data can be in either JSON or CSV format.
Then click “Next”.
Review your workflow and click “Finish”.
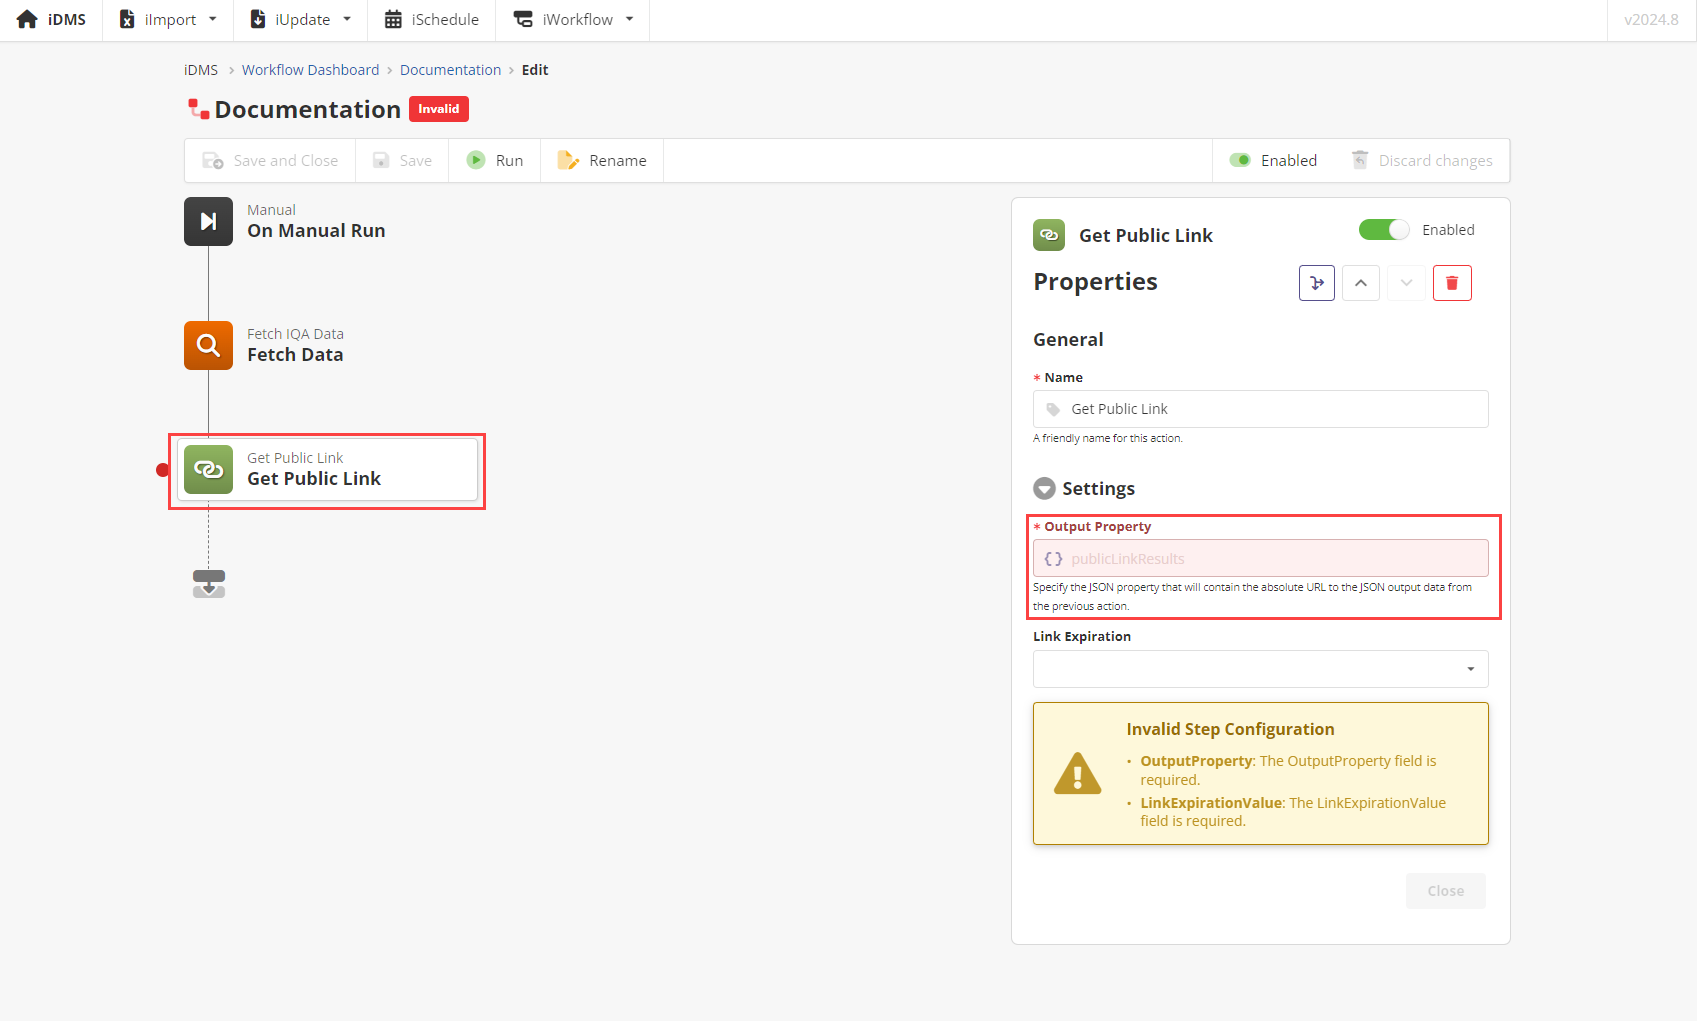
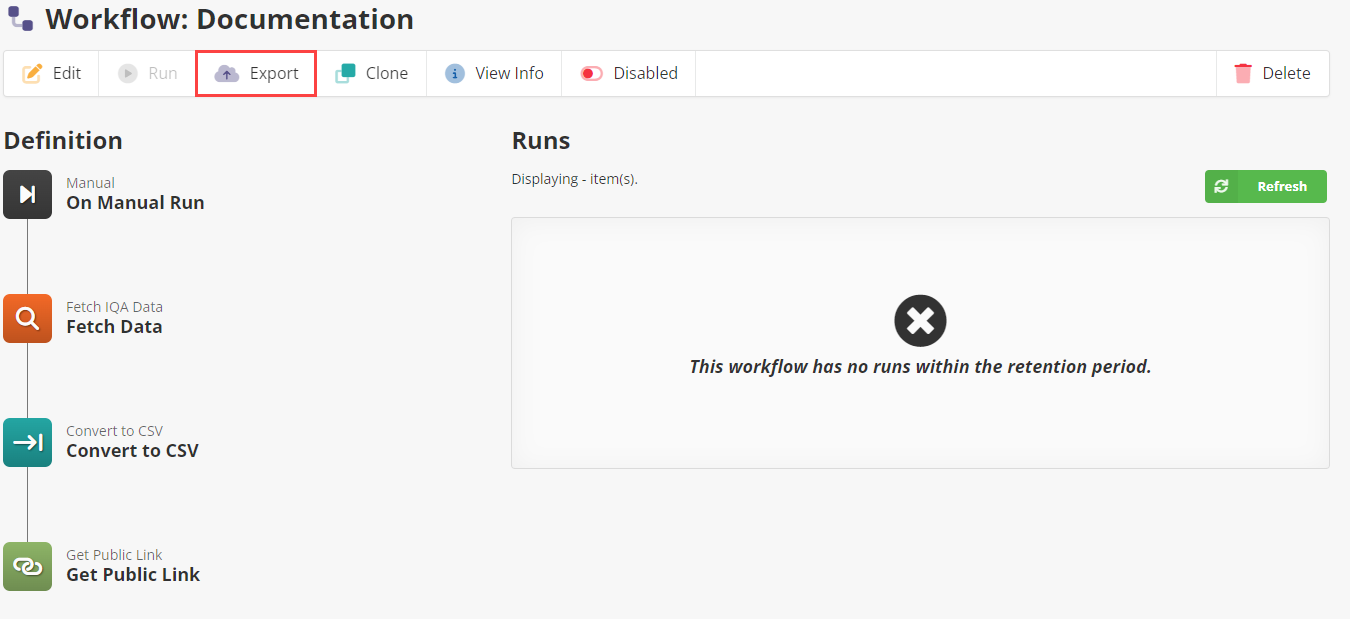
If the data is of type JSON, you will then need to fill out the output property of the “Get Public Link” action.
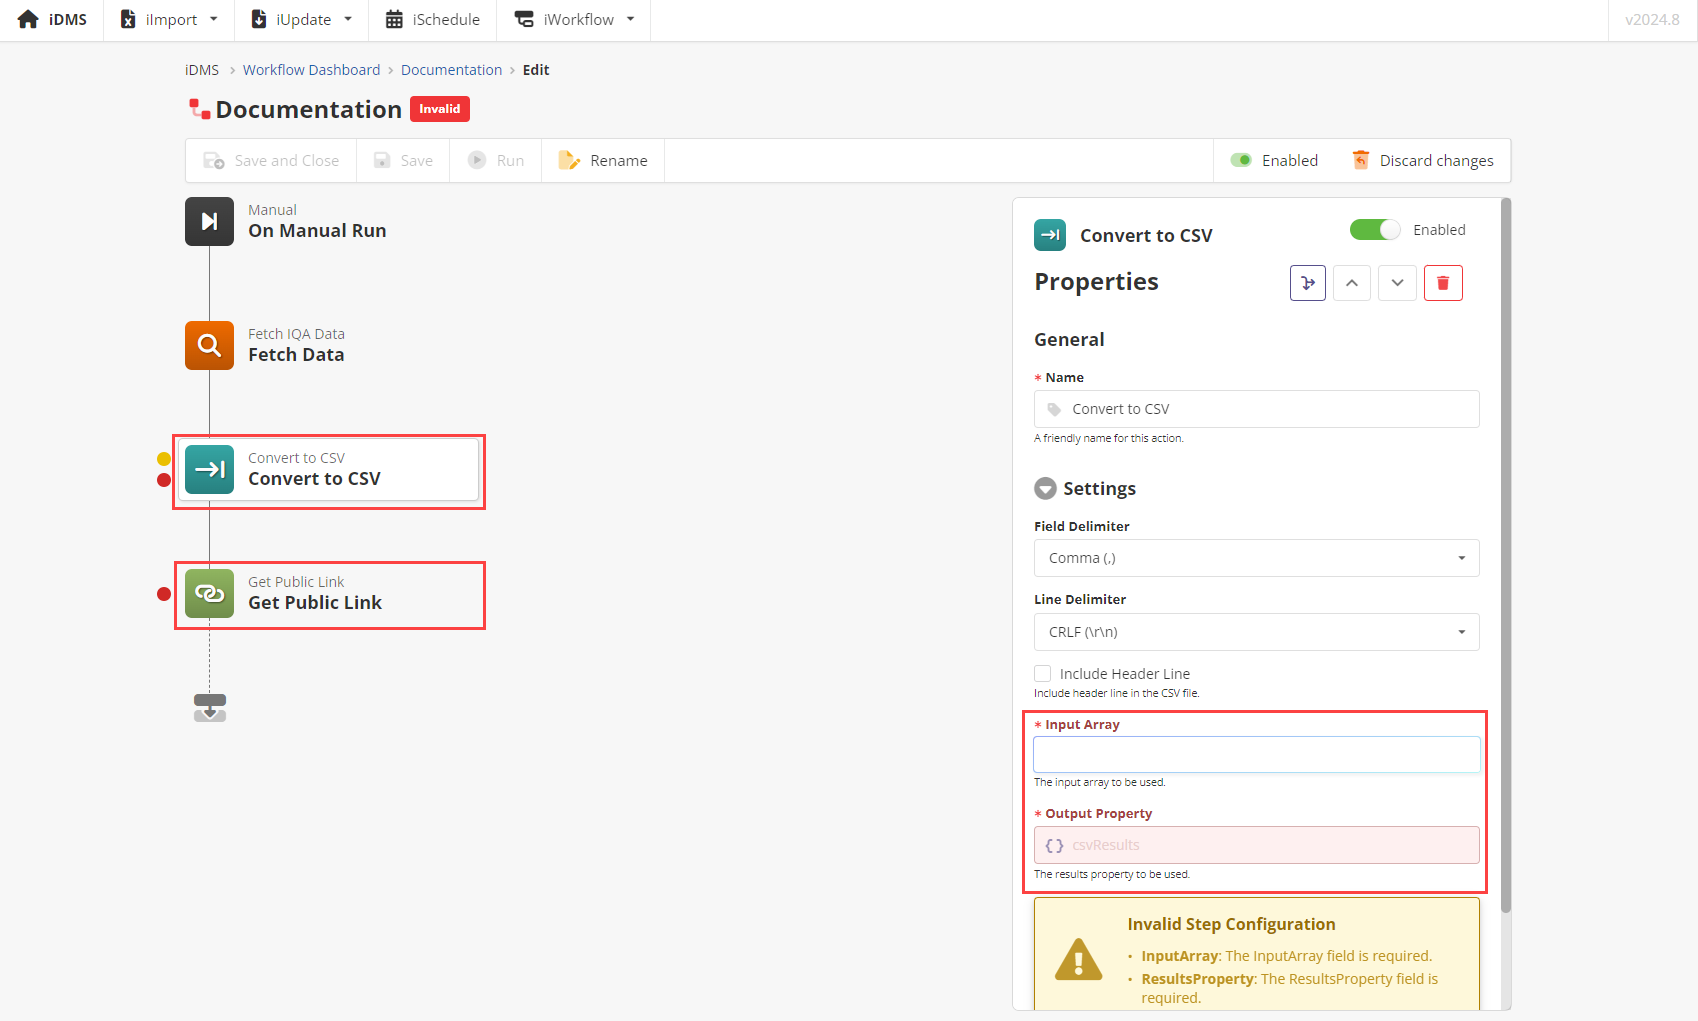
If the data type is CSV, then you must fill out the “Input Array” and “Output Property” fields of the “Convert to CSV” action and the “Output Property” of “Get Public Link”.
After doing so, click save.
You can run the workflow from this page, via the “Run” button in the top banner. To run this workflow later, navigate to Dashboard > [this workflow].
Schedule a Text Manager Campaign
Schedule one or more Text Manager Campaigns in sequence. The outcome of one step won’t affect the next one.
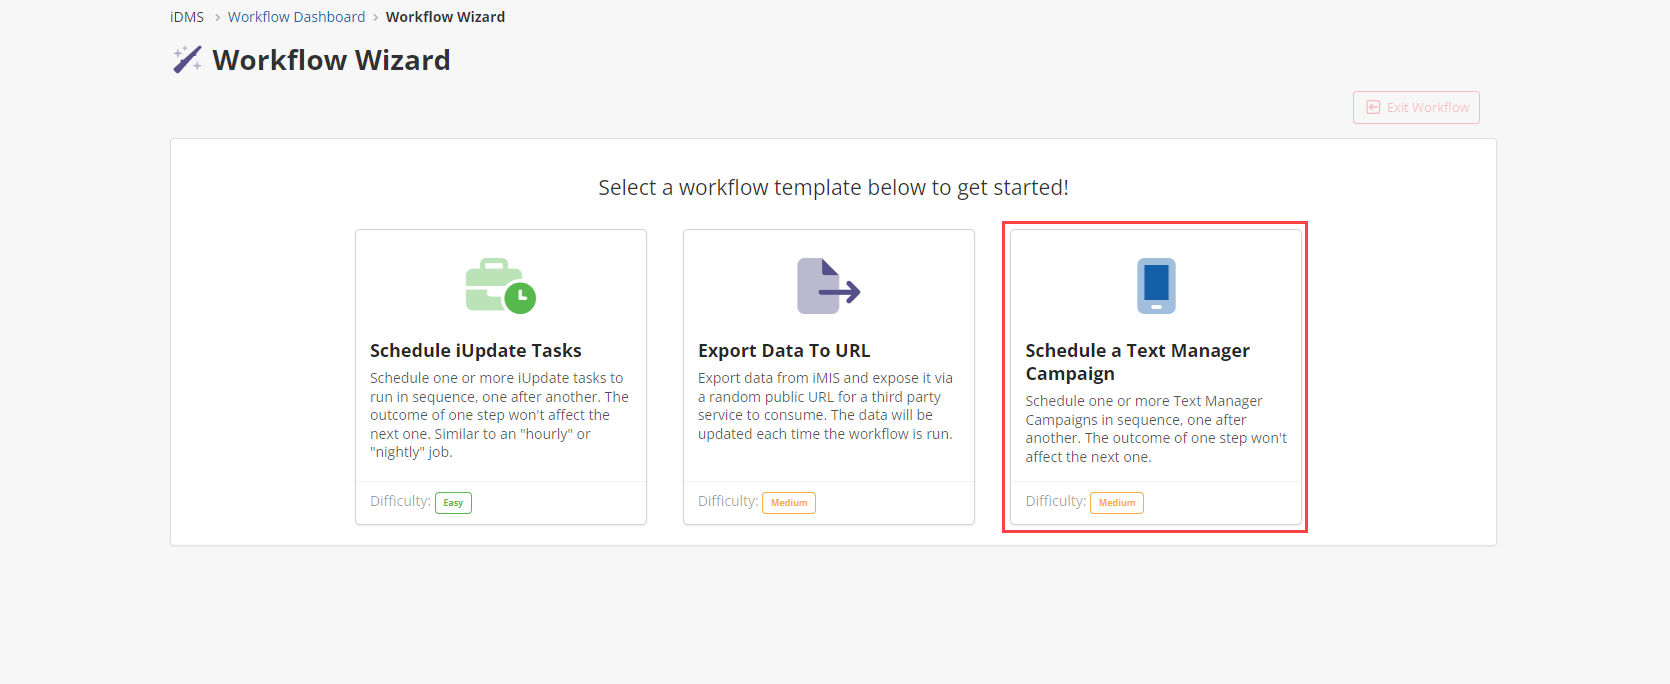
Select “Schedule a Text Manager Campaign”. Then click “Start”.
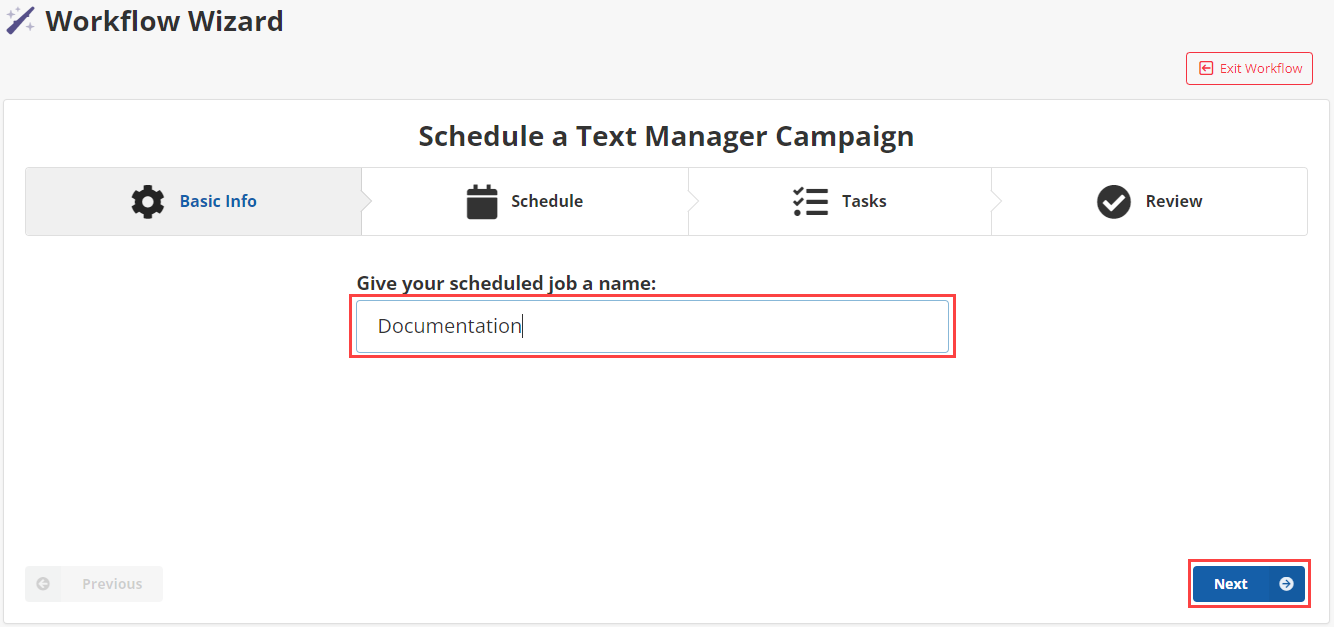
Name the workflow, then click “Next”.
Select when the job should run.
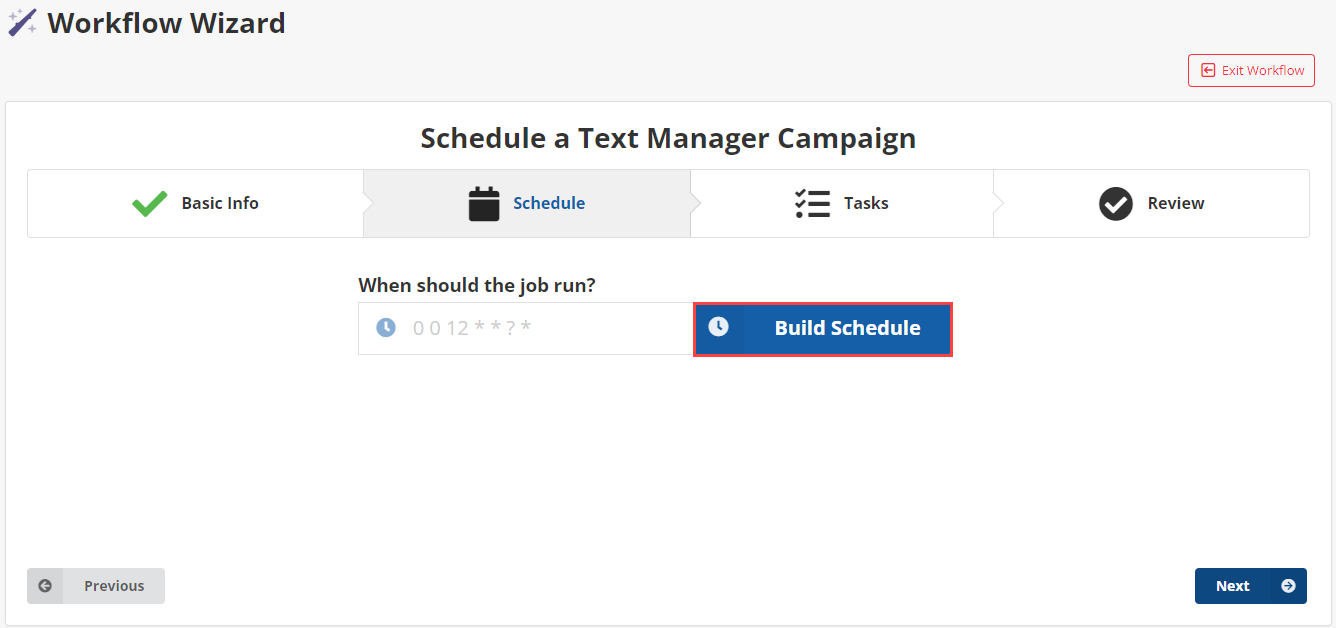
The schedule uses a Cron expression. If you are not familiar with Cron expressions, the “Build Schedule” button will help to create one for hourly, daily, weekly, monthly, and one time run schedules. For more advanced expressions, this online tool can help.
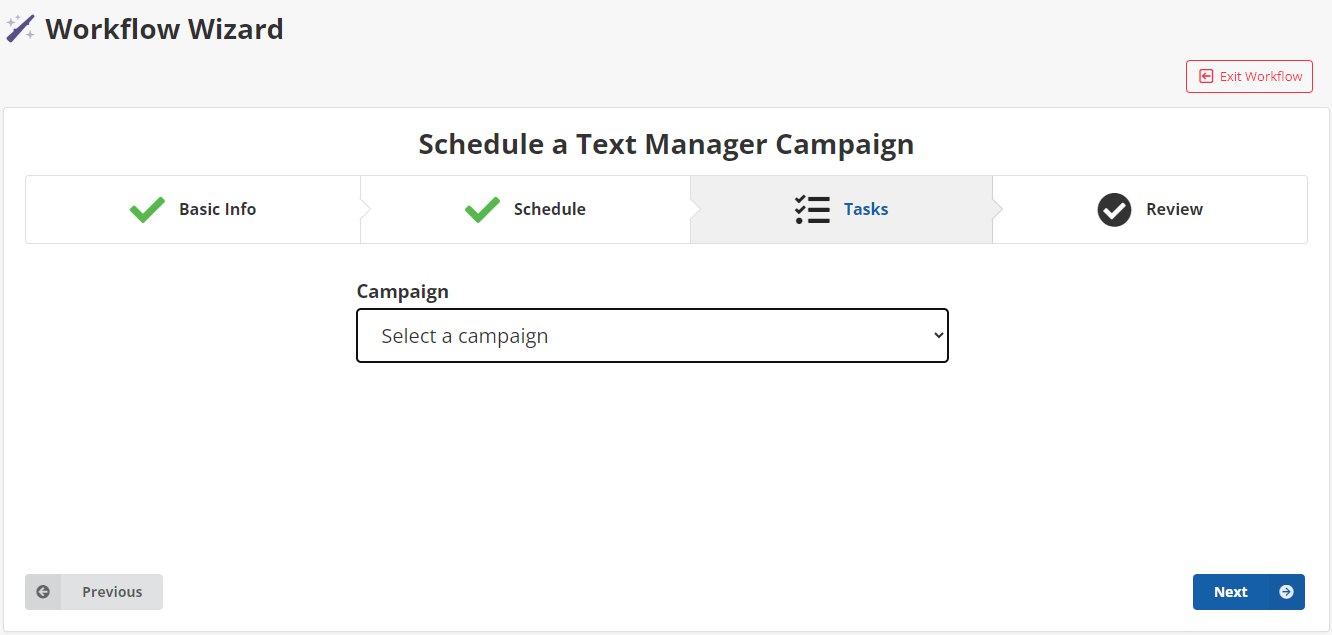
Select which Text Manager Campaign to run. Note that the campaign has to be a recurring one for it to appear in the drop-down.
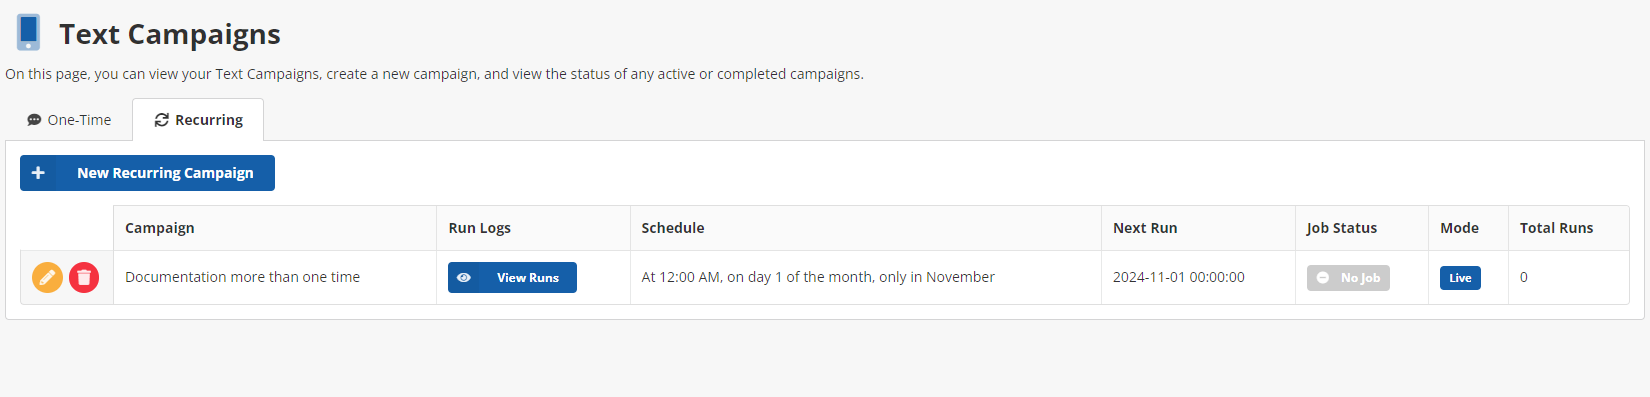
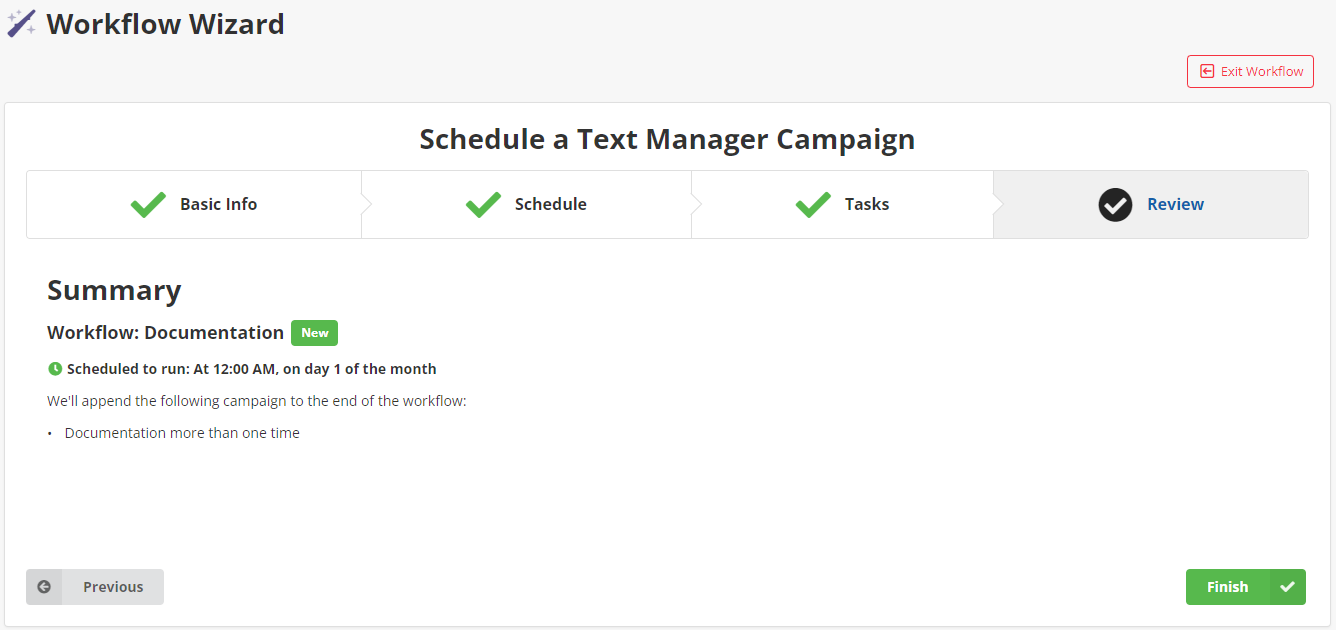
Then review and click “Finish”.
Creating from Blank Workflow
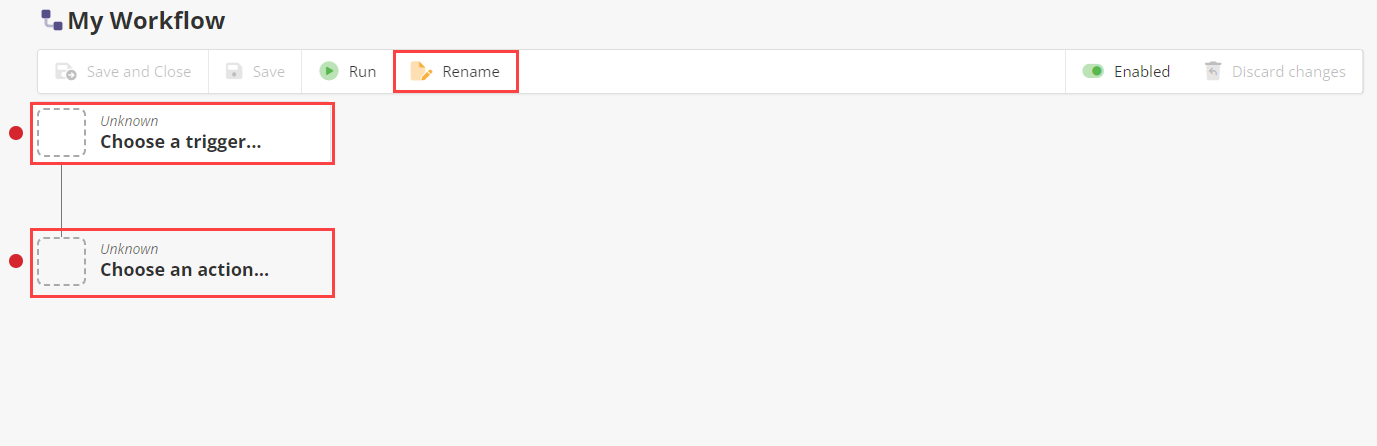
Optionally, rename the workflow from “My Workflow”.
Select a trigger. More information on the different triggers can be found here.
Select one or multiple actions. Information on the different actions can be found here.
Triggers and actions may need to have fields filled out. This will be denoted by a red dot next to their icon.
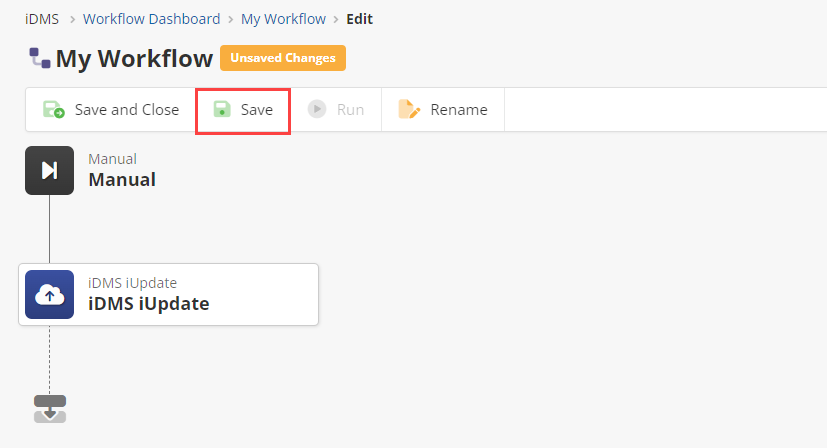
A yellow dot next to an icon and/or “Unsaved Changes” near the banner means that there are changes that need to be saved.
Once you have filled out all required fields in the workflow, click “Save”.
Importing from a File
To import from a file, you have to select “New workflow” from the dashboard. You will not be able to import from a file when creating a new workflow from the banner.
Importing from a file requires first exporting a file from an existing workflow
Select the file to import from your files.
Triggers and actions may need to have fields filled out. This will be denoted by a red dot next to their icon.
A yellow dot next to an icon and/or “Unsaved Changes” near the banner means that there are changes that need to be saved.
Once you have filled out all required fields in the workflow, click “Save”.