
iEmail Cloud User Installation
Differences in Outlook Appearances
Please note the User Interface may look different based on how you are accessing Outlook and your current configuration.
Organizational Deployment Instructions
Looking to deploy iEmail Cloud to multiple users at once? Try our organizational deployment instructions instead!
Shared Mailboxes
If you would like to use Shared Mailboxes with iEmail Cloud, you must uninstall and reinstall the iEmail Cloud add-in. This is known as updating the manifest. Depending on how your iEmail Cloud add-in was installed follow one of these two methods:
Note: If iEmail Cloud was downloaded after April 19, 2023, then you do not need to update the manifest.
Single-User Installation
To install iEmail Cloud for use on either outlook.com or for the Office 365 Windows desktop application, please follow these instructions.
Installation Sync Between Office 365 and Outlook Desktop
Installing in Outlook.com first will migrate the Add-in to your Windows Office 365 Outlook desktop program automatically.
Installation via Outlook.com
First, sign in using either:
Outlook.com - For Office 365 and individual accounts (such as @outlook.com e-mail addresses).
Your organization's personal login URL. (Note: On-premise Exchange 2013+ accounts might have a different sign-in address - ask your system administrator for this URL.)
After signing in successfully, follow these steps to install the iEmail Cloud add-in for Outlook:
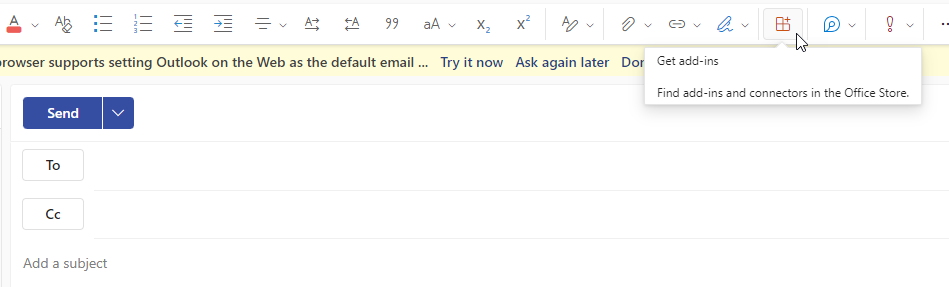
Open a New Message
At the right of the ribbon, find the orange add-ins button and click it. If it is dulled out, click on the body of the email.
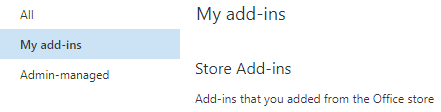
On the left side, select 'My Add-ins'
Take the following link and paste it into a separate tab
https://cdn.cloud.csiinc.com/officeapps/iemail.xmlRight click the webpage that shows the contents of the link and save the .XML file in a location you can access
Below the existing Add-ins, select 'Add a custom add-in' and then select 'Add from File...'
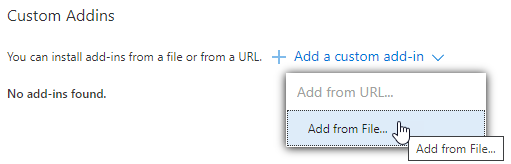
Select the .XML file you just saved. Then click 'Install'
To add the iEmail Cloud button on the row of Add- Ins, discard the draft you opened in step 1.
In the upper right-hand portion of the screen, click the Gear icon
Select 'View all Outlook settings'
On the left navigation bar, select Mail. Then in the next area, select 'Customize Actions.' Then scroll down to both the 'Message Surface' section

Check the box next to 'iEmail Cloud - Integrates iMIS and Outlook' and click 'SAVE'
The little blue icon will now appear in both messages that you're reading (so you can add incoming emails directly into iMIS), as well as new messages you compose (near the SAVE and DISCARD buttons).
iEmail Cloud icon when composing a email on the web
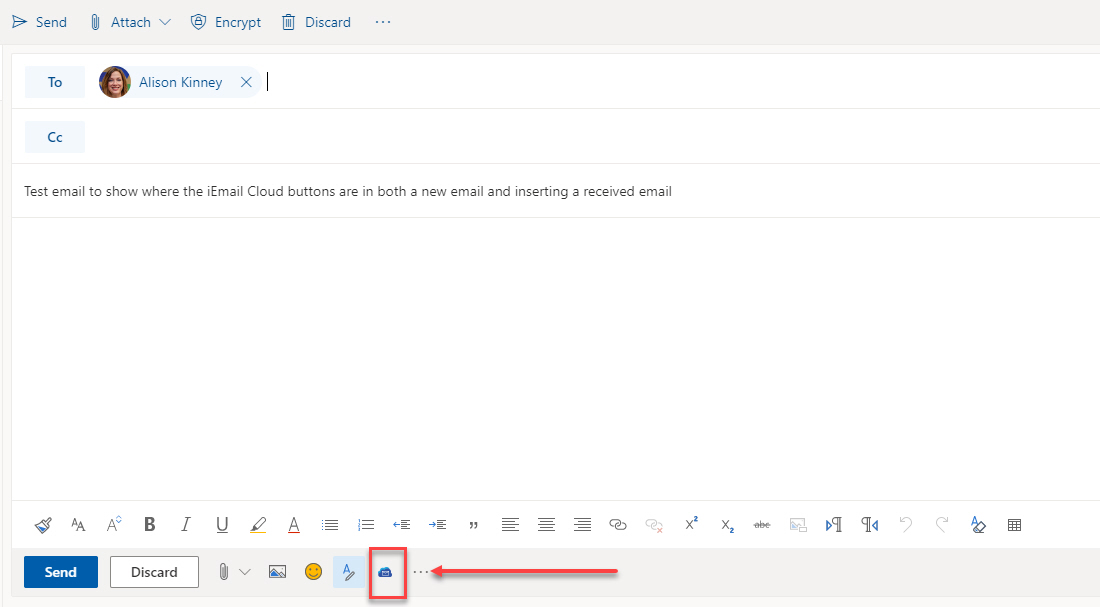
iEmail Cloud icon when reading an email on the web

How to use iEmail Cloud can be found here.
Installation via Outlook 365 Windows Desktop
Installing in Outlook.com as above will migrate the Add-in to your Windows Outlook desktop program automatically.
If you perform the Add-in installation below, it will not migrate up to Outlook.com
With Outlook open, go to File and then select Manage Add-ins (may require scrolling).
.png?inst-v=5a3c6042-efc3-4081-a4a1-224421b92b30)
Login to Office with your credentials.
On the left side, select 'My Add-ins'
Take the following link and paste it into a separate tab
https://cdn.cloud.csiinc.com/officeapps/iemail.xmlRight click the webpage that shows the contents of the link and save the .XML file in a location you can access
Below the existing Add-ins, select 'Add a custom add-in' and then select 'Add from File...'
Select the .XML file you just saved. Then click 'Install'
Logout of the webpage and then close and reopen the Outlook desktop program
The iEmail Cloud icon will appear in the Outlook ribbon on the far right side.

If for some reason it is not visible, it might just be off the screen but still installed.
Right click on the ribbon and select 'Customize the Ribbon.' Make sure iEmail Cloud is there on the right side under 'Customize the Classic Ribbon.' If it is, it's installed properly, but you'll need to move some items on your ribbon to make room for it.
Single click on the iEmail Cloud box and then click the up arrows to move it up/left in your ribbon. Hit OK and you should see the ribbon realign itself.
Then, open a new email then click the iEmail Cloud icon.
Login using the iMIS credentials and the supplied CSI Cloud ID.
