
Group Members Guide
Complexity | Intermediate |
|---|---|
EMS Compatible |
|
iMIS 2017 Compatible |
|
Actions | Insert, Insert w/ Matching Help, Update, Insert / Update, Delete |
Overview
This page details how the Group Members source can be used.
The Group Members source can be used to:
Add an individual to a group in a specified role (whether or not you know the individuals iMIS ID).
Add an individual to or remove an individual from a particular role in a group.
Set a group membership active or inactive.
Remove a member from a group.
Add/edit/delete a Company Administrator.
Add/edit/delete a Chapter Administrator.
For how to delete group members, see the Delete Action Guides.
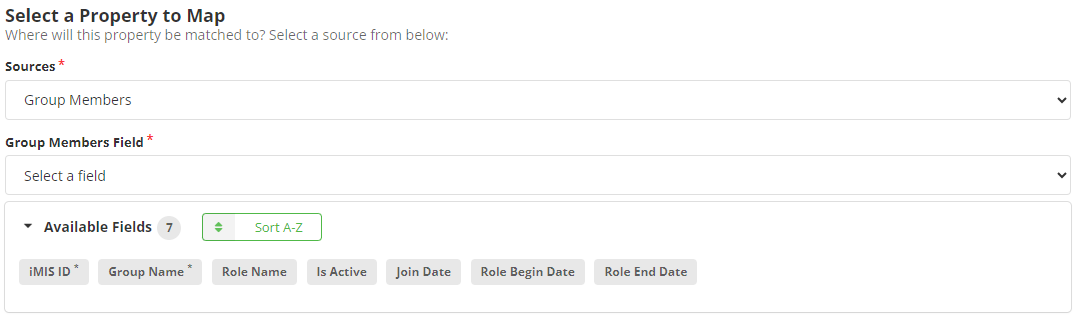
Mappings
Required Fields
Group Name - The name of the group in iMIS. Groups can be found in iMIS under Community > Groups. To create a group, click here.
iMIS ID – The ID of the record with the relationship.
Optional Fields
RECOMMENDED Join Date - Defaults to the current date unless otherwise specified.
RECOMMENDED Role Begin Date - The start date of the membership term.
RECOMMENDED Role Name – The role name, e.g. "Member," "Company Administrator," "Chapter Administrator," etc. If unspecified, defaults to "Member" (provided the specified group has a "Member" role).
Is Active – Determines if the group member is active.
Role End Date - The end date of the membership term.
Mapping Notes
In lieu of mapping iMIS ID, you can use Insert w/ Matching Help and match on the Contact Record (e.g., email and last name). Matching on as many fields as possible is recommended.
If you map Role Name but do not match on it, it will add the role to the membership (and apply mapped Role Begin/End dates, if applicable). This is how you add an additional role to a group membership.
If you match on a Role Name and map Role Begin/End dates, only the specified role will be updated. (e.g. Joe has both Member and Company Administrator roles. You map Role Begin/End dates and map the Role Name “Member” with matching. Only the Member role will be updated with the mapped dates.)
If you map Role Begin/End dates, but do not map a Role Name, all roles for the member/group will be updated with the Begin/End dates.
Example Mappings
To delete a group membership
Use the Delete action and map both iMIS ID and Group Name.
To remove a role from a group member
(e.g. contact is both a Member and Company Administrator of group ABC, and you want to remove the Company Administrator role)
Use the Delete action and map the iMIS ID, Group Name, and Role Name.
To create a company admin:
Action: Insert
iMIS ID = 12345 (for example)
Group Name = Computer Products (for example)
Role Name = Company Administrator
To add the company admin role to an existing group member (that is not already a company admin):
Action: Update
iMIS ID = 12345 (Match On)
Group Name = Computer Products (Match On)
Role Name = Company Administrator (Do NOT match on)
To remove the company admin role from a group membership but leave the “Member” role intact:
Action: Delete
iMIS ID = 12345 (Match On)
Group Name = Computer Products (Match On)
Role Name = Company Administrator (Match On)
To remove a company admin from a group completely (they will no longer be a member of the group):
Action: Delete
iMIS ID = 12345 (Match On)
Group Name = Computer Products (Match On)
To create a chapter administrator:
Action: Insert
iMIS ID = 12345 (for example)
Group Name = East Chapter (for example)
Role Name = Chapter Administrator
To add the company admin role to an existing group member (that is not already a chapter admin):
Action: Update
iMIS ID = 12345 (Match On)
Group Name = East Chapter (Match On)
Role Name = Chapter Administrator (Do NOT match on)