
Creating a Twilio Account
Summary of Steps
Sign up for Twilio (as an individual)
Create your Twilio account and verify/ugprade it
Configure billing and auto-replenish
Add CSI Staff as users to your account, in order to support Text Manager
Send CSI your Account SID and Auth Token via Privnote
Customers new to Text Manager…
1. Sign Up for Twilio
Click here to sign up for a Twilio account.
The user signing up for Twilio will be the initial administrator of the account.
Verify your email address
Verify your phone number
The phone number must be a valid cellular number
2. Create a New Account
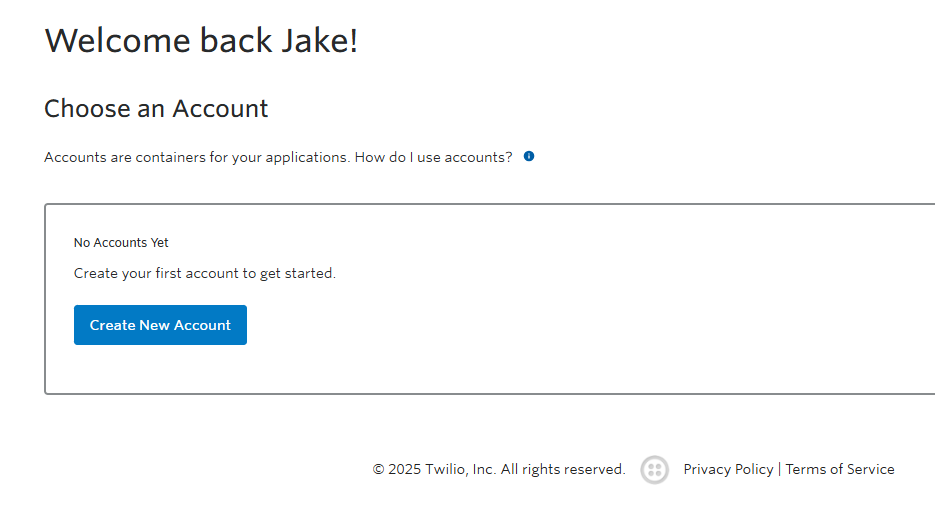
The Twilio Console homepage with no accounts created yet.
You should be signed into the Twilio Console. If not, click here to sign into the Twilio Console.
Click “Create New Account”.
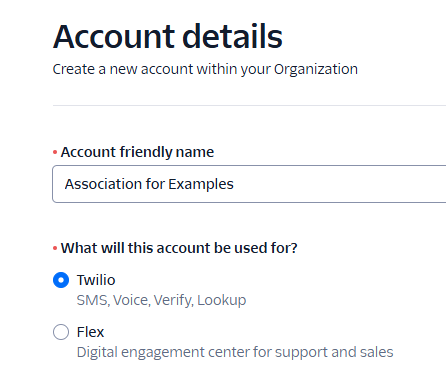
Specify the account name, and select “Twilio”.
Enter your association/organization’s name, and select the “Twilio” option.
Press “Continue“.
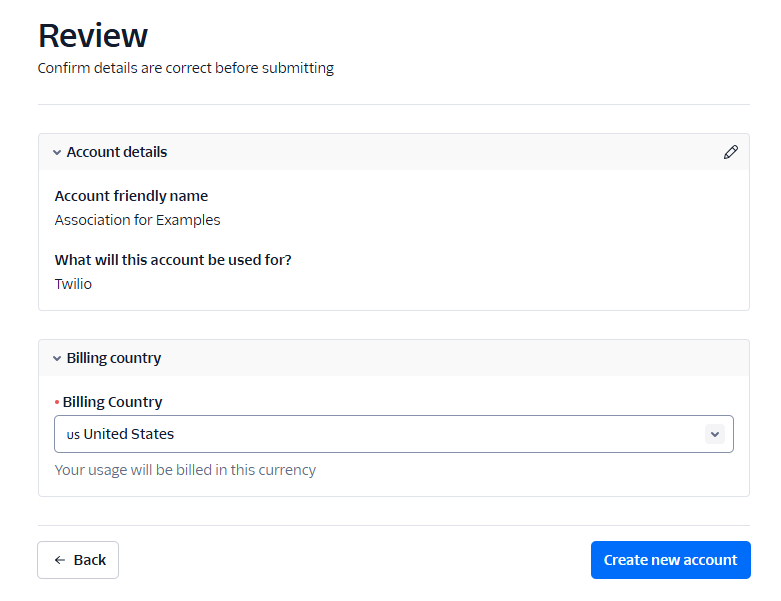
The new Twilio account review screen.
Specify your billing country. The default is “United States”. If this is correct, press “Create new account“.
You’ll need to fill out the usage survey to continue. Specify the following options.
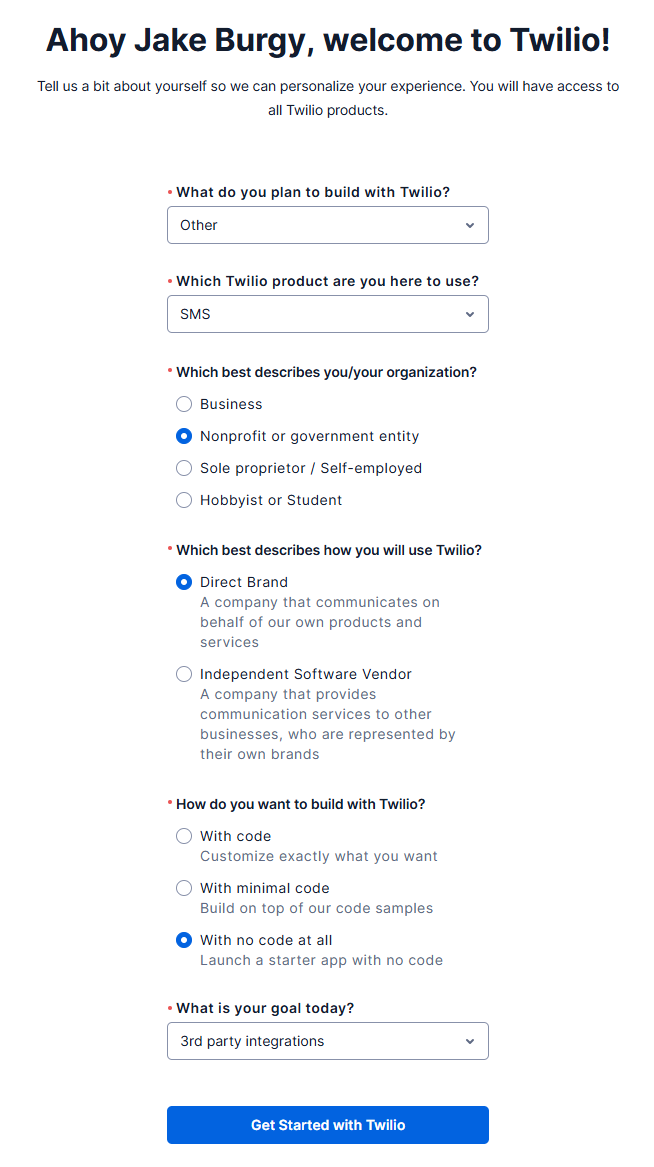
The options to select for the account survey.
What do you plan to build with Twilio?
Other
Which Twilio product are you here to use?
SMS
Which best describes you/your organization?
Nonprofit or government entity
Which best describes how you will use Twilio?
Direct Brand
How do you want to build with Twilio?
With no code at all
What is your goal today?
3rd party integrations
Then, click “Get Started with Twilio“.
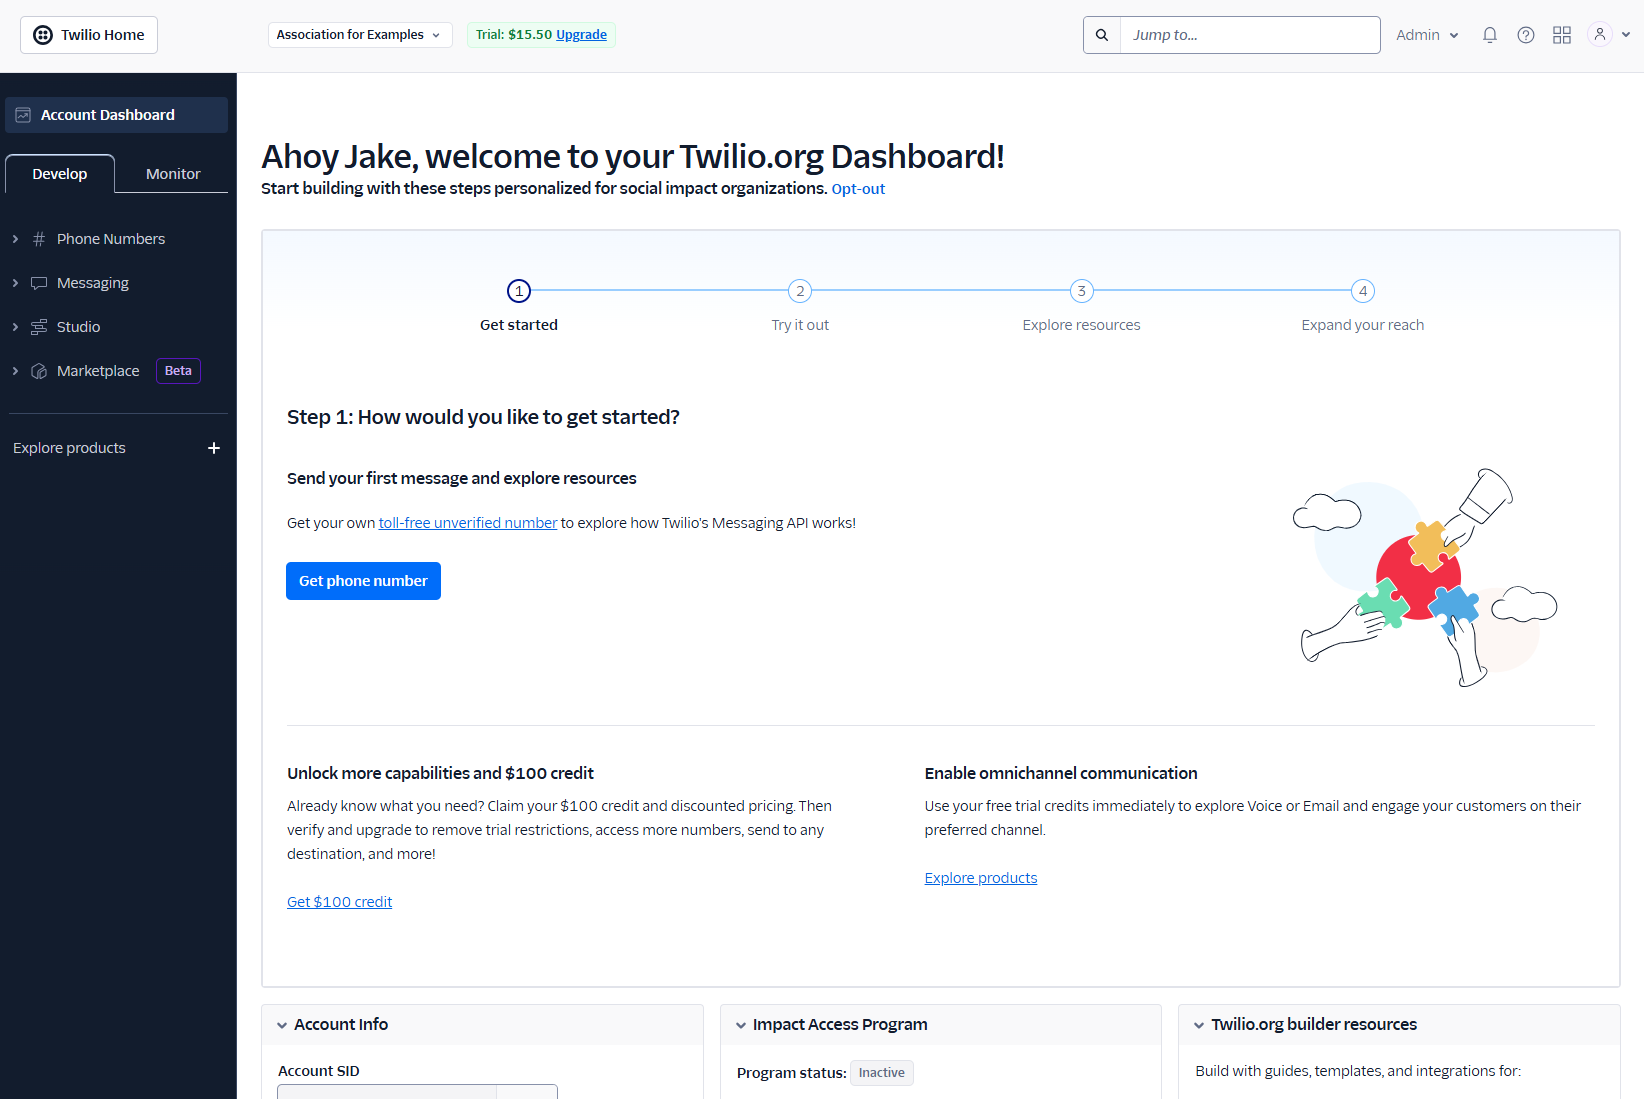
The Twilio Console Dashboard.
Welcome to your Account Dashboard. Step 1 is complete.
3. Configure Billing
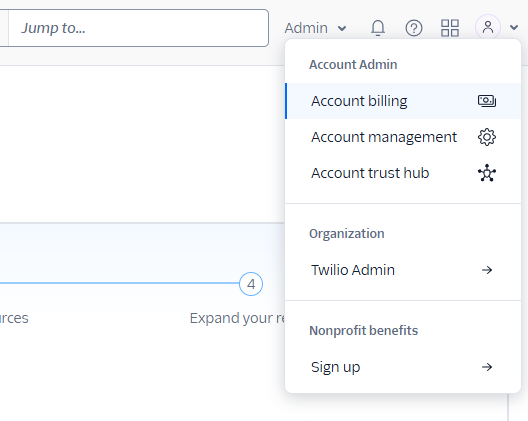
From the Twilio Console homepage, in the upper-right corner, click “Admin“ then “Account billing“.
You should see the following message on the Billing Overview screen:

Click “Upgrade Now“. You will be taken to the account upgrade/verification wizard.
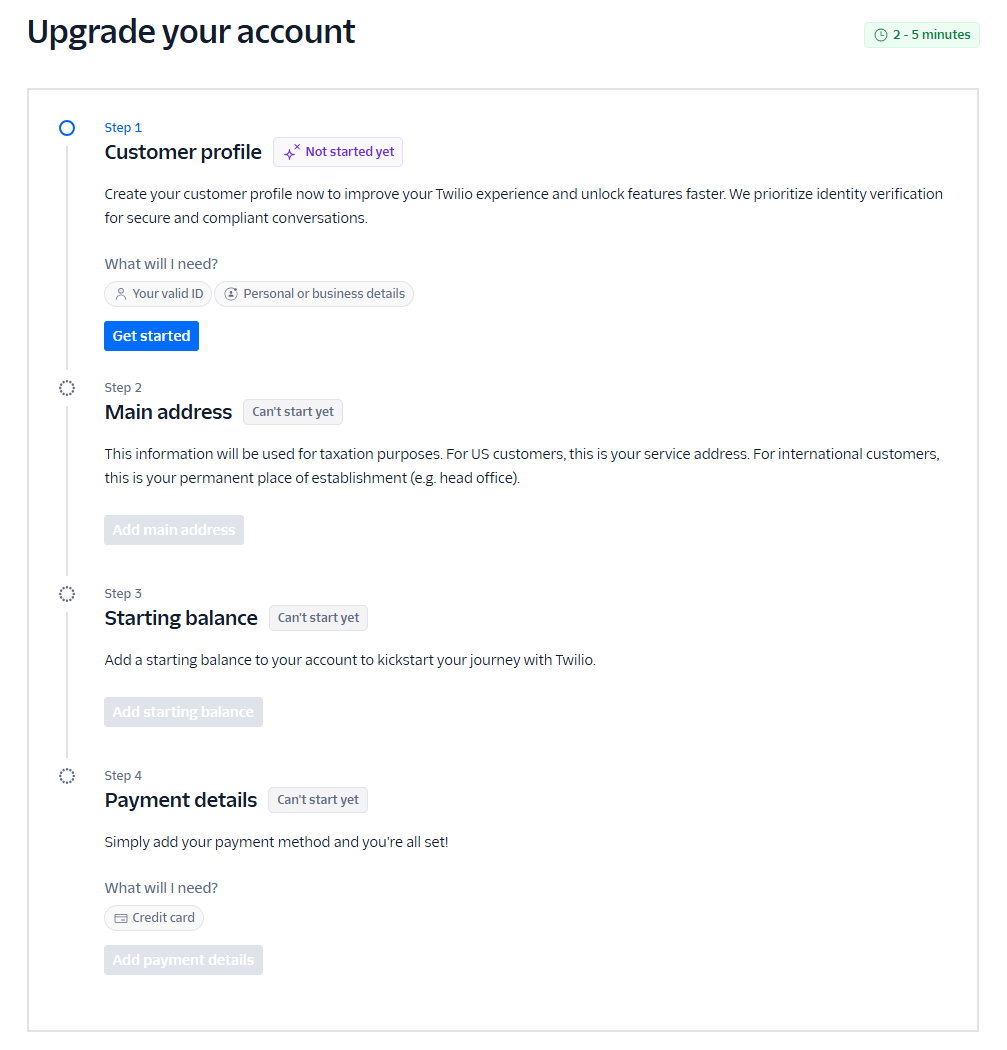
The account verification / upgrade wizard.
Proceed through the wizard. You will need the following:
Valid government-issued ID (such as a driver’s license or state ID) for the account administrator
 Note: This information is not stored, it is only used one time to verify your identity, which prevents scam and fraud accounts. (We all hate spam texts – this helps prevent that!)
Organization’s legal entity name
Organization’s EIN / Tax ID
Organization’s primary address
Primary credit card used for Twilio account replenishment
Once complete, proceed to configure or confirm your auto-recharge settings.
Your Twilio usage is billed on a “consumption” basis. Your account has a bank of credits, and when those credits fall below a certain amount, your card is automatically charged the amount you specify, in order to replenish your account.
The auto-recharge threshold and target balance are dependent upon how many SMS messages you intend on sending via Text Manager.
If you are unsure about what settings are best for your organization, please reach out to CSI. We can review your past usage and make a recommendation on the best settings for your organization.

Example of auto-recharge settings.
Once your auto-recharge settings have been set, press “Save“.
4. Add CSI Staff to Account
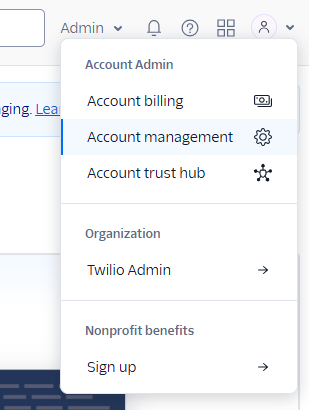
From the Twilio Console homepage, in the upper-right corner, select Admin > Account management.
In the left navigation, select Manage users.

We will be inviting the following users:
jsinnaeve@csiinc.com (Director of Development)
jburgy@csiinc.com (Lead Engineer for Text Manager)
jhepler@csiinc.com (Application Support)
In the upper-right corner, select Invite user →.
Enter the e-mail address to invite.
Select Developer and Support.
At the bottom of your screen, click Send invitation.
![]() Repeat these steps for each CSI staff email address listed above.
Repeat these steps for each CSI staff email address listed above.
5. Send Account SID and Auth Token to CSI
CSI will automatically migrate/configure your Twilio account settings in Text Manager.
You will need to send CSI your Twilio Account SID and Auth Token.
On the Twilio Console homepage, under the Account Info section, you will find these values.
In a new browser tab, open Privnote.com.
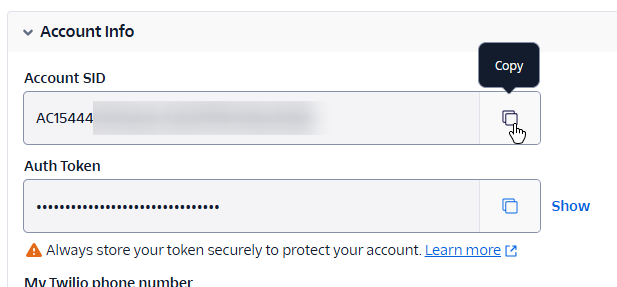
The Twilio Account Info box.
Back in Twilio, press the Copy button next to the Account SID. Paste this value into Privnote.
Do the same with the Auth Token.
When finished, your Privnote should look like this:
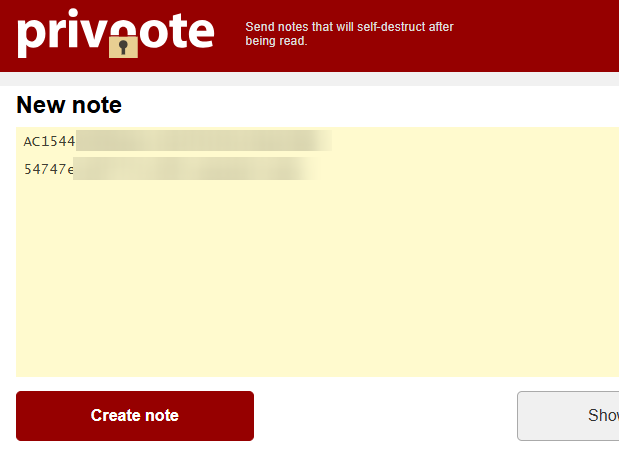
Example of a Privnote with Twilio account information.
Press Create note.

The Privnote link screen.
Copy this URL and send it to CSI via your open support ticket.
Warning: DO NOT open the URL to check it, this will cause the note to be destroyed, and CSI staff will be unable to view it.
6. Customers New to Text Manager
If you did not previously have a Twilio subaccount with CSI, you will also need to complete the following steps.
A. Provision a Toll-Free Number
In the Twilio Console, go to Phone Numbers > Buy a Number.
Click Show Advanced Search, and:
Set Number Type = Toll-Free
Capabilities = SMS
Country = US (+1) {if US based}
Once the number is selected, proceed to Buy the number (and confirm the $2.15/mo charge).
After the number is purchased, you will need to proceed to the number verification process:

You can access the verification process HERE.
For additional information on the Opt-in/Opt-out process, please review our other Text Manager documentation HERE.
B. Create a Message Service
Navigate to Messaging > Services and create a new Messaging Service.
Name the message service Text Manager and select the use-case “Notify my users”.
You will be brought to the Sender Pool configuration.
Add Numbers to the Sender Pool
Click Add Senders.
Ensure the dropdown says Phone Numbers (the default), then click Continue.
Check the box next to the toll-free number you just leased, and click Add Phone Numbers.
Add an Alphanumeric Sender ID for International Countries
On the Sender Pool page, click Add Senders.
Select Alpha Sender, and click Continue.
Enter an appropriate alpha sender. The character limit is 12. This can be anything, but we recommend using your organization name or acronym. To clarify, this is strictly for messages that are sent to certain European and Asia/Pacific numbers, not for North America.
Configure the Message Service for Text Manager
In the message service properties, in the side nav, select Integration.
Under Incoming Messages, click “Send a webhook”:
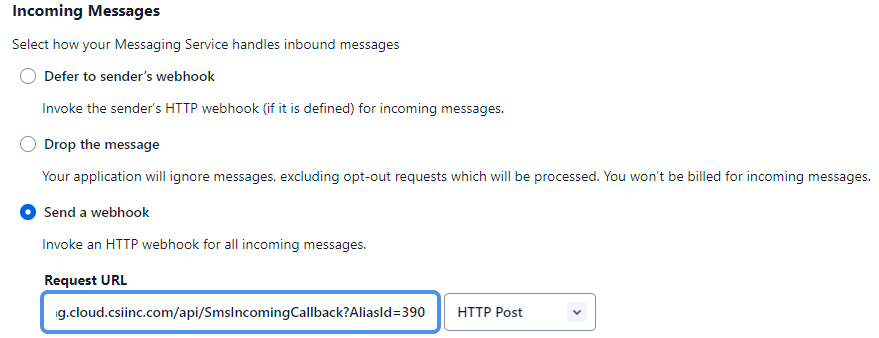
CSI will provide you with the Alias ID for the Request URL in your ticket.
Enter the following URL with the correct Alias ID instead of "123":
https://textmanager-fn.cloud.csiinc.com/api/SmsIncomingCallback?AliasId=123
Leave the Fallback URL blank.
Under Delivery Status Callback:
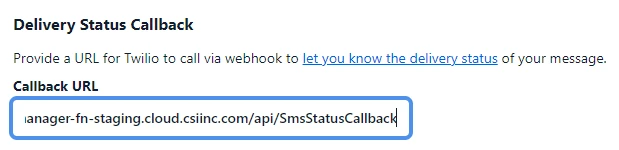
Enter the following URL:
https://textmanager-fn.cloud.csiinc.com/api/SmsStatusCallback
Ensure the Validity Period is set to 14400 (the default).
And click Save.
C. Track Unsubscribed/Re-subscribed Members (optional)
Please follow our documentation for setting this up HERE.