
iEmail Cloud App Registration - Entra Console with Screenshots
This guide will walk you through adding an app registration to your Microsoft Entra tenant for iEmail Cloud.
This page contains screenshots to assist with the installation steps. If you are familiar with Microsoft Entra app registrations / enterprise applications, consider using the condensed guide without screenshots instead.
You must be a Microsoft Entra administrator or global administrator to complete these steps.
1. Create the App Registration
Click here to go to the Microsoft Entra console.
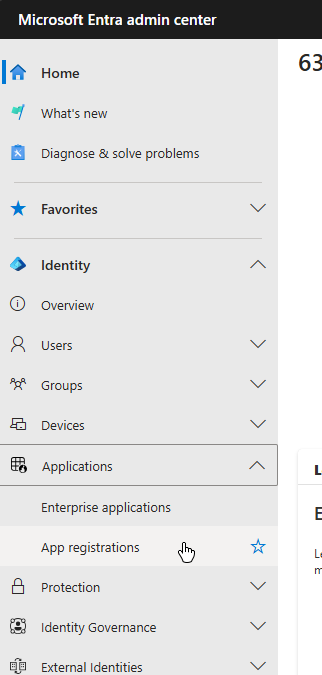
In the left navigation, under Identity, select Applications > App registrations.
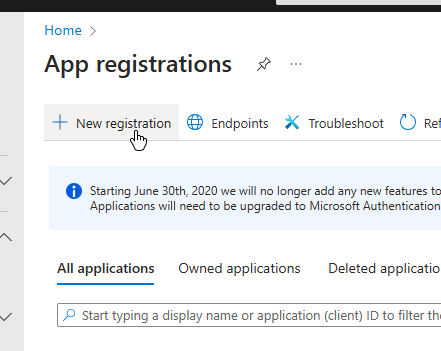
Select + New registration.
Complete the following:
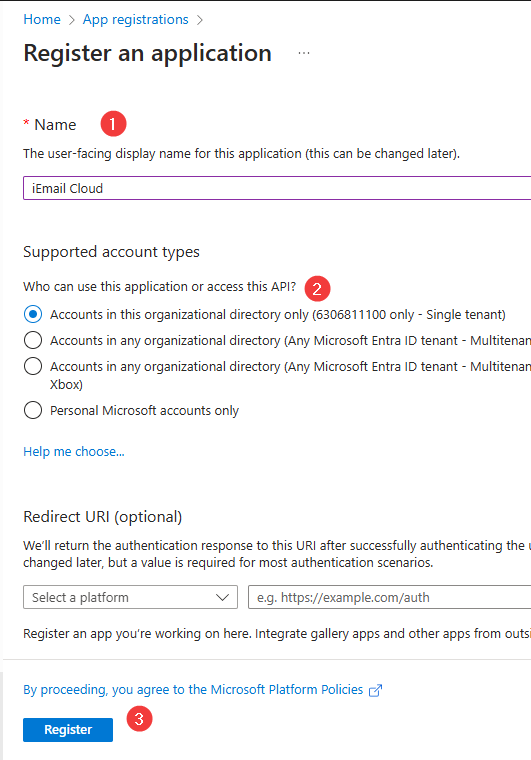
Name:
iEmail CloudSupported account types: “Accounts in this organizational directory only”
Click Register.
Configure Platforms and Redirect URIs
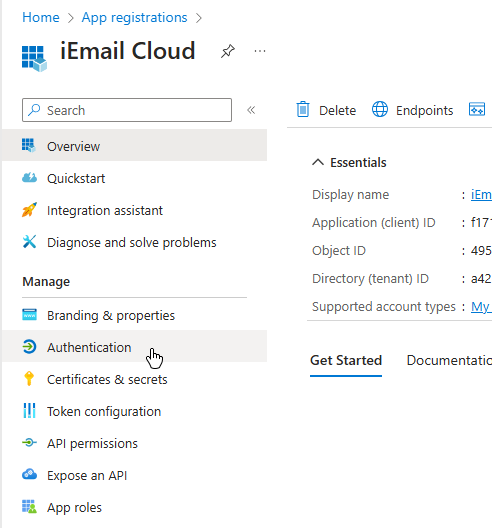
In the new application, in the left navigation, select Authentication.
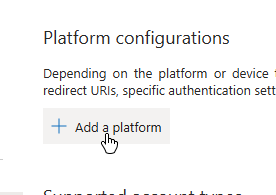
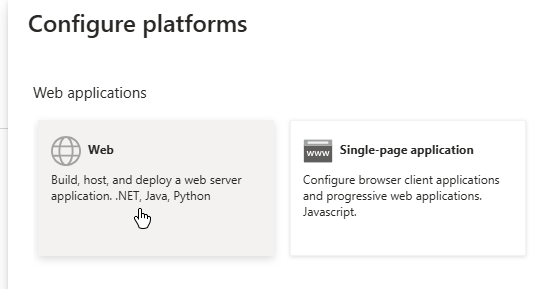
Under Platform configurations, press + Add a platform.
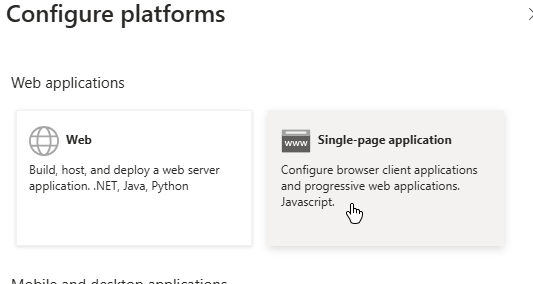
In the right-hand menu that appears, select Single-page application.
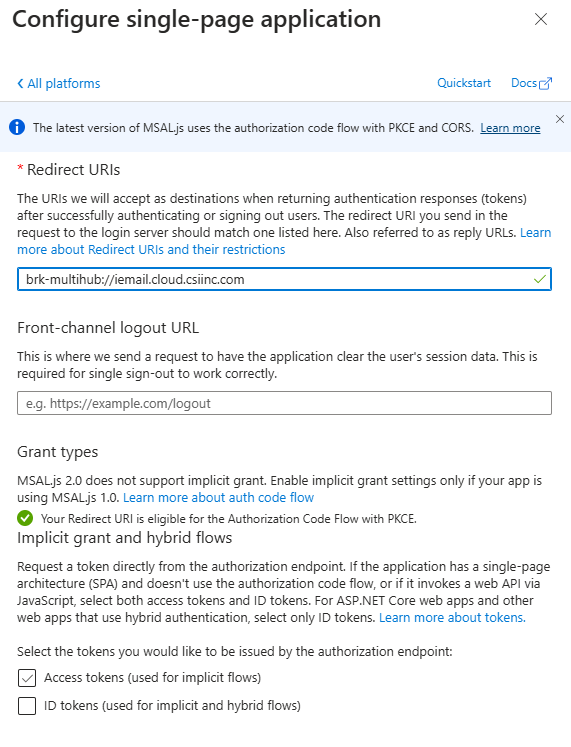
Enter the following URL in the Redirect URIs field:
brk-multihub://iemail.cloud.csiinc.com
Leave the rest of the settings as they are. Press the Configure button.
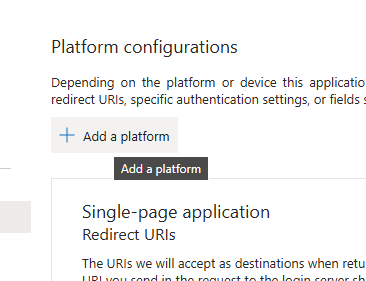
Again, we will press the + Add a platform button.
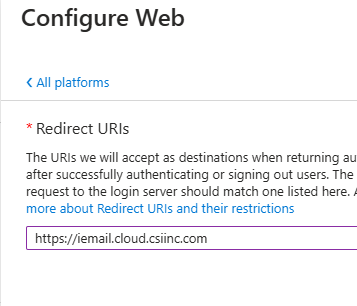
In the popup, this time select Web.
Enter the following value into the Redirect URIs field:
https://iemail.cloud.csiinc.com
Then press Configure.
We need to add 3 more URLs each to the “Web” and “Single-page application” platforms.
On the main screen, there are small links that say “Add URI” in each platform.
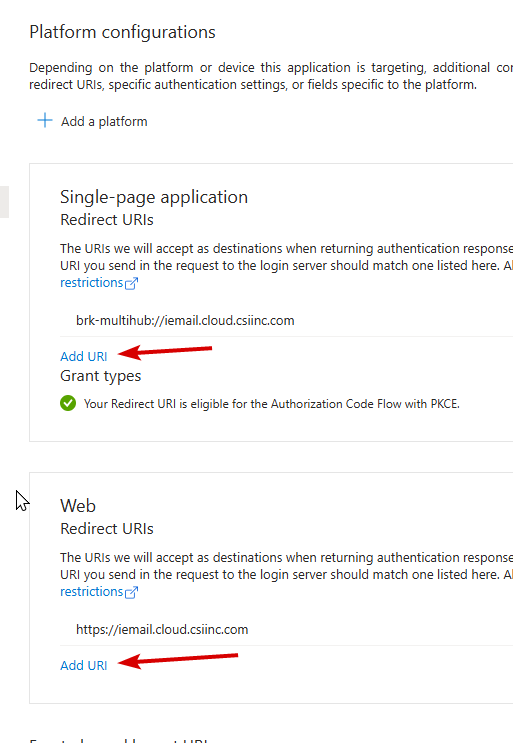
Add each of the following URIs into their respective platforms, one at a time.
Single-page application
brk-multihub://iemail-us.cloud.csiinc.combrk-multihub://iemail-ca.cloud.csiinc.combrk-multihub://iemail-ap.cloud.csiinc.com
Web
https://iemail-us.cloud.csiinc.comhttps://iemail-ca.cloud.csiinc.comhttps://iemail-ap.cloud.csiinc.com
When finished, press Save.
It is important to configure all of the URI endpoints. Even if you only operate iEmail Cloud out of a specific region, it may still connect through another endpoint for users who are traveling. Adding these URIs does not mean that iEmail Cloud establishes a connection through these regions, it only means that it is possible to. If your users never leave your preferred region (geographically speaking), then only that endpoint will be used.
Configure API Permissions
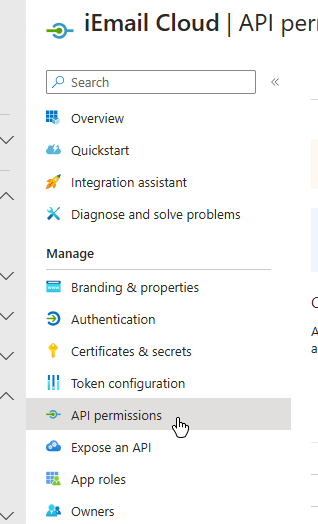
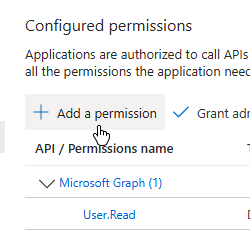
In the left navigation, under Manage, select API permissions.
Click + Add a permission
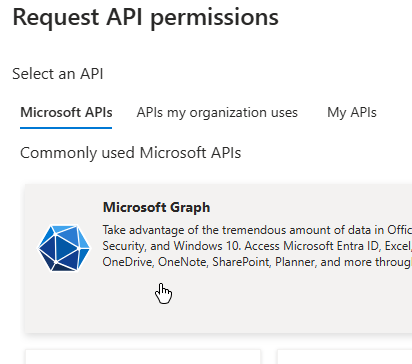
Select Microsoft Graph (the large tile at the top).
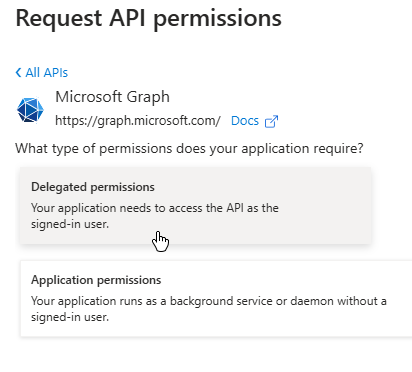
Select Delegated permissions.
In the search box, enter: mail.read
Find the Mail.Read permission, select the checkbox next to it, then press Add permissions.
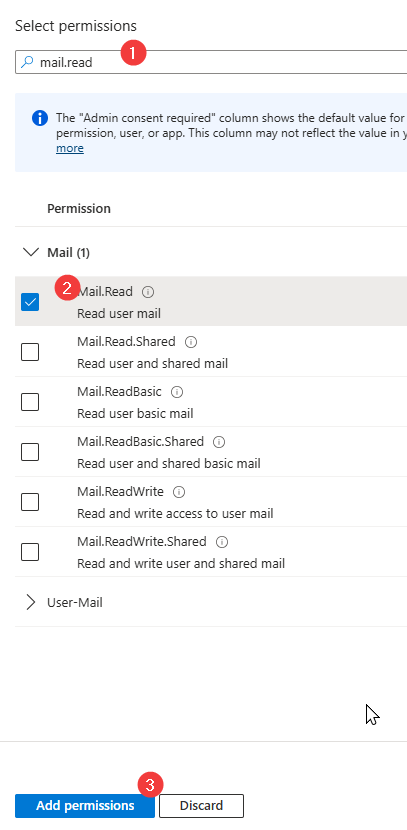
Optional Step: If your organization uses Shared Mailboxes, you will also need to search for the Mail.Read.Shared permission, and check that box, before clicking “Add permissions”.
On the permissions screen, verify that the screen contains User.Read and Mail.Read.
Press the Grant admin consent for <My Organization Name> button.
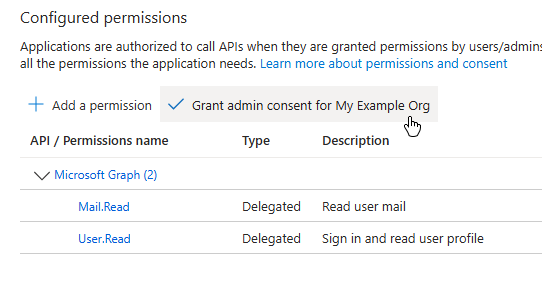
In the popup that appears, continue through the prompts to grant consent for your organization.
This step is important – if not completed, every user of iEmail Cloud will receive a popup asking if they want to proceed. This can lead to user confusion and frustration. Completing the Admin Consent flow on this page prevents that popup from occurring for end users.
Obtain the Application (client) ID
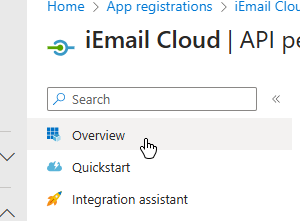
Select the Overview option in the left nav.
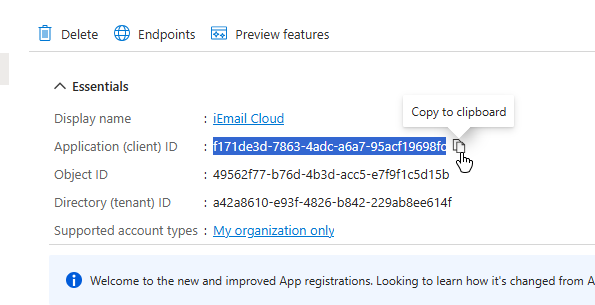
Copy the Application (client) ID value.
Configuring iEmail Cloud
Please return to our iEmail Cloud Attachment Configuration page to finish the setup.