
Activity Attachments iPart
Overview
The Activity Attachments iPart allows you to view and download activity attachments directly from iMIS.
iPart Availability
The Activity Attachments iPart is included for customers who purchase iEmail v3 and operate on iMIS 2017. The iPart serves as an interim solution for pulling activities in 2017 as this feature is included in iMIS EMS (and therefore not needed upon upgraded).
Basic System Requirements
End user must be a licensed iMIS User.
Installation
Deploy Client-Based iPart in iMIS
iMIS documentation can be found here:
https://help.imis.com/SDK/index.htm#!deployingaclientbasedipartinimis.htm
1. Extract the entire zip file you received from CSI. Locate the CSI-iPart-ActivityAttachments.zip file. Do not unzip this file.
2. From the Staff site, go to RiSE > Document system and select the ContentItems folder. This is the folder into
which all client-based iParts must be uploaded.
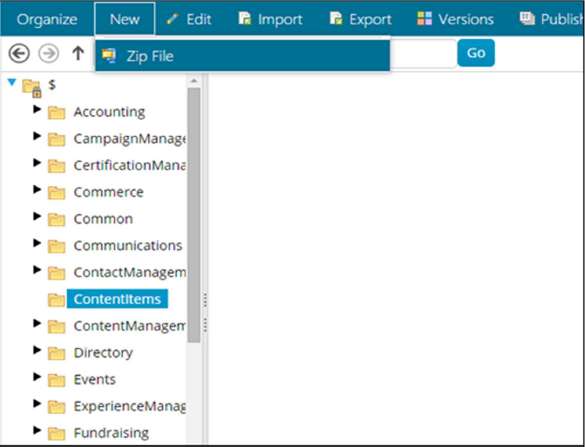
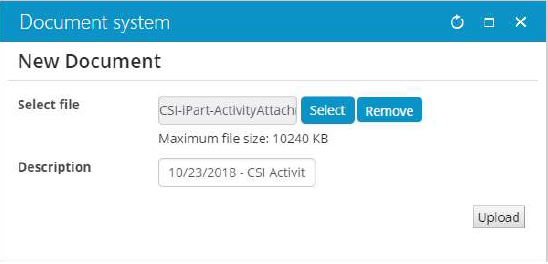
3. Select New > Zip File and upload the zip file you were given (CSI-iPart-ActivityAttachments.zip)
4. In the description put (changing date to today’s date):
[Date] - CSI Activity Attachments iPart
5. Click the Upload button
6. The zip file will then be displayed in the ContentItems folder.
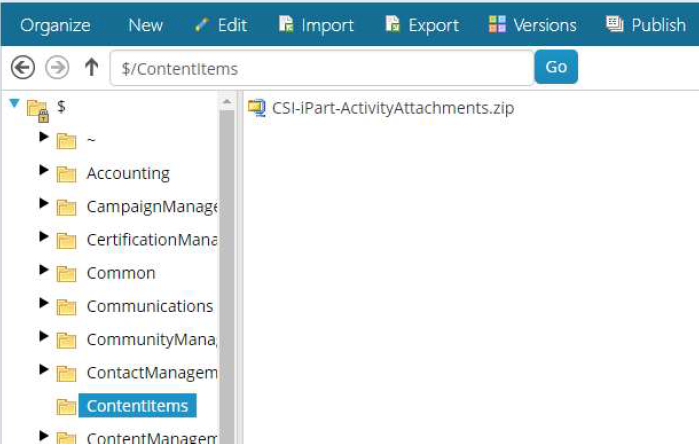
7. Go to RiSE > Maintenance > Deploy Content Items
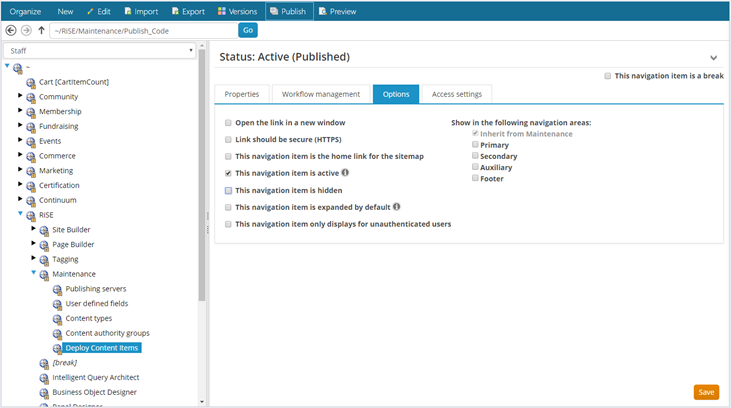
Note: The Deploy Content Items navigation item in the Staff site is hidden when you install or upgrade
iMIS. To make this navigation item accessible, go to RiSE > Site Builder > Manage sitemaps and select
the Staff site. Drill down to the RiSE > Maintenance > Deploy Content Items sitemap item. Select
the Options tab and make sure the option This navigation item is hidden is not
selected. Save and Publish. Then refresh the page, so the changes take effect.
8. Go toRiSE > Maintenance > Deploy Content Items and click Deploy Content Items.

Add iPart to the Content Gallery
Create a new content type to expose the iPart in the Content Gallery.
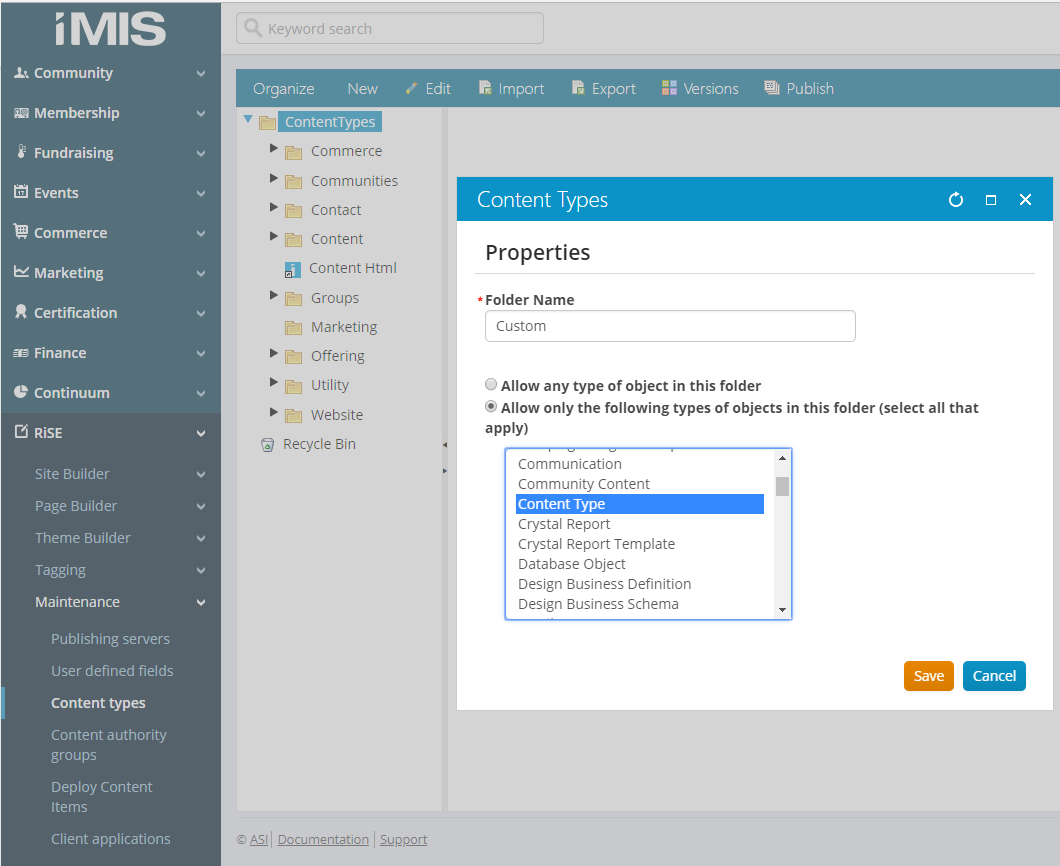
In the iMIS Staff site, go to RiSE > Maintenance > Content types.
If the Custom folder does not already exist, create a new folder named Custom. Select the Allow only the following types of objects in this folder option and select only Content Type from the list.
Press the Save button
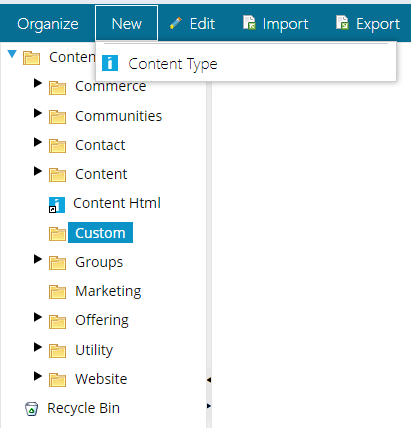
Select the new Custom folder and select New > Content Type.
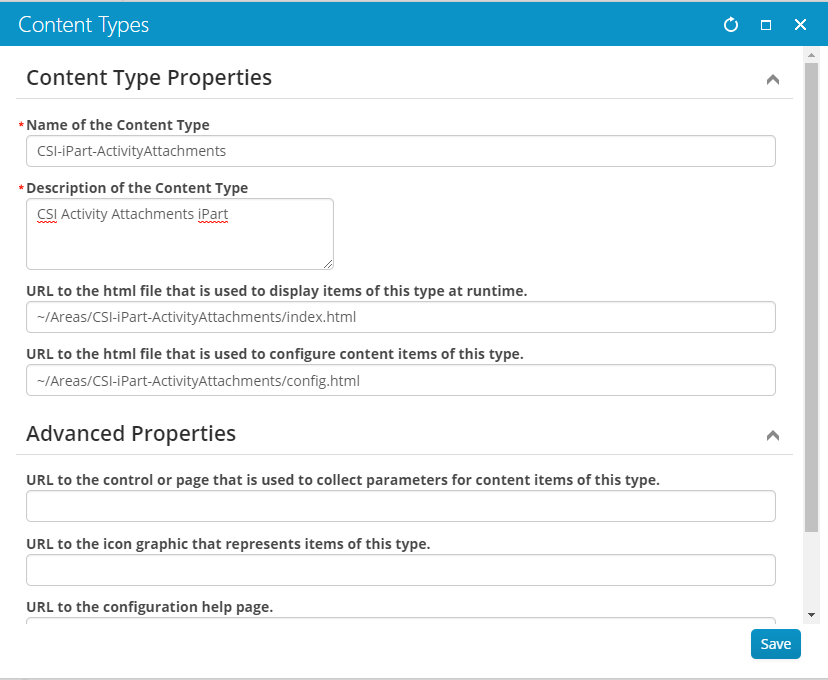
3. Select Client-based (preferred), and enter the name CSI-iPart-ActivityAttachments and description CSI Activity Attachments iPart for the content type.
4. Click the Upload button
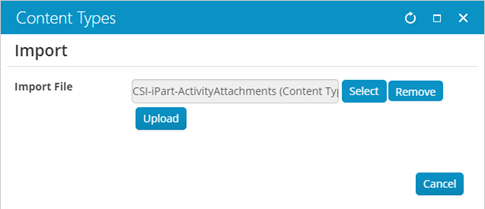
5. Click the Import button
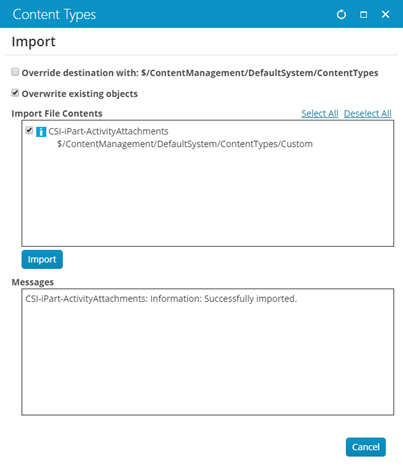
6. Close the dialog
7. The new iPart has been added to the iMIS Content Gallery and can be added to pages for publishing.
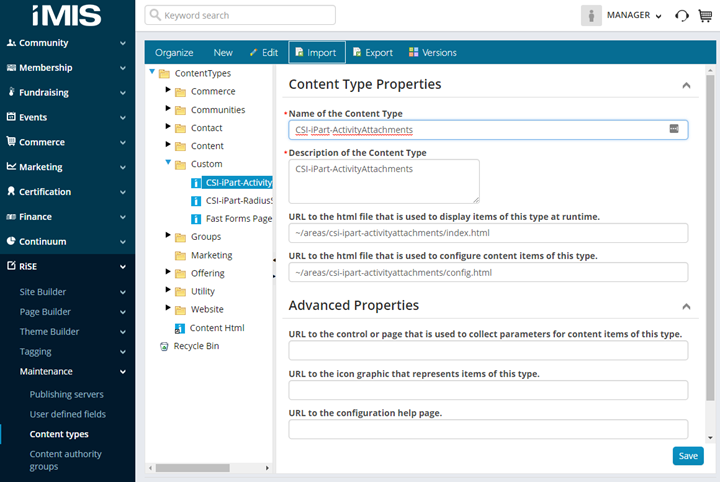
8. In the URL to the html file that is used to display items of this type at runtime field put:
~/Areas/CSI-iPart-ActivityAttachments/index.html
9. In the URL to the html file that is used to configure content items of this type field put:
~/Areas/CSI-iPart-ActivityAttachments/config.html
10. Click the Save button
Import Business Object: CSI_BusinessObject_ActivityAttachments
Import business object CSI_BusinessObject_ActivityAttachments into iMIS
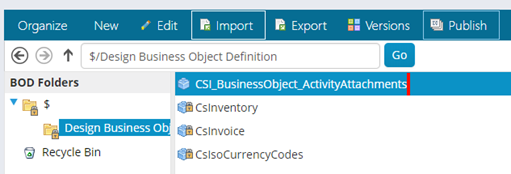
Go to: RiSE > Business Object Designer
Click Import near the top

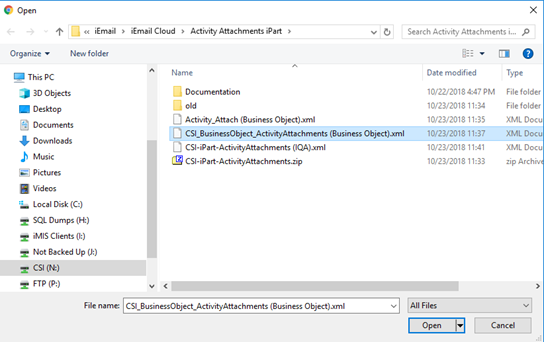
3. Select the file CSI_BusinessObject_ActivityAttachments (Business Object).xml, this XML file should have been distributed to you, along with the zip file. And click the Open button.
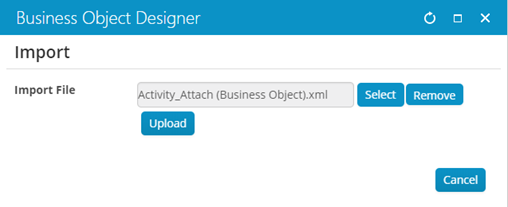
4. Click the Upload button

5. Click the Import button
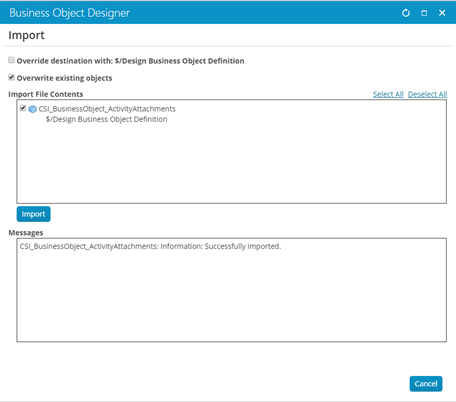
6. Click the X in the upper right corner, closing the window
7. Making sure you’re still in RISE-Business Object Designer, type CSI into the Quick find near the top right
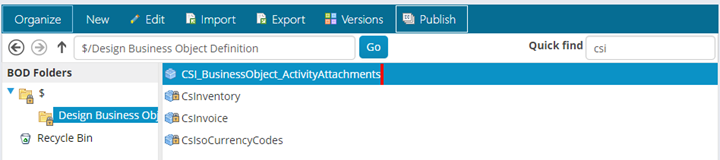
8. You should see the new business object CSI_BusinessObject_ActivityAttachments that we just imported.
9. Select this business object and press Publish near the top
10. The business object has been successfully imported
Repeat steps 1 through 10 for each business object in the unzipped folder. This should the following: CSI_iPart_ActivityAttachments_GetAttachments(Business Object).xml.
NOTE: Do not install the Activity_Attach (Business Object).xml file unless needed, as documented next
*For iMIS 2017 Only* Import Business Object: Activity_Attach
iMIS 2017 is missing one of the default business objects called Activity_Attach. Because this business object is missing from 2017 we need to manually import it. If you do not add this business object you will be unable to download the activity attachments.
Go to: RiSE > Business Object Designer
Click Import near the top

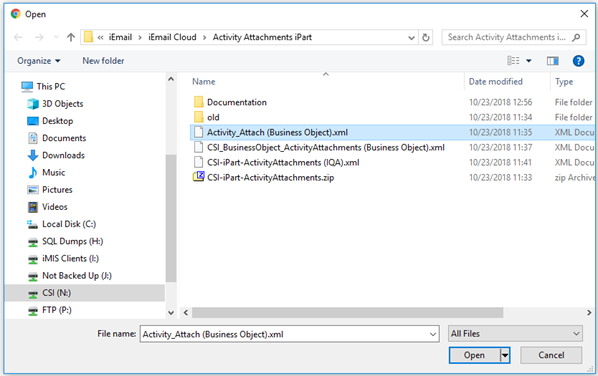
3. From the unzipped folder from CSI that you did in the beginning of these instructions, select the file Activity_Attach (Business Object).xml. Click the Open button.
4. Click the Upload button
5. Click the Import button
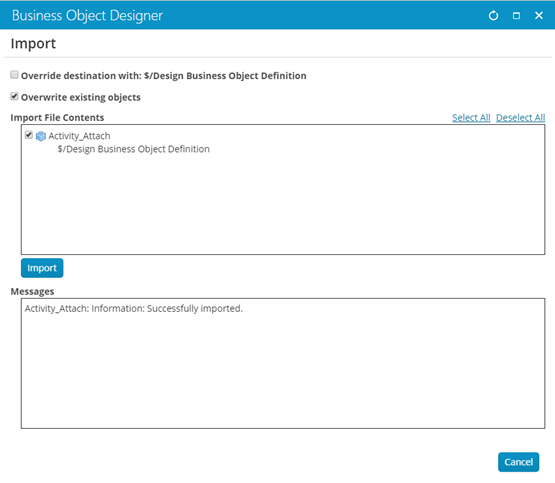
6. Click the X in the upper right corner, closing the window
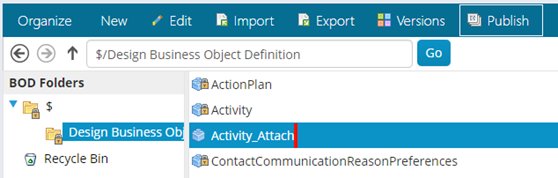
7. Type Act into the Quick find near the top right
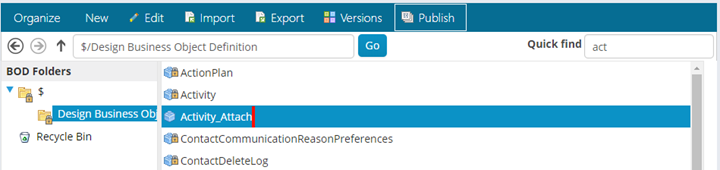
8. You should see the new business object Activity_Attach that we just imported.
9. Select this business object and press Publish near the top
10. The business object has been successfully imported
Import IQA: CSI-iPart-ActivityAttachments
Import IQA CSI-iPart-ActivityAttachments into iMIS
Go to RiSE > Intelligent Query Architect
Click Import near the top
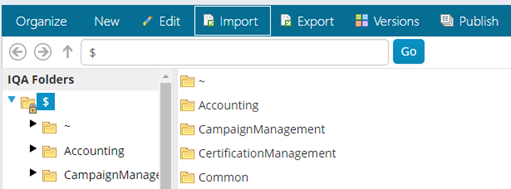
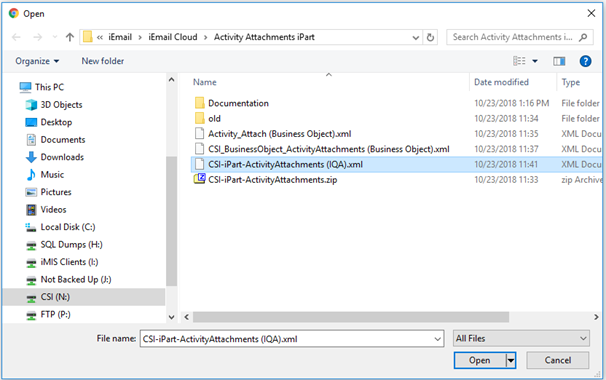
3. From the unzipped folder from CSI that you did in the beginning of these instructions, select the file CSI-iPart-ActivityAttachments (IQA).xml. Click the Open button.
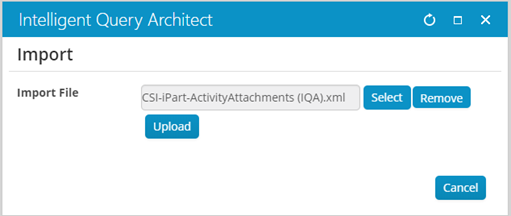
4. Click the Upload button
5. Click the Import button
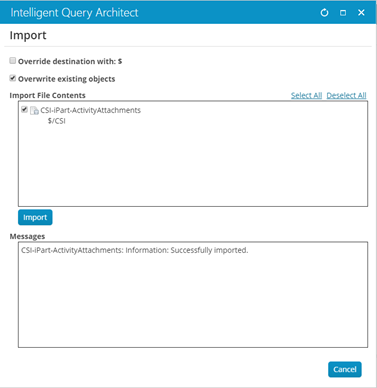
6. Click the X in the upper right corner, closing the window.
7. Open the newly created CSI folder, and you should see the CSI-iPart-ActivityAttachments IQA has been imported successfully.
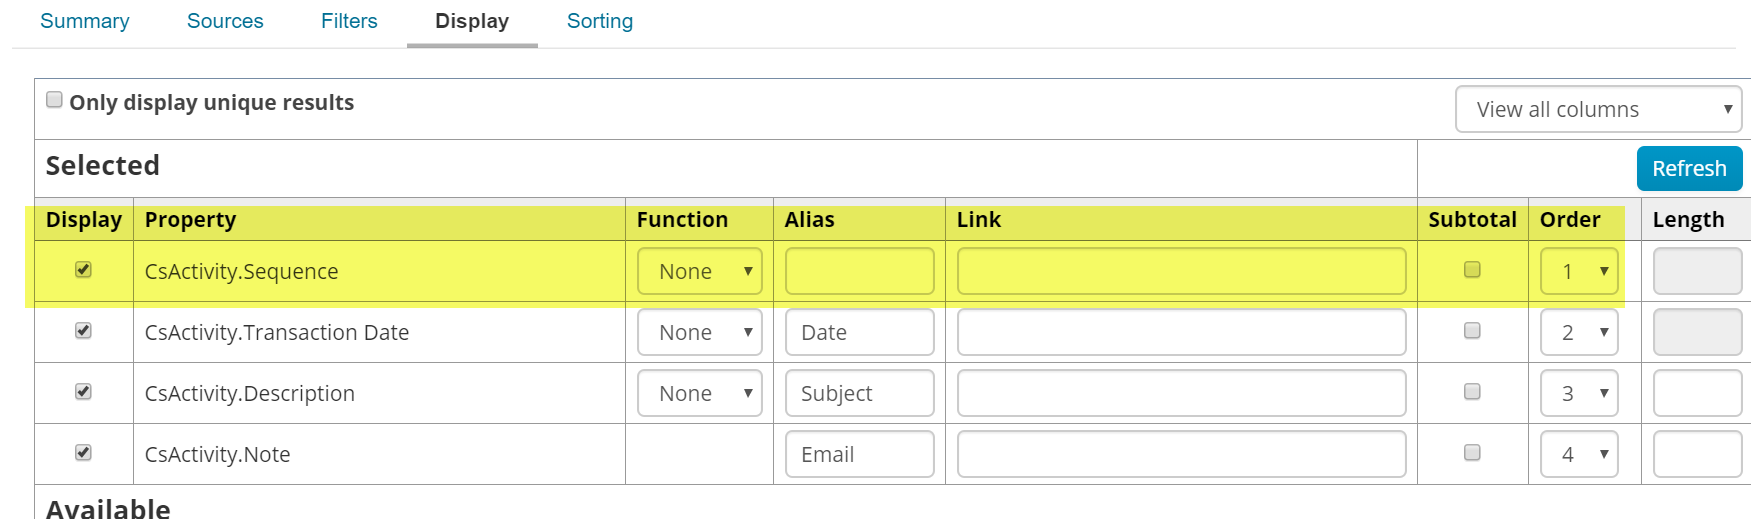
Note: By modifying this IQA is you can change the columns that are displayed in the iPart.
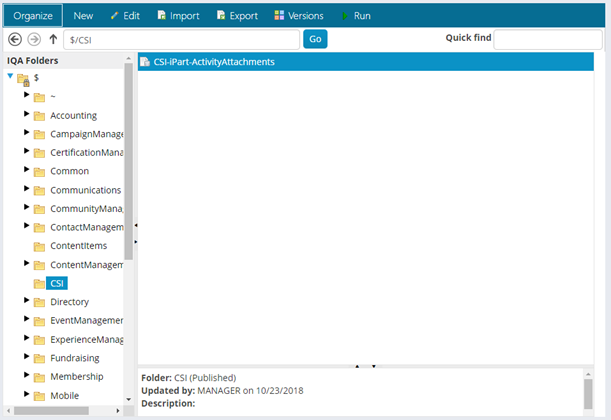
10. The IQA has been successfully imported
Repeat steps 1 through 10 for each IQA in the unzipped folder. This should the following: CSI_iPart_ActivityAttachments_GetAttachments(IQA).xml
CSI_iPart_ActivityAttachments_SetAttachments(IQA).xml
NOTE:
You must have the CsActivity.Sequence in the Display of the IQA in order for the attachment button to show.
Add the iPart to the Contact History Page
Add the Activity Attachments iPart to the Staff page
Go to: RiSE > Page Builder > Manage Content
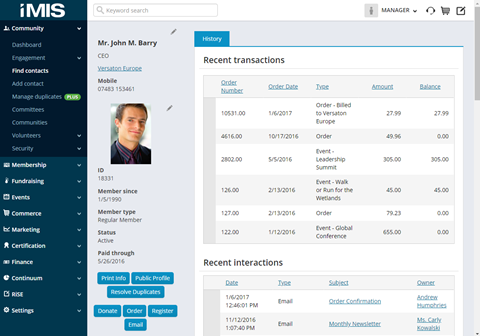
Navigate to your (potentially customized) Staff/Tabs folder (usually under Shared Content/Staff/Tabs. If it’s not there, open a contact from the Communities/Find Contacts page. Click on the contact’s History tab at the top. Note the entire URL. It will give you clues as to where your customized Staff site content is located.)
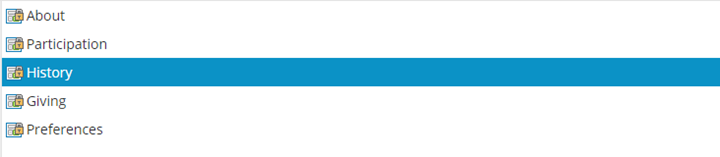
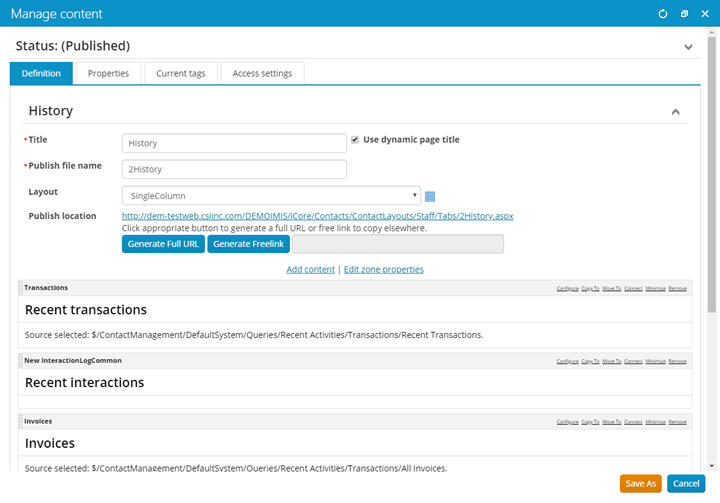
Once the correct Staff site content folder is located, double click on the History page, to edit it
4. Press Add Content near the middle of the screen
5. Double click the Custom folder
6. You should see the newly added CSI-iPart-ActivityAttachments iPart
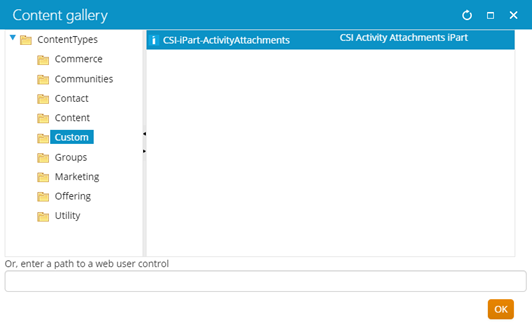
7. Double click the iPart to add it to the page
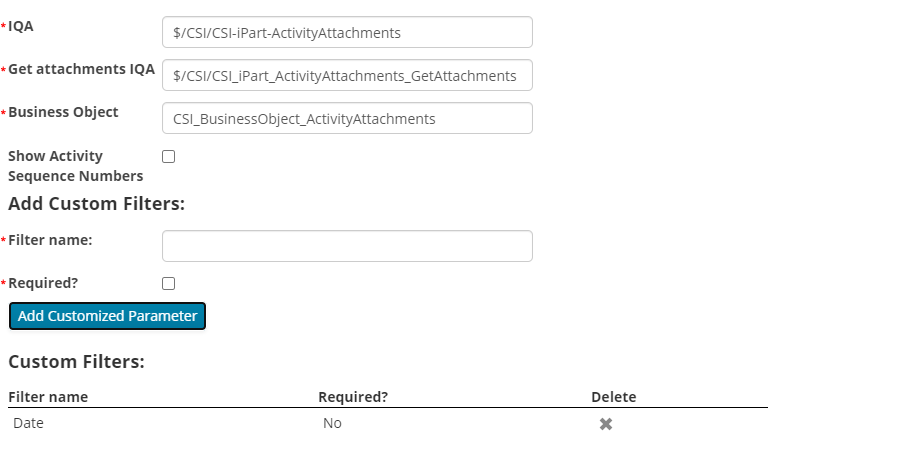
8. In the Name field put:
CSI Activity Attachments iPart
9. In the Title field put:
Activity Attachments
10. In the IQA field put:
$/CSI/CSI-iPart-ActivityAttachments
11. In the Get attachments IQA field put:
$/CSI/CSI_iPart_ActivityAttachments_GetAttachments
12. In the Business Object field put:
CSI_BusinessObject_ActivityAttachments
13. Add custom filters to be used with the CSI-iPart-ActivityAttachments IQA
Fill out the name of the filter using the Filter Name text box (this displays as a label for a text field when showing results from the iPart).
Click the Add Customized Parameter button.
You should see an entry in the table at the bottom with the header, Custom Filters:.
Browse to the CSI-iPart-ActivityAttachments IQA.
For each filter added to the iPart, add the field as a filter to the IQA as well.
BE MINDFUL OF THE ORDER OF THE FILTERS, NOT HAVING THE ORDER THE SAME COULD PRODUCE UNEXPECTED RESULTS.
14. Click Ok near the bottom
15. Click the Save & Publish button near the bottom
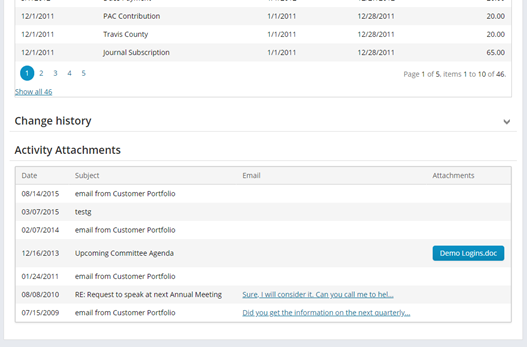
16. The Activity Attachments iPart has now been added to the bottom of the Contact History Page
17. Navigate to a user with emails and/or email attachments and you should see the iPart at the bottom of the screen, results will be shown on page load if there are no custom filters added to the iPart.
18. If there have been custom filters added to the iPart, this will be what is displayed initially

19. Enter your criteria for each custom filter and click the Find button to see results
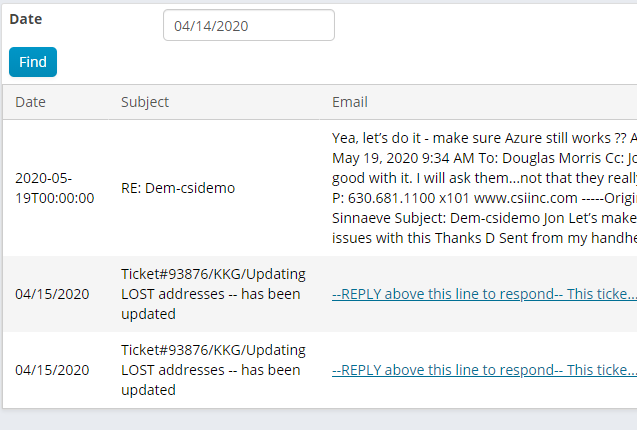
20. If there is an attachment, you will see a button in the attachment column. You can click this button to download the email attachment.
* Note: If clicking on the button does not download the file, you may have to stop and start the ASI Scheduler app pool. This happens sometimes due to adding the Activity_Attach business object that is missing from iMIS 2017.
21. The iPart is now successfully installed