Security
Security allows you to further define who has access to what in ICE. CSI recommends to set up security before configuring the Sitemap. There are four general steps in configuring security in ICE
Create a new Security Group
Create a new Security Permission (or Security Role)
Associate a Security Permission to a Security Group
Apply a Security Permission to a sitemap node
BEST PRACTICE: Modify the existing security groups and permissions when possible to reduce the overall number of groups and permissions that must be managed. During initial installations, ensure that the Admin security group is set up. Do NOT delete the ICEAdmin security group.
Security Groups
A Security Group is a defined group of users established by a custom SQL statement. The query returns the list of iMIS ID values of the members in the Security Group. 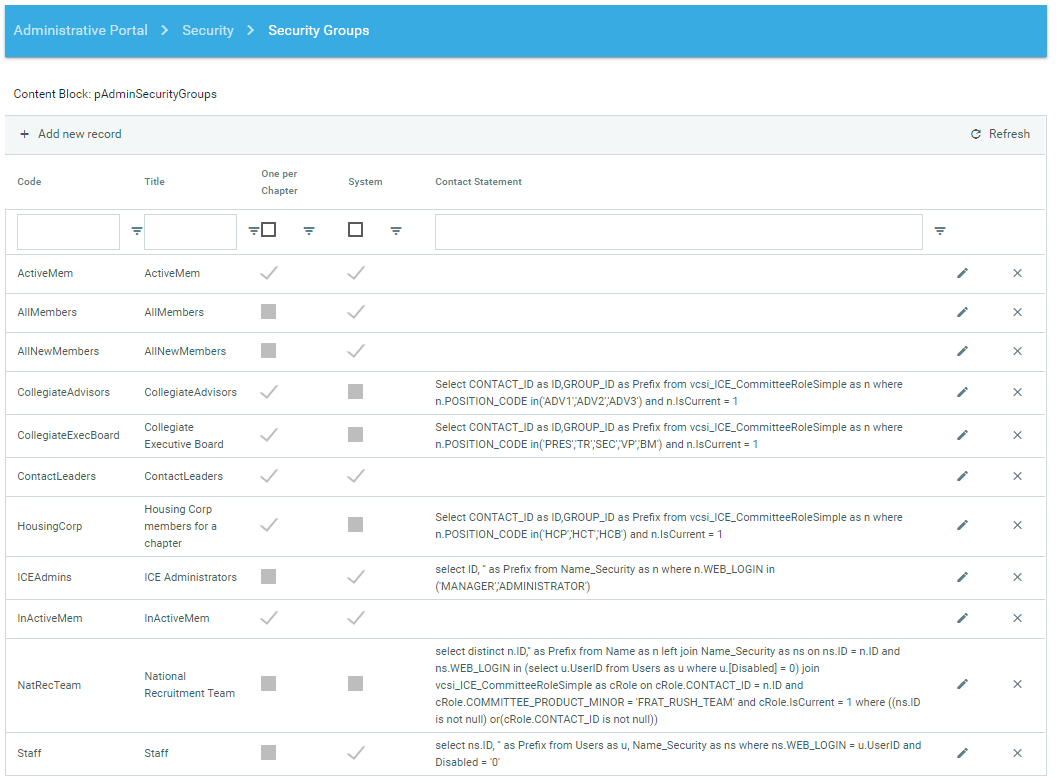
Example using Committee position code:
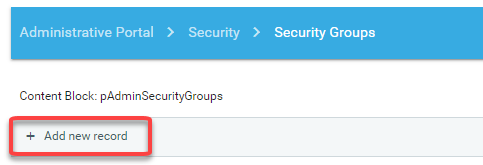
To create a new Security Group:
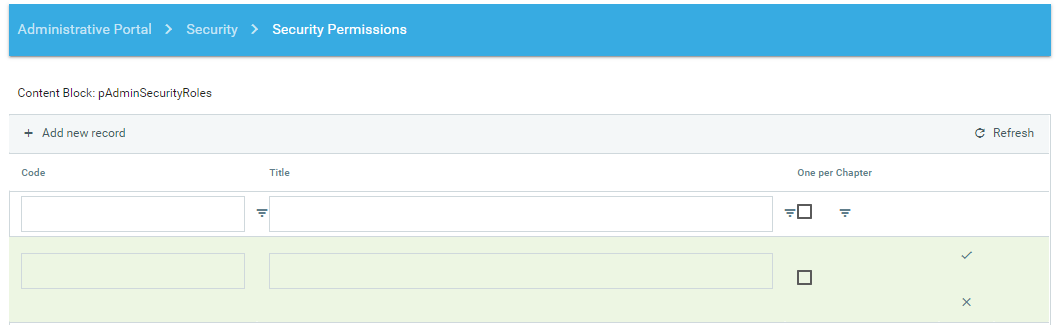
Click on the Add new record link on top of the main grid.
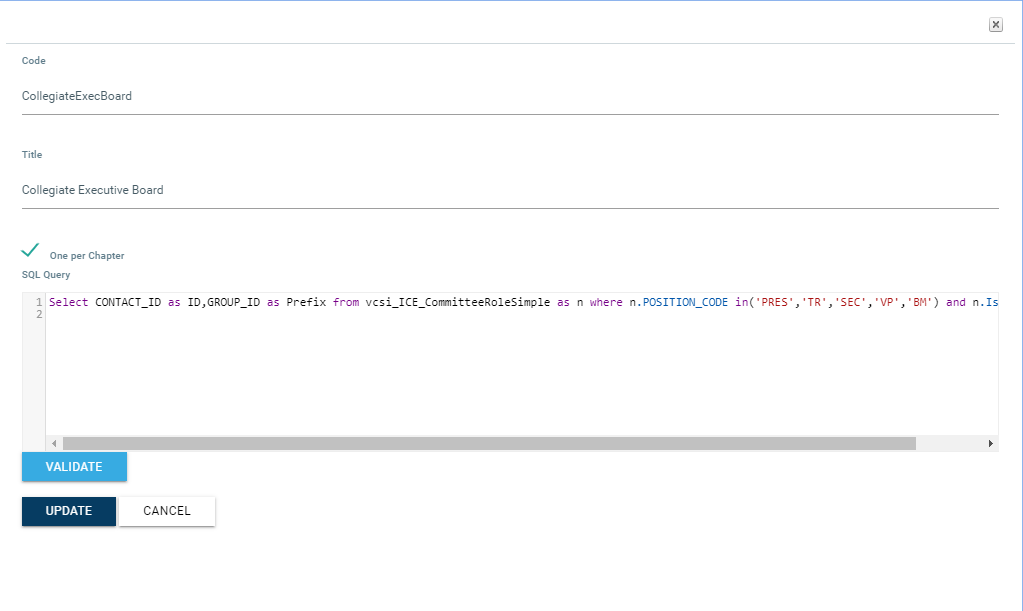
This will pop-up a window to fill out information about the new Security Group:

Enter a unique code name for the Security Group (no spaces)
Title is optional
Check the One per Chapter checkbox control if your SQL query will return a company/chapter ID value along with the user/member ID
Add the SQL query to the Contact Statement field which should return two rows:
ID (the user/member ID)
Prefix (the company/chapter ID associated with the user/member ID)
Use the Validation button to confirm your query is correct.
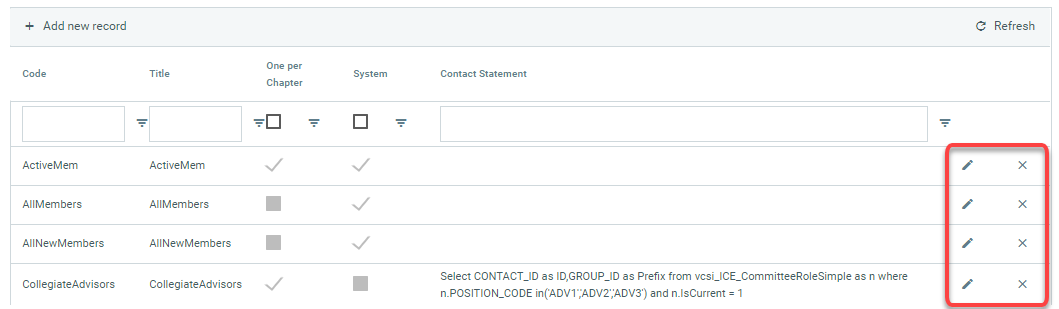
Examples of SQL query for a Security Group:
SELECT ID, CO_ID AS Prefix FROM Name WHERE MEMBER_TYPE='MEM'
SELECT ID, "" AS Prefix FROM Name WHERE MEMBER_TYPE='NON'
To Edit or Delete a Security Group use the Edit/Delete links on the right side:
Security Permissions
A Security Permission (or Security Role) is a permission you can apply to any sitemap node to restrict access to the specified URL. Only users having the Security Permission will be allowed to navigate to the URL of the sitemap node. Security permissions define what actions the groups can do in ICE. Permissions normally include Manage, View, or Submit. You can create specific permissions to an action if needed. 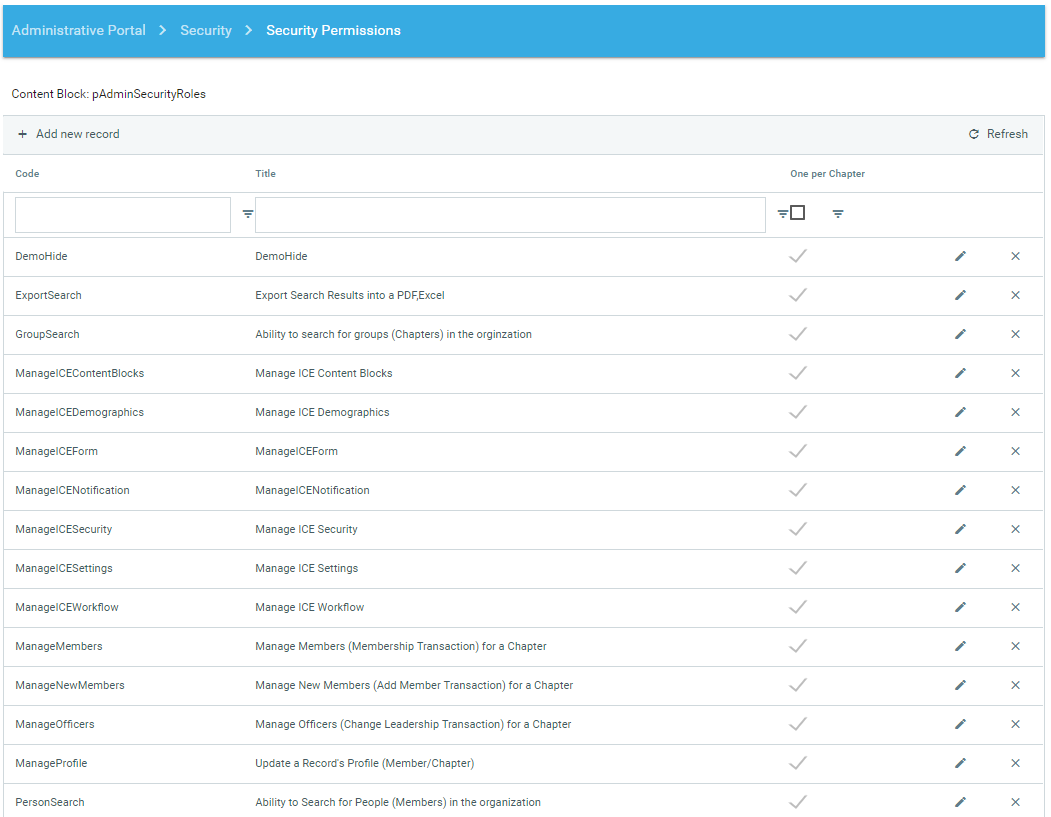
Special Permissions
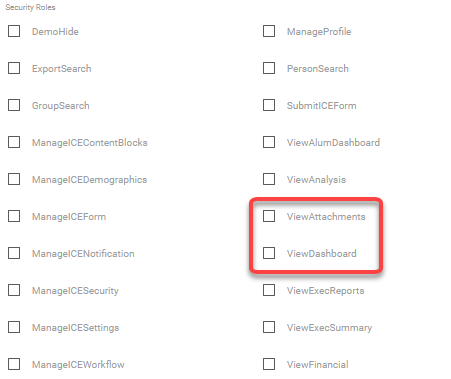
In order for a user to have access to ICE, they must have the Security permission that is applied to the "home page" of ICE, also known as the Dashboard or Task Center. Normally the permission is ViewDashboard.
If a user needs access to any uploaded documents from workflow transactions or forms, they must have the ViewAttachments permission.
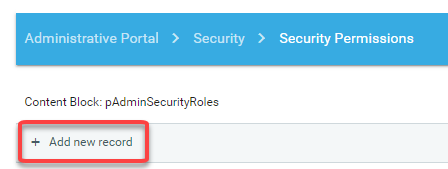
To create a new Security Permission/Role:
Click on the Add new record link on top of the main grid.
This will pop-up a window to fill out information about the new Security Permission/Role:
Enter a unique code name for the Security Permission/Role
Title is optional
Check the One per Chapter checkbox control if the users from the group associated with this Security Permission will have access to only specific chapters
To Edit or Delete a Security Permission/Role use the Edit/Delete links on the right side: 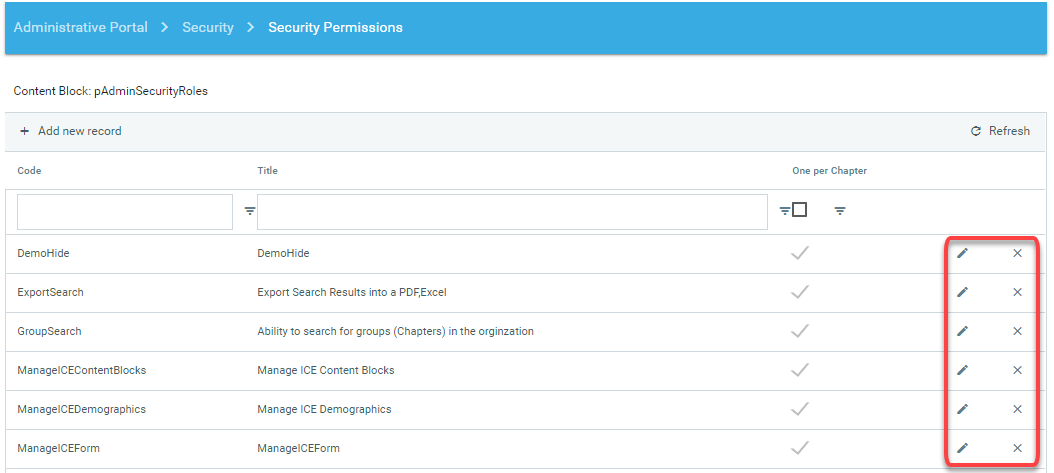
Group's Permissions
A Group Permission is the relationship that exists between a Security Permission and a Security Group.
Each Security Group can have as many Security Permissions as desired. 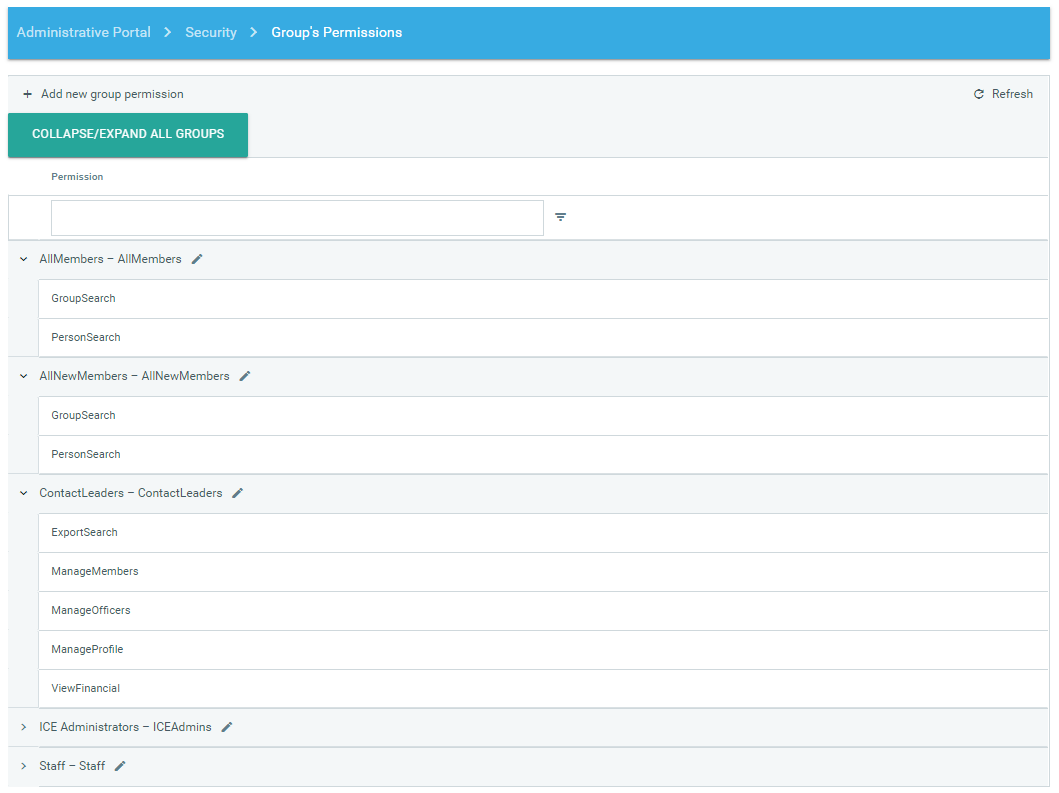
To associate a Security Group with a Security Permission/Role:
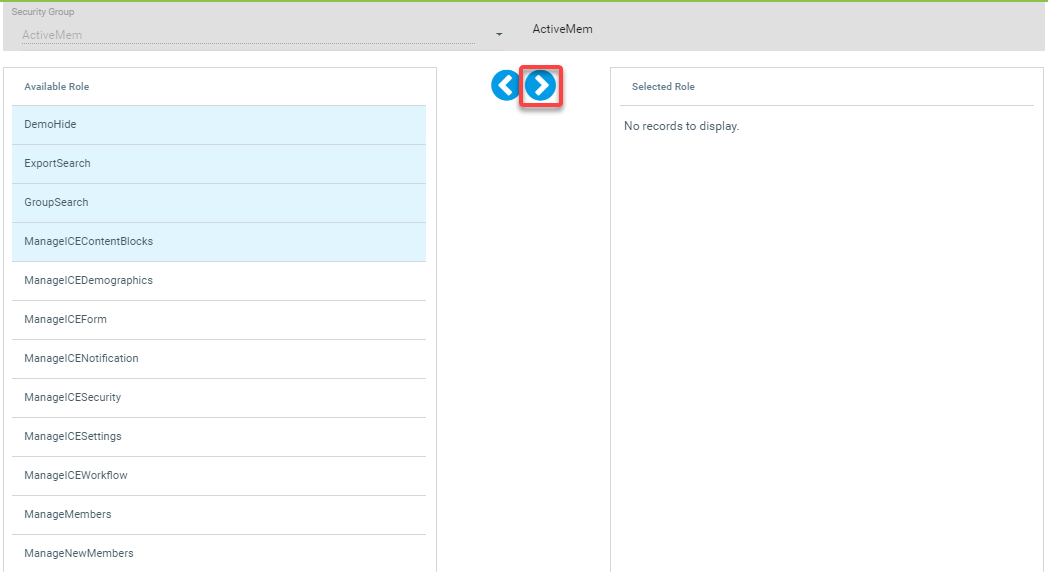
Click Add new group permission: 
Select the group you would like to add a permission for or edit permissions. Use the Ctrl or Shift key to select multiple permissions at a time. Select the right arrow to add the permissions for the group. Select the left arrow to remove a permission from a group.
Apply Security Permissions
To configure the Security Permission for each sitemap node so users can access each page, go to the Sitemap Editor:
Sitemaps > Actions > Edit
Click on the Sitemap Node on the left side that you want to set permissions for.
On the Properties tab on the right side, check the applicable security permission for the sitemap node to restrict access to only users with the permission. If multiple permissions are selected, the user will only be required to have one permission to access the menu item. Select the security visibility option as desired.
Disabled: if the user does not have the selected permission, the sitemap node will be inactive
Hidden: if the user does not have the selected permission, the sitemap node will not appear
No Access: if the user does not have the selected permission, the sitemap node will forward the user to the "No Access" page
Make sure to click on the Save Properties button to validate any changes.

User's Permissions
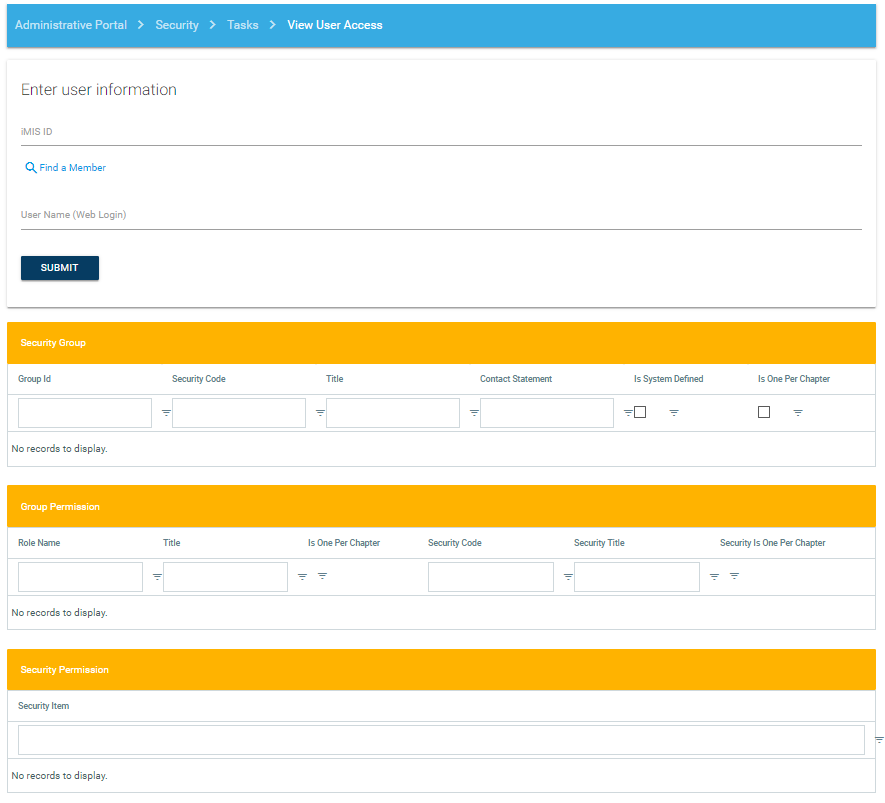
To identify an ICE user's access level, go to Security > Tasks > View User Access. Enter the username or iMIS ID of the user.
The results displayed are:
Security Groups the user belongs to
Group Permissions associated with each Security Group the user belongs to
An itemized list of Security Items that corresponds to the association between a Security Group and a Security Permission/Role
Tasks
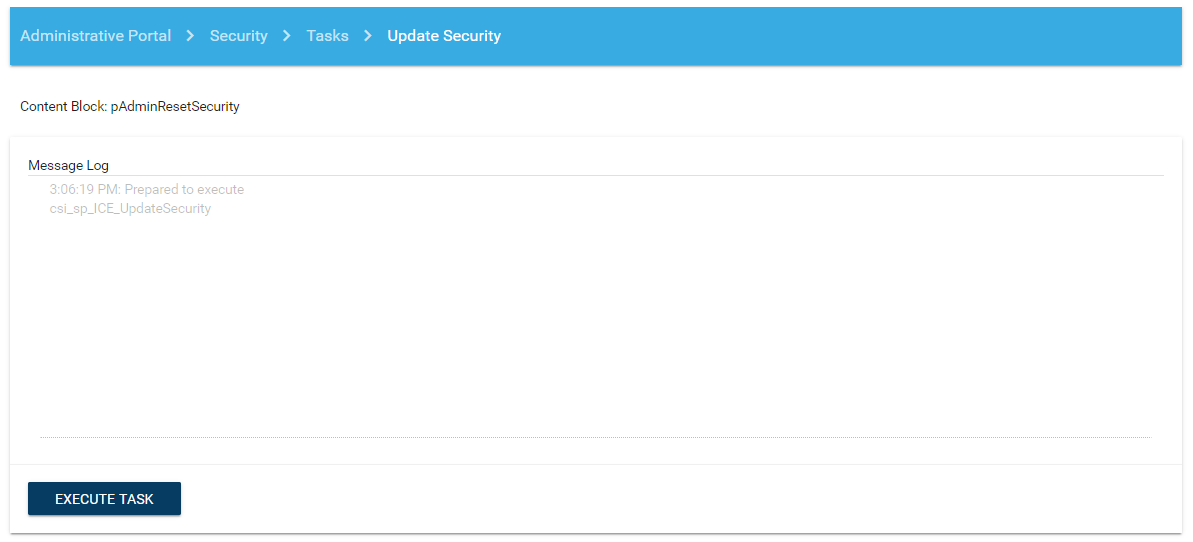
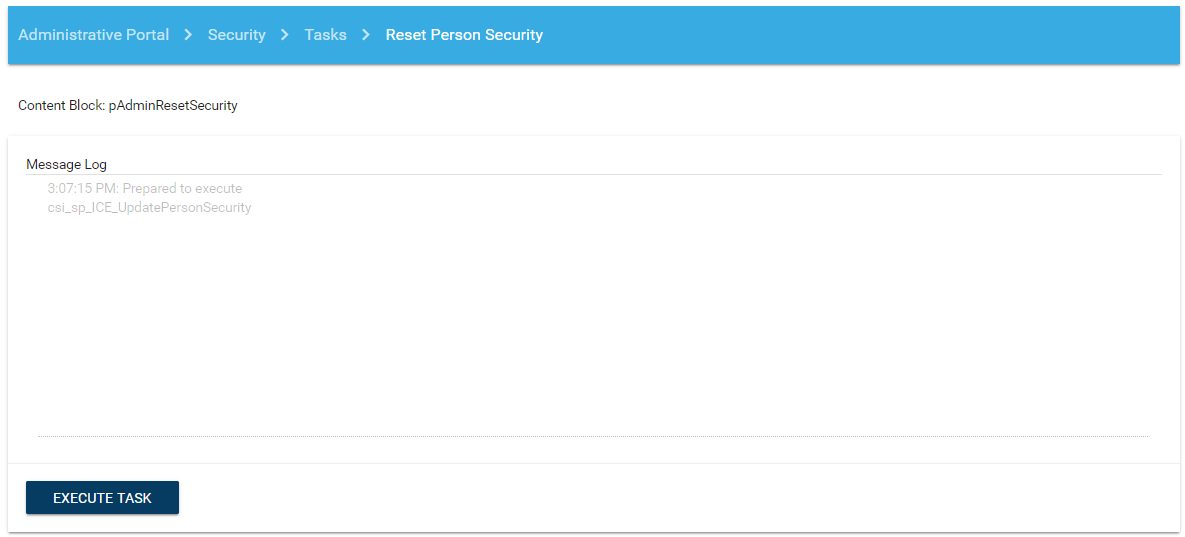
When changes are made to security groups, permissions or to the sitemap permissions, the following tasks should be executed: Update Security and Reset Person Security. The following scripts are involved:
csi_sp_ICE_UpdateSecurity
csi_sp_ICE_UpdatePersonSecurity
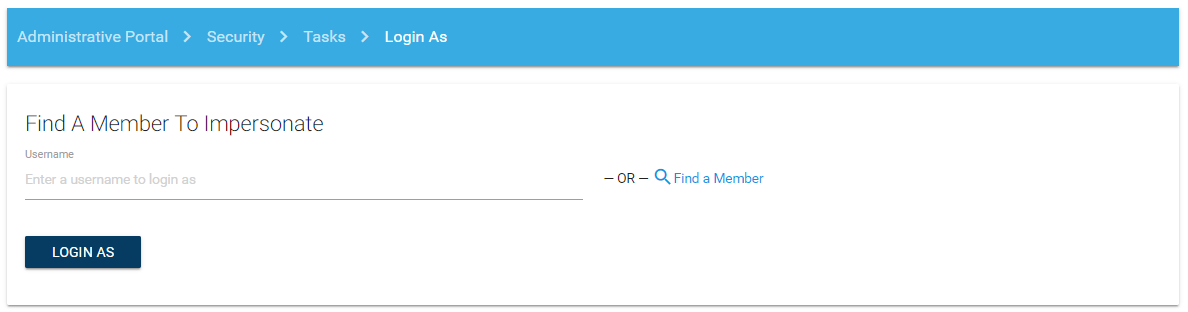
Tasks » Login As
To log into ICE as another user to confirm access, go to Security > Tasks > Login As. Enter username or iMIS ID. You will remain logged in as this user for as long as you maintain the session in your web browser.