
New Member Import
The purpose of this feature is to provide chapters with the ability to import their new member class within ICE by uploading a spreadsheet containing the required new member information (custom per client).
The following details have been incorporated into this enhancement:
A template (CSV file) will be created for each client that mirrors the data that they require for each new member.
The chapter officer will retrieve the template from ICE.
The chapter officer will copy and paste the new member data from the recruitment master spreadsheet into the template (CSI recommends educating chapters on the importance of data accuracy).
The chapter officer will go to ICE and select "import new members" and select their template file for upload.
Data validation will be incorporated.
The new members will then be imported into iMIS, applicable fees will be applied, and records will otherwise be updated according to your standard processes. The new member "claim account" email will also be sent at this time.
Reporting and monitoring features will be included in the administrative portal of ICE.
Benefits
Offers the ability for chapters with consistently large new member classes (100+ new members) to quickly and efficiently upload their new members into ICE, utilizing the data from their recruitment master spreadsheet.
Provides the same functionality to National Organization Staff charged with importing large initial member classes for new colony chapters.
Allows for leveraging of existing data from the recruitment management system and/or online recommendation system (RIF).
Promotes data accuracy by allowing data to be reviewed prior to upload via spreadsheet.
New Member Import Administration
In the Administrative Portal, navigate to Workflow > Settings > New Member Import
The New Member Import Manage Configurations page allows you to set multiple configurations of field sets for your new member import setup. 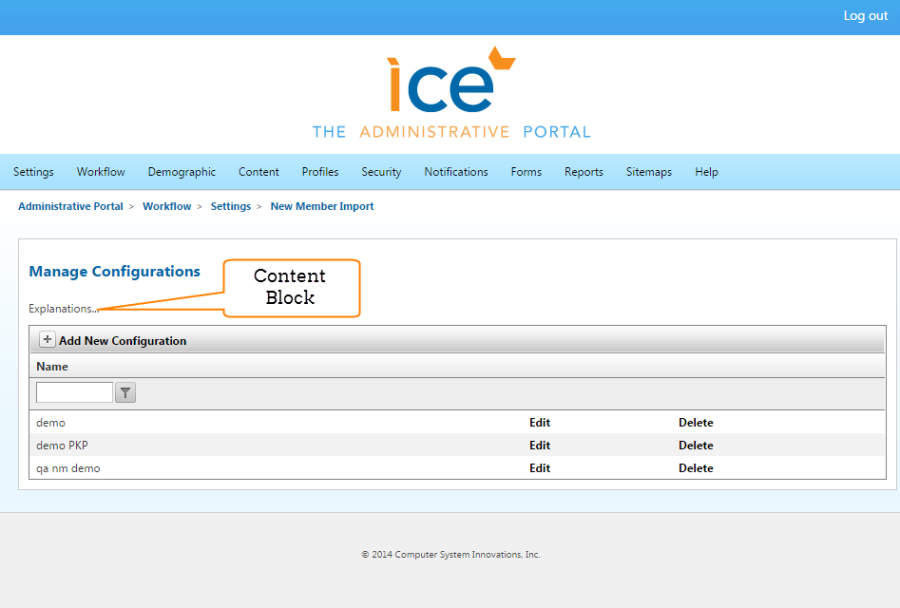
To get started in setting up a new file import mapping, click on the Add New Configuration: 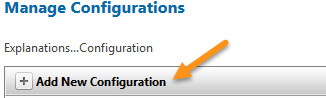
The next screen allows you to enter a name for your new file import configuration (do not use spaces). 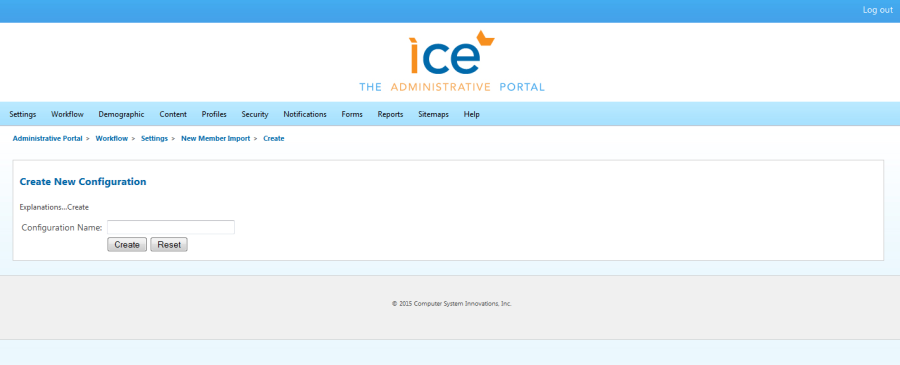
Edit Configuration
Through the Admin Portal, you will have access to: 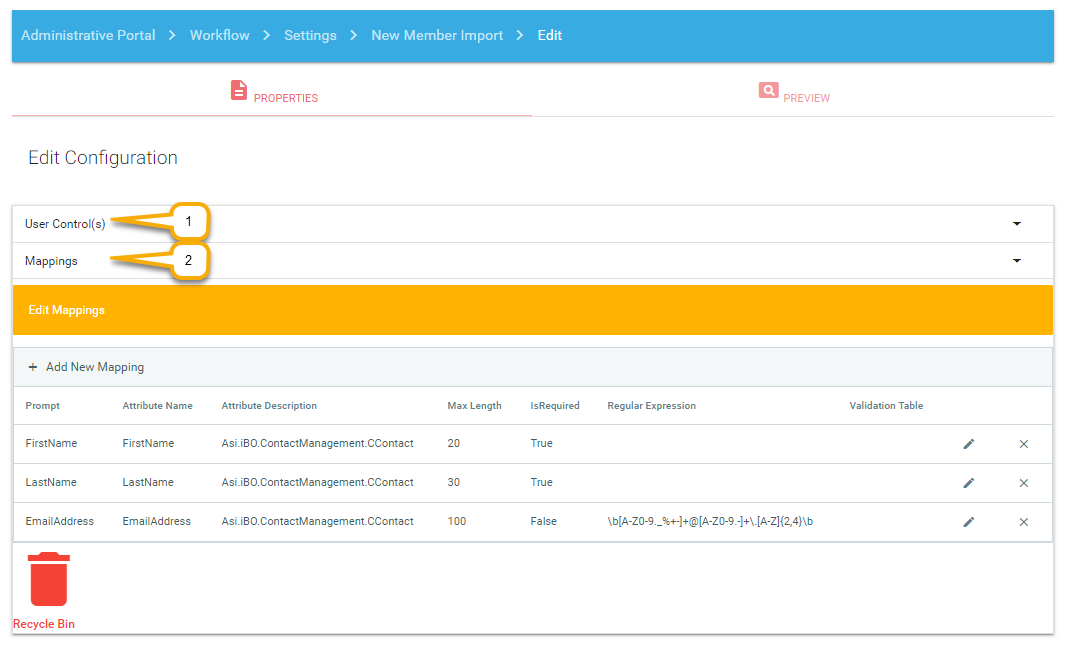
User Controls: This will be the AddNewMember control that is used. The "Standard Mapping" will always be there. User Controls are the specifications used to set up the page when entering new members one by one through ICE. Normally you will see 2 entries:
"~/Custom/{Initials of client}/AddNewMember.ascx"
"~/Standard/AddNewMember.ascx"
The custom control is specific to the client and will mirror how new members are entered one by one through ICE. The standard control is what comes out of the box for ICE. 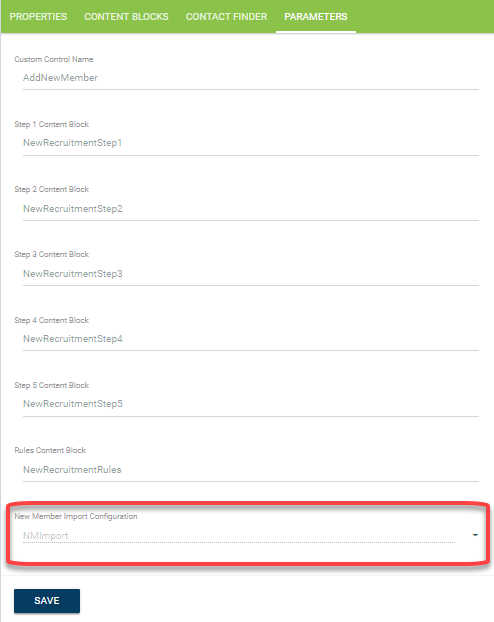
Mappings: This section allows you to set the max length, is required, regular expression, or validation table on your fields that are mapped
If you click on the "View Mapping" for a user control, the field attributes will display below. 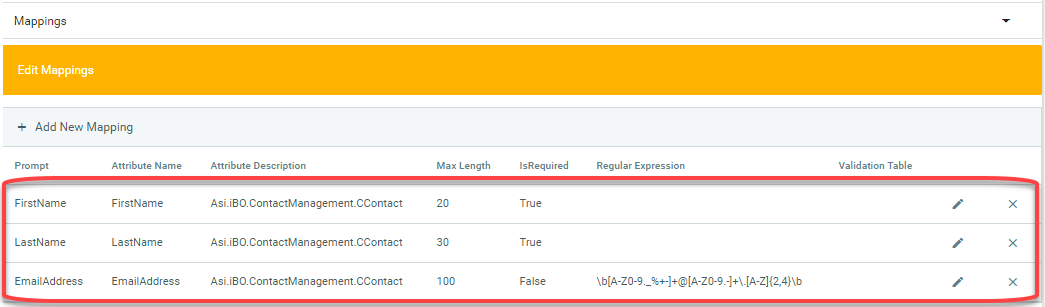
Create Import Template
It is best to "copy" fields from your current custom add new member user control and then edit, add, or delete as needed. To copy the fields used in the custom control, click on View Mapping by the custom user control path. Select each field (or use Ctrl or Shift key to select all) and drag the field down to the Edit Mappings section. 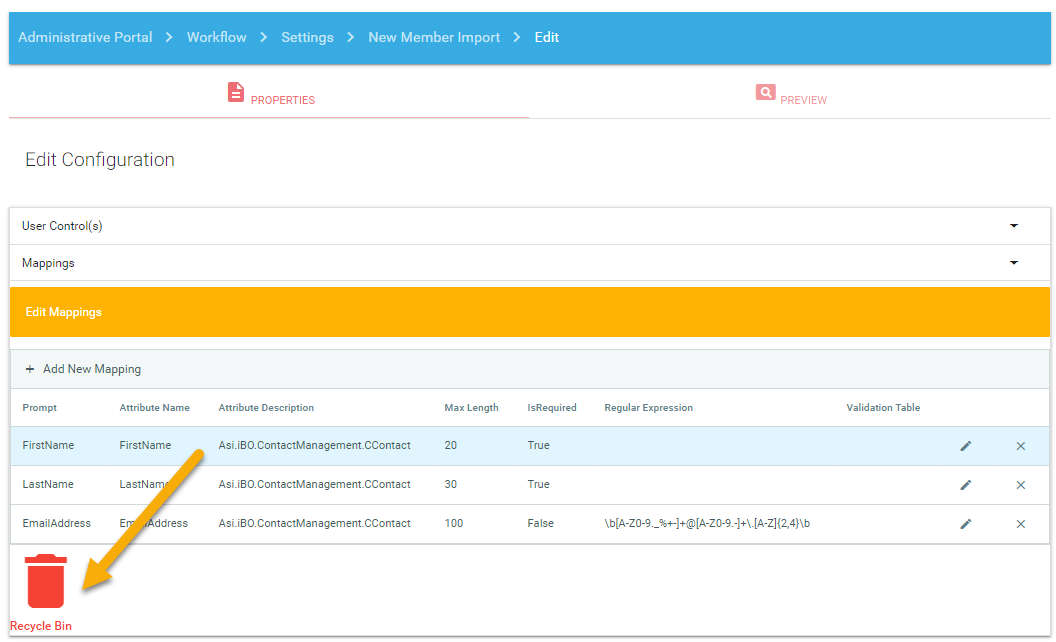
Note: When adding fields from the User Control there may be two fields that are the same, such as email address. In the example below, you would only need to add the "CContact" email address. This is the email address on the Name table and would then flow down if that was configured.

To add fields to the template, select Add New Mapping.
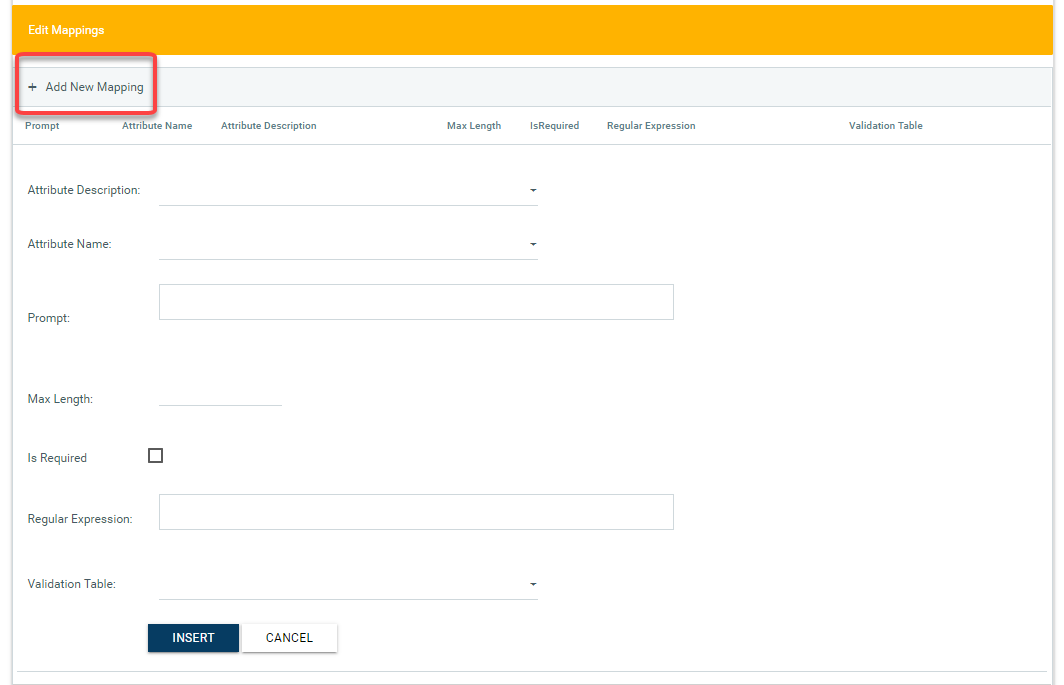
Select the applicable fields or insert text:
Attribute Description: Table from iMIS where field is located
Attribute Name: Field name
Prompt: Prompt (column heading) that user will see in template
Max Length: Maximum length of field (optional)
Is Required: Check if field is required
Regular Expression: Use Reg-Ex for validation on field. See Regular Expression examples.
Validation Table: Validate your attribute based on Gen Table lookup or ASI.iBO call.
You can reorder the fields by clicking on the field and dragging it to the desired location. If you need to edit one of the attributes, click Edit to be able to change a property in the field. To delete a field, you can select Delete or drag it to the Recycle Bin.
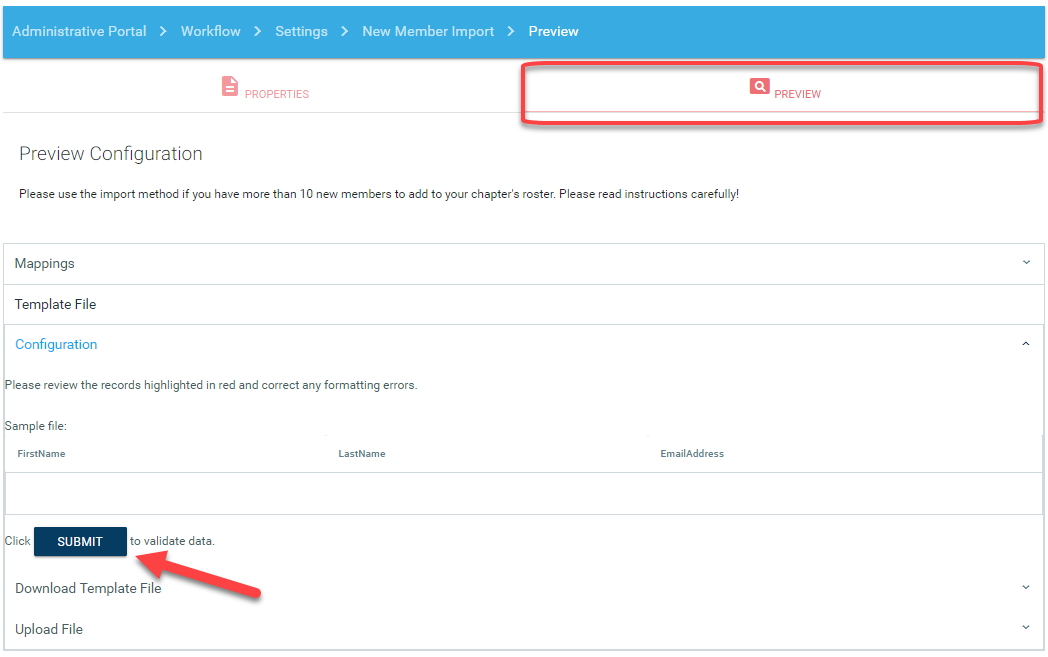
Once you have finished editing the fields, you can click Preview to view data mapping. You can also download the template to confirm column heading prompts.
Regular Expression Examples
U.S. Zip Code: ^\d{5}(?:[-\s]\d{4})?$
Canadian and U.S. Zip Code: ^\d{5}-\d{4}|\d{5}|[A-Z]\d[A-Z] \d[A-Z]\d$
Phone Number: ^(\+\d\{1,2\}\s)?\(?\d\{3\}\)?\[\s.-\]\d\{3\}\[\s.-\]\d\{4\}$
Email: \b[A-Z0-9._%+-]+@[A-Z0-9.-]+\.[A-Z]{2,4}\b
Add to Sitemap
To add the New Member Import to your Add New Member page, you need to edit your sitemap for the page where you currently allow adding of new members. There is a dropdown on the Parameters tab that allows you to select the New Member Import Configuration you have created.
Using New Member Import
You will see a new button in the AddNewMember page called Add Person From File. This will allow you to upload a defined list of new members in a spreadsheet. You may also make changes to the content block (NewRecruitmentMemberImport) to make the user experience more custom. 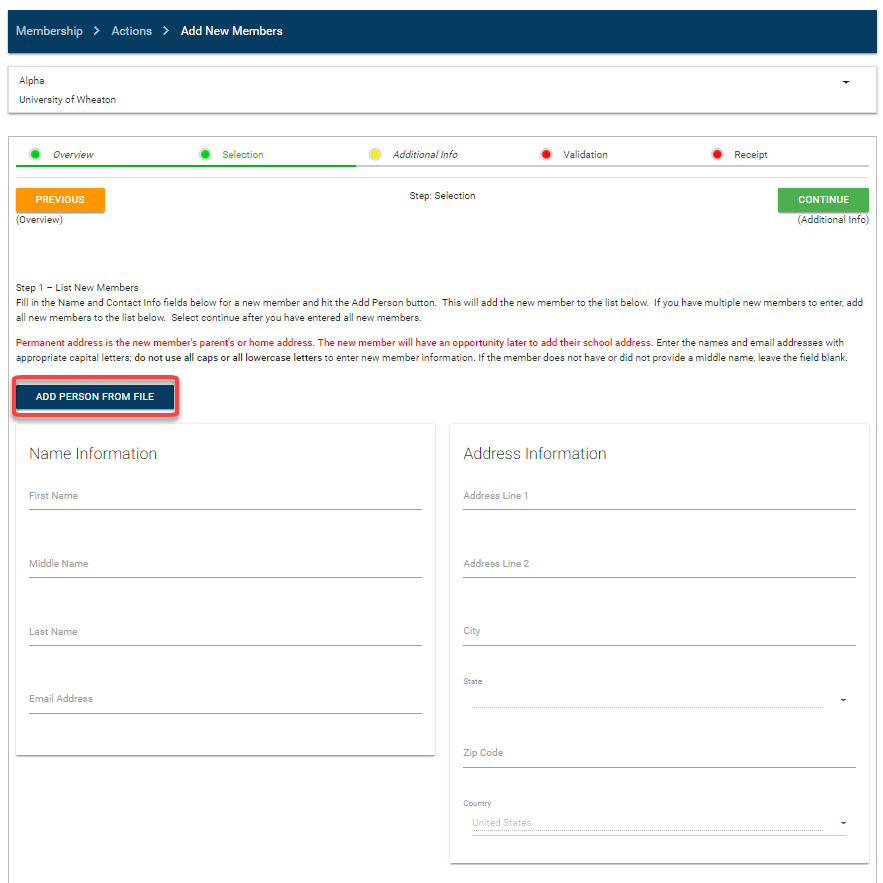
When you click Add New Person From File, this allows the user to:
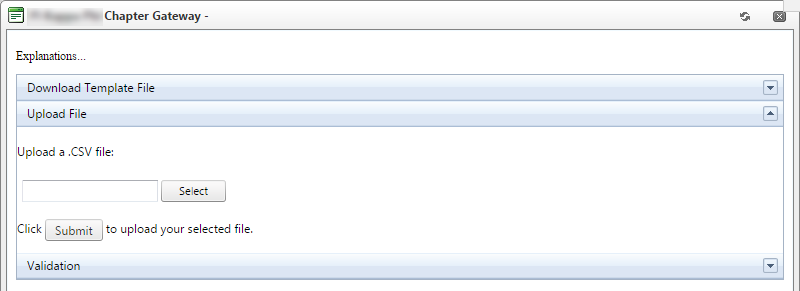
Download the template file (.CSV)
The user will use this for entering their new members (or pasting from their recruitment spreadsheet), then subsequently uploading.
Uploading the file:
Validating and editing the file:

The Validation section allows you to see all the possible issues with the data in your spreadsheet. You may edit your data with the Edit link or modify your spreadsheet and upload it again. Once your spreadsheet passes the validation, you can click Submit to add the new members. The subsequent steps will mirror the process of adding members one by one, i.e. additional information fields, validation, receipt, etc.