ICE 5.2 Testing Plans
Overview
The following article outlines testing plans for new features added to the ICE product in version 5.2 released in March/April 2021.
Release back to edit option in manage approvals for Forms
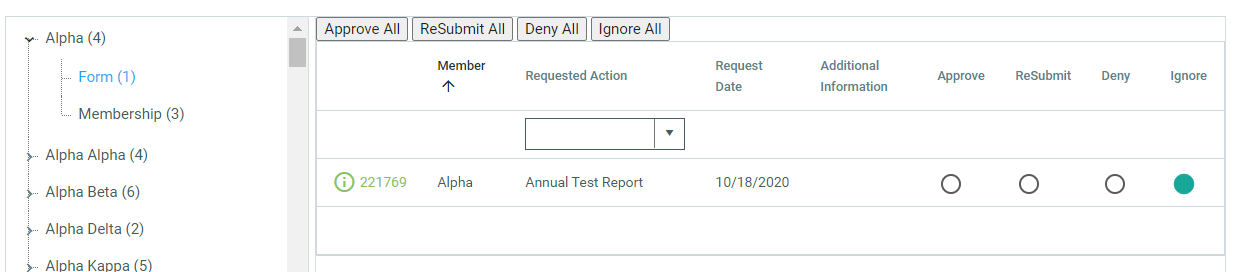
An approver can now identify a form to be released back to submitter for additional editing without first approving or denying the form. This option is only available with ICE forms. The manage approvals page will have a new option called "ReSubmit".
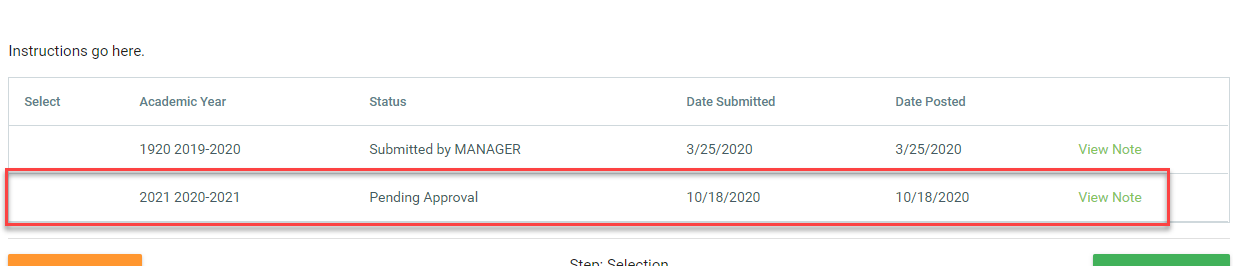
In this example, a Perpetual form is in use. The 10/18/2020 Date Posted form is the one pending approval.
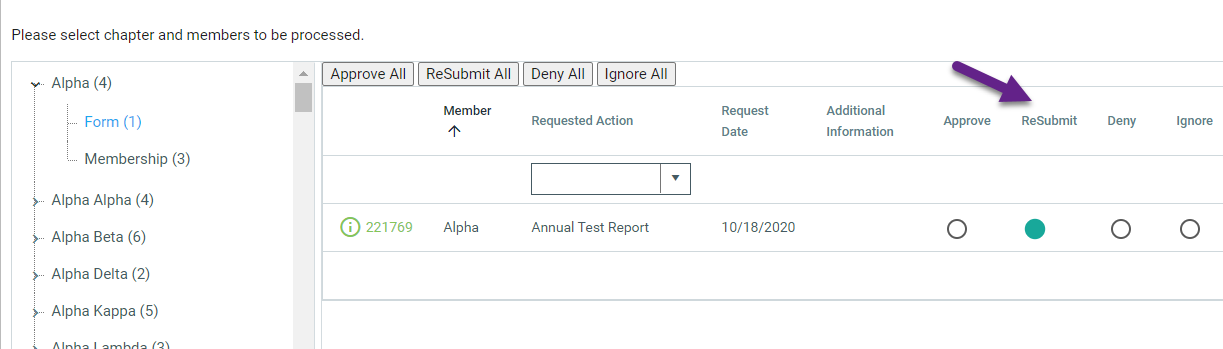
The form has been selected for ReSubmit and the reviewer can add comments as with approvals/denials.
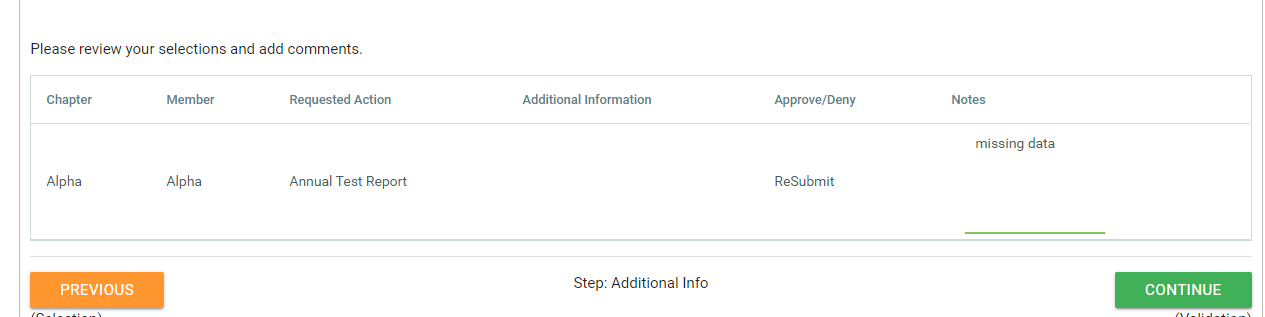
Once the transaction has been processed, the form should be available for editing again.

Once resubmitted, it will again appear in Manage Approvals.
A new notification event of "Transaction_ReSubmitted" has also been added.

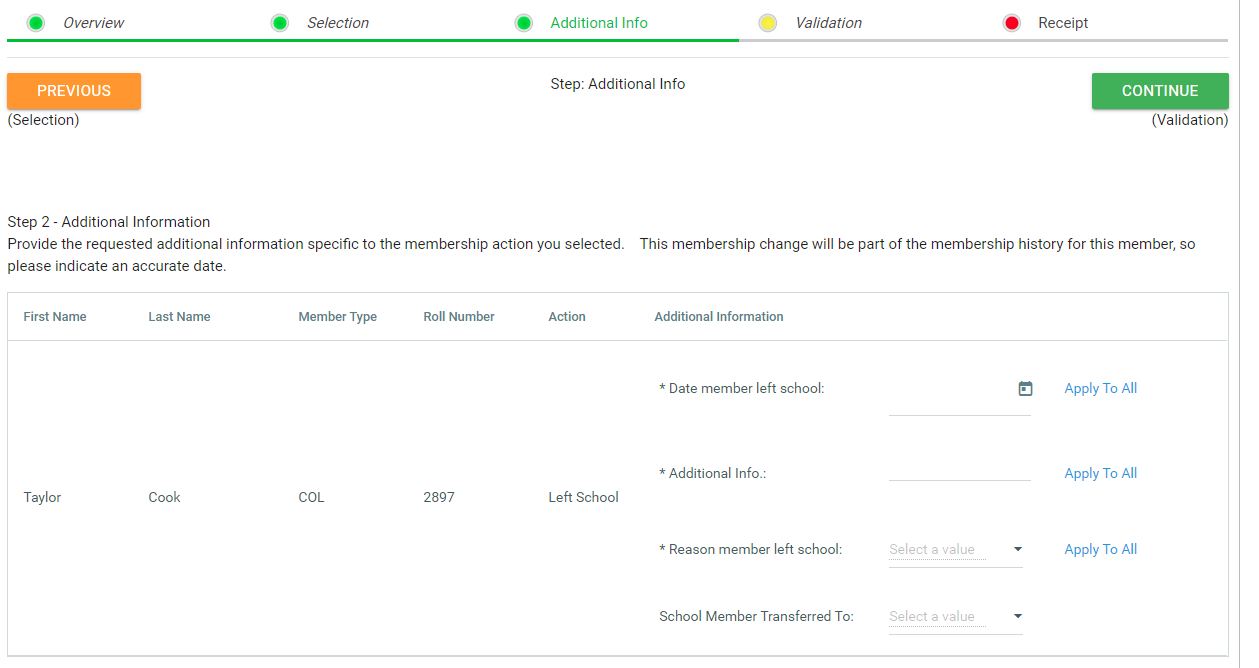
Attachment option within Add New Member workflow
You can now have an attachment upload additional information field on the Add New Member control. Note, this functionality only works with the new add new member functionality.
First, add attachment question to the Additional Information section in ICE Admin:
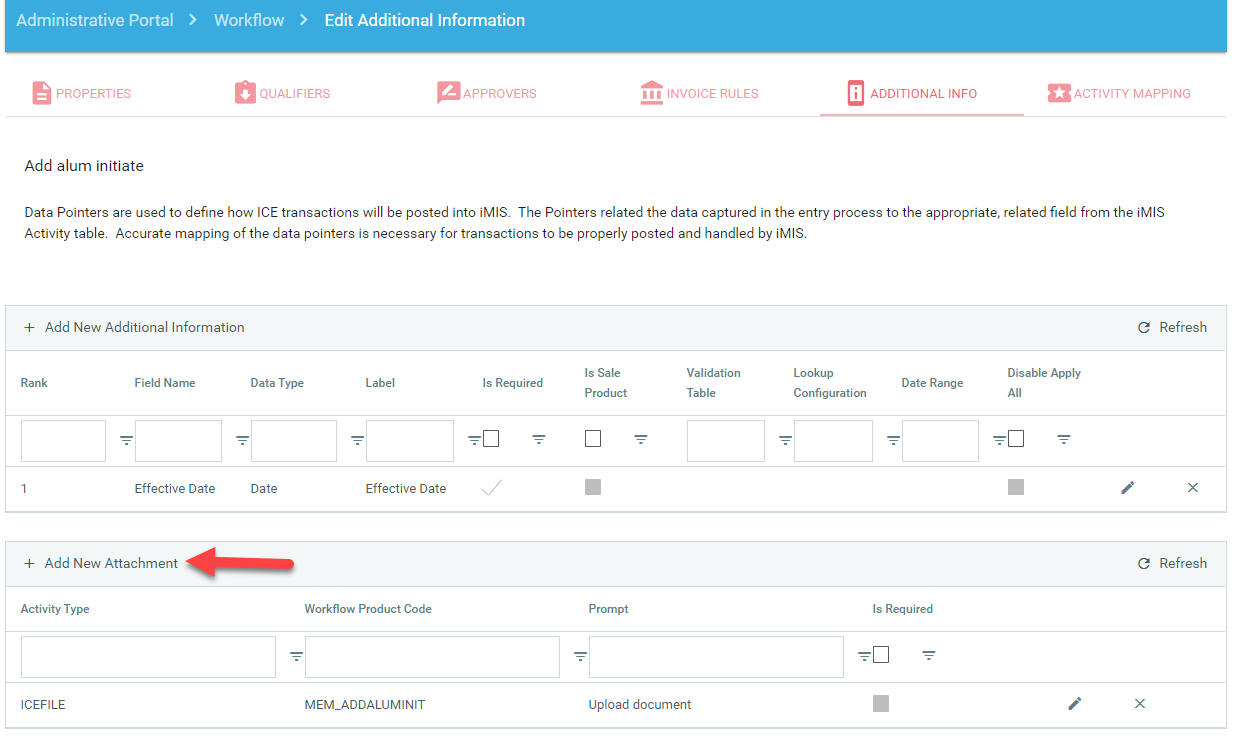
The upload question will appear on the additional information step.
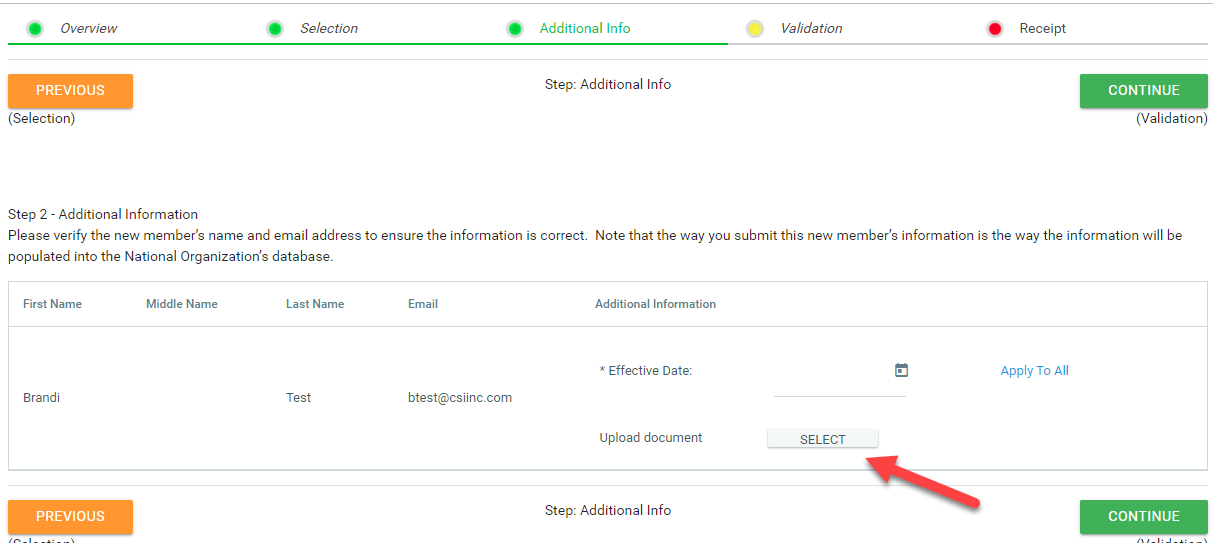
As with other workflow actions, an ICEFILE activity will be added with the URL to the attachment.
Ability to Disable Amount column in Manage Members
For manage members pages that include workflow actions with no applicable fees, you can disable the amount column on the page to reduce confusion of the user. On the sitemap parameters tab, select the checkbox "Step 4 Hide Amount Column".
Note: If you make this selection for a page that contains a workflow action with fees, the amount column will be disabled.
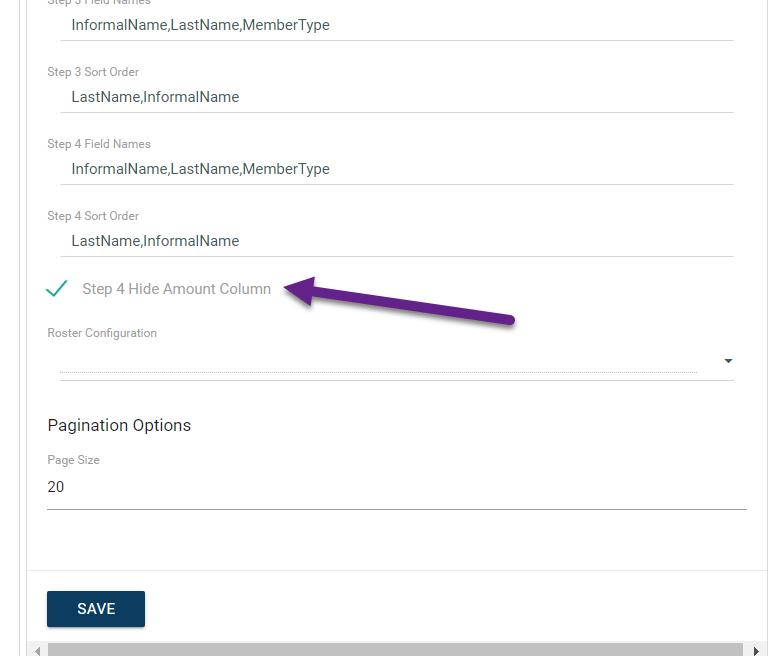
The amount column will not appear on steps 3 and 4
New notification demographics
The following merge fields are now available within ICE notifications
- WorkflowApprovalSummary.ActivitySeqn
- WorkflowApprovalSummary.AddedBy
- WorkflowApprovalSummary.DateAdded
- WorkflowApprovalSummary.GroupNumber
- WorkflowApprovalSummary.Notes
- WorkflowApprovalSummary.TransactionNumber
- WorkflowApprovalSummary.Verdict
In case there are more than one approval for a given workflow transaction then each field will have all different possible values separated by comma or point (in case of notes), except for date added which should be the highest value out there.
In addition, a new SQL view has been added: vcsi_ICE_WorkflowTrans_ApprovalSummary
Example of adding in fields to message. Make sure to place [[ ]]around merge fields.
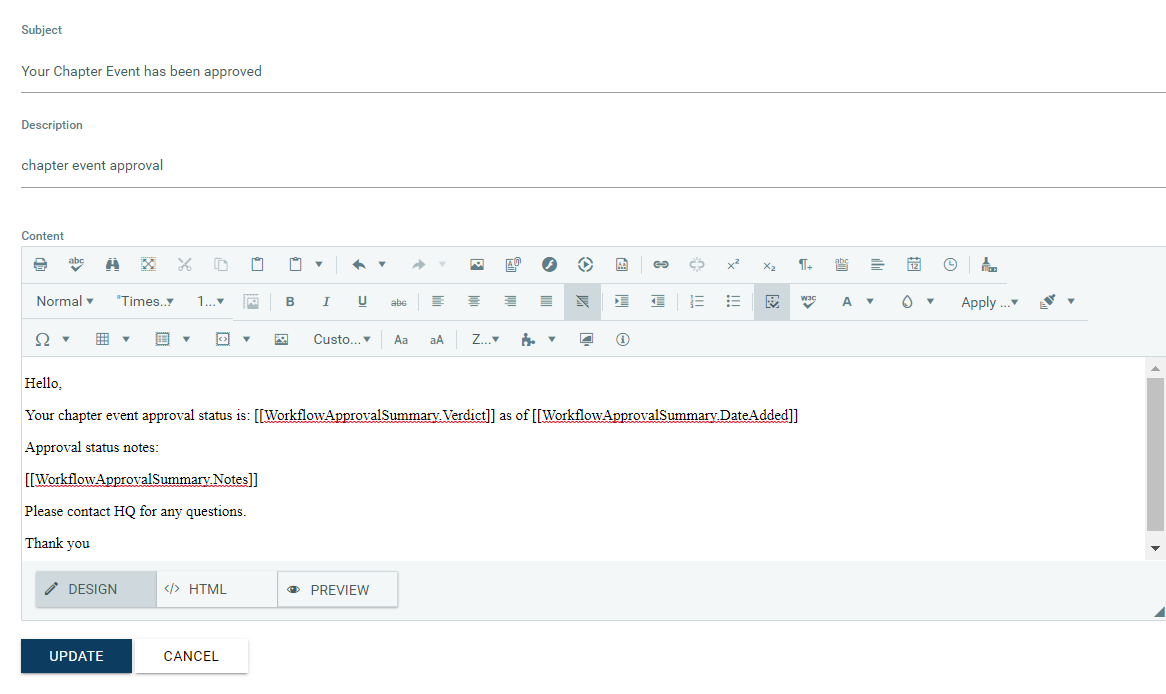
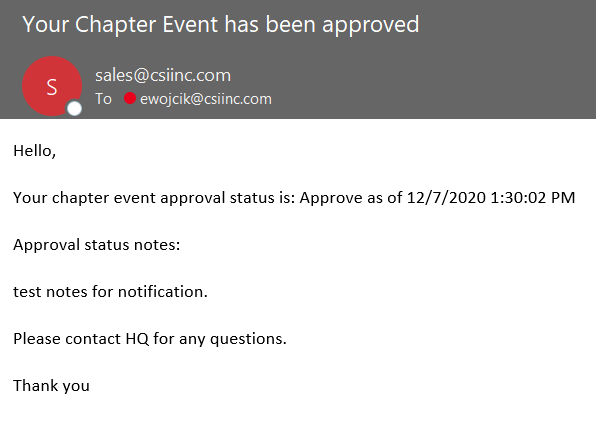
Example email
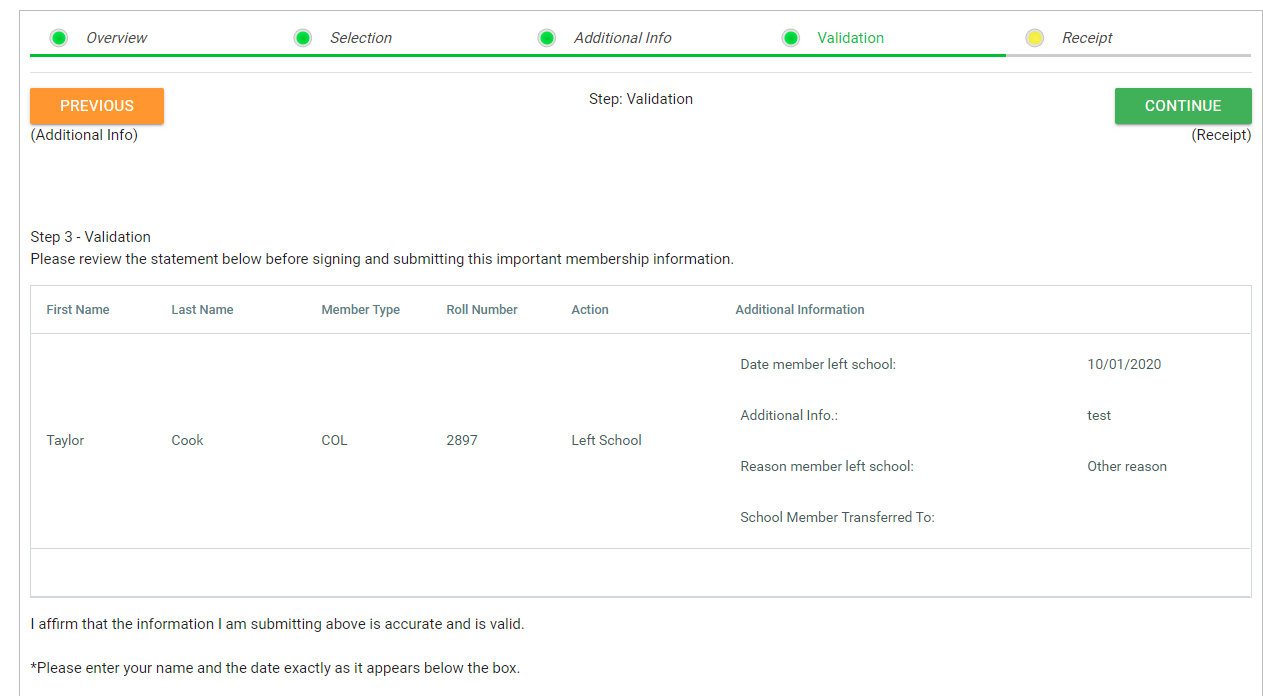
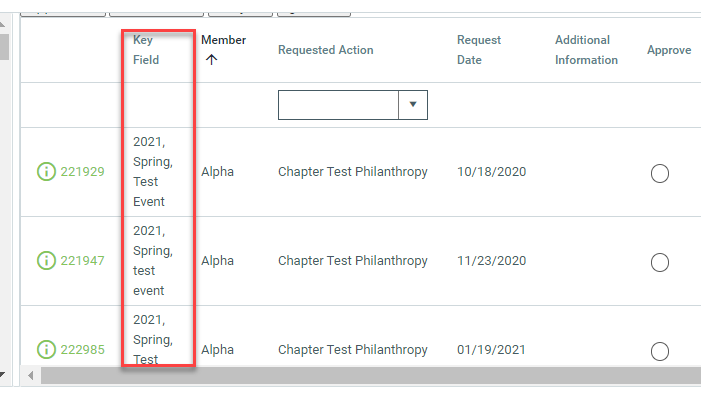
Form Key Fields now visible in Manage Approvals
Within manage approvals, key fields will appear specific to the form with the approval requirement. In the below example, the key fields include Year, Term, and Event Title.
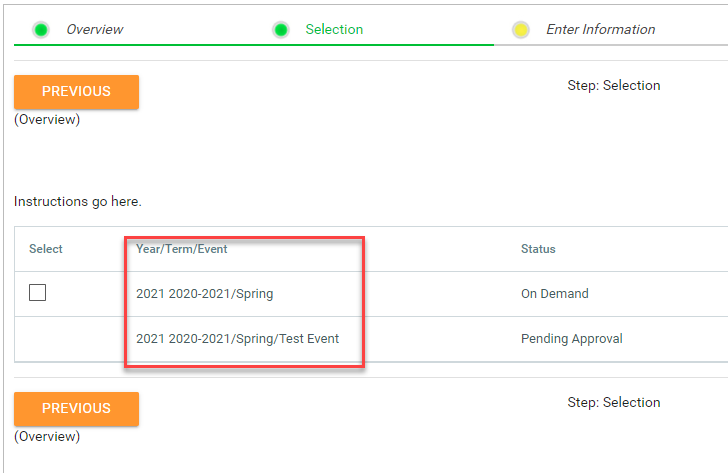
A new column appears for Form approvals showing the data submitted for the selected key fields.
Conditional Fields within Forms
There will be 3 new fields when adding items to a Form.
- Has Conditional Validation (checkbox) - controls whether this specific field is dependent on another field.
- Conditional Element Name (drop down) - controls which element this specific field is dependent on (should populate all fields available from the Form data source).
- Conditional Element Value (text box) - controls what value the element this field is dependent on needs to be in order to show the field.
- If the field is using a gen table or lookup validation, the value added here should be the description or display value presented to user.
In this example, this field (EV_CONTRACT) is conditionally dependent on the EV_TYPE when it is set to "Social"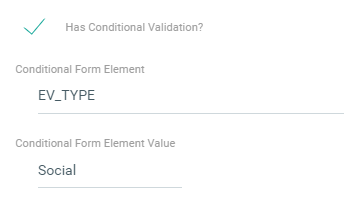
Before Event Type selection, field does not appear: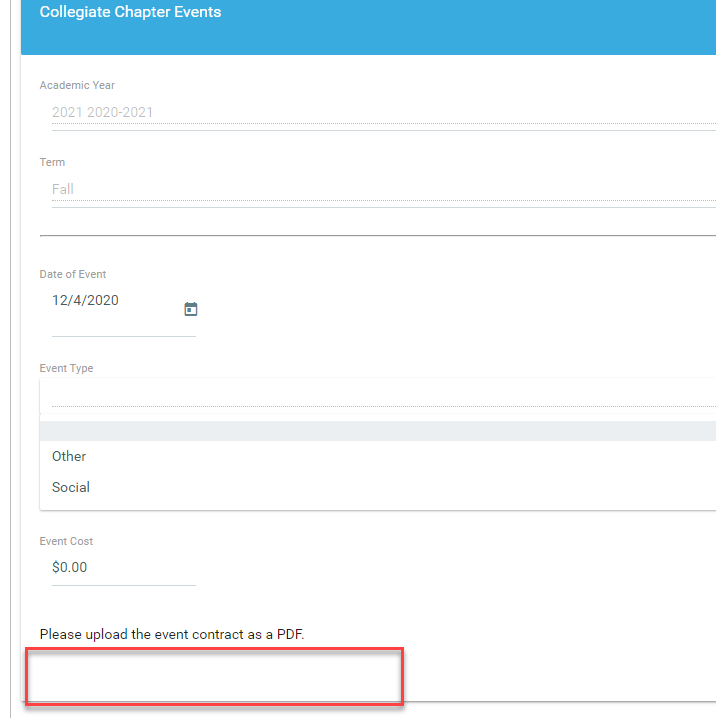
After Event Type selection of Other, field does not appear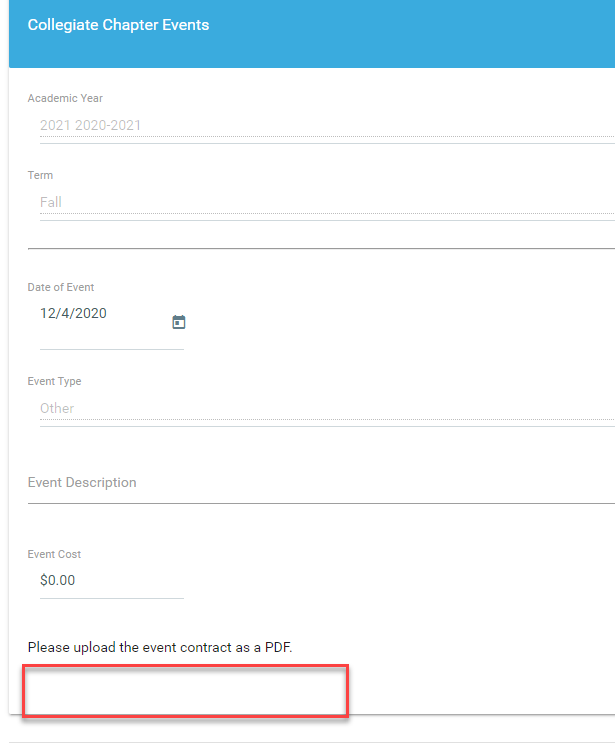
After Event Type selection of Social, field appears and is required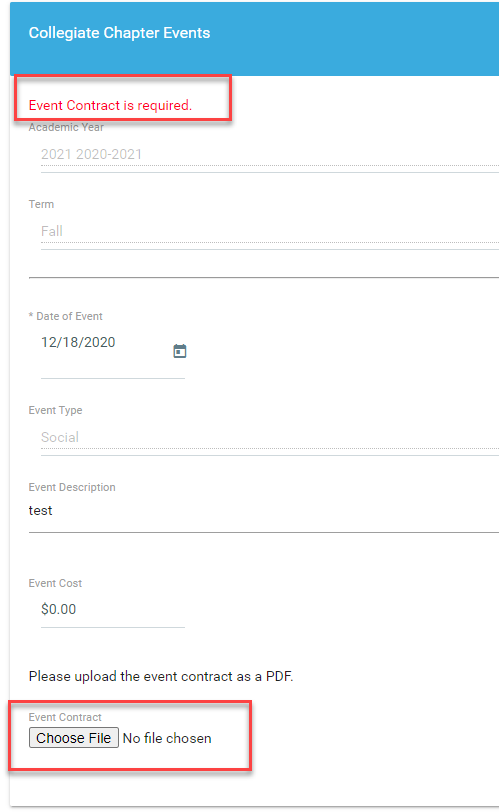
- If the field is using a gen table or lookup validation, the value added here should be the description or display value presented to user.
Email failures now showing in Notification Logs
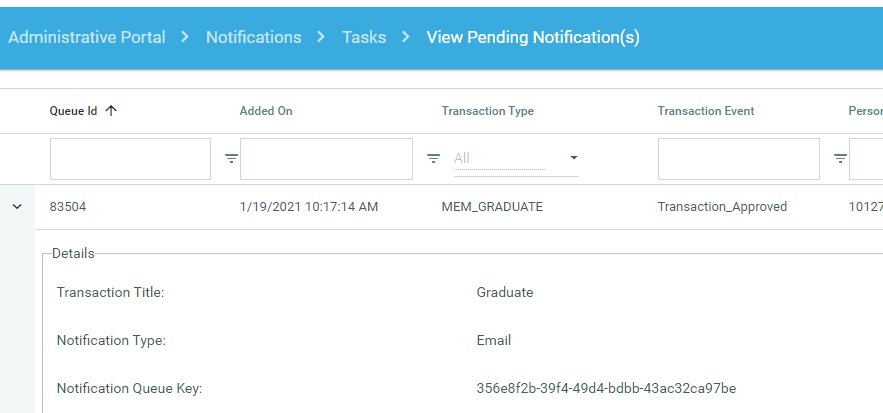
If a transaction used for ICE notifications is for a member that does not have an email address in iMIS, no email will be sent and a notification error will appear in the log. Previously the email was sent to a "noemailgiven" email address.
In this example, I selected a transaction that had a corresponding transactional notification set to be sent to the affected member. This member did not have an email address in iMIS. The transaction will first appear briefly in the View Pending Notifications.
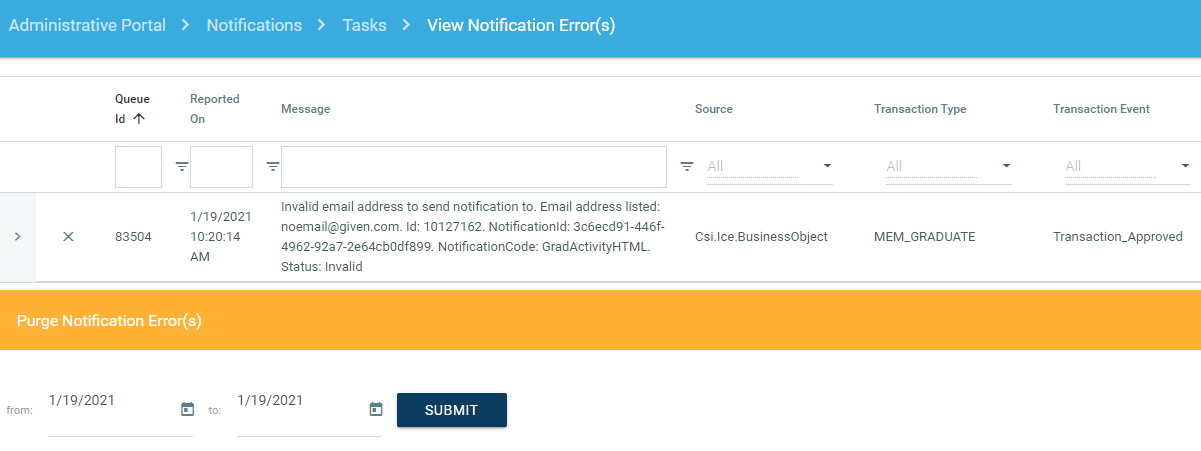
Once processed, there will be an entry in the Notification Error log showing invalid email. Email notification errors can be purged for a specific date range to keep the list manageable.
Ability to add processing fee for credit card or ACH transactions using ICE eCheck
The Submit Payments (~/ICE/Actions/SubmitPayments.aspx) and Manage Dues (~/ICE/Actions/ManageDues.aspx) pages now have options on the Parameters tab to add on a processing fee with payments.
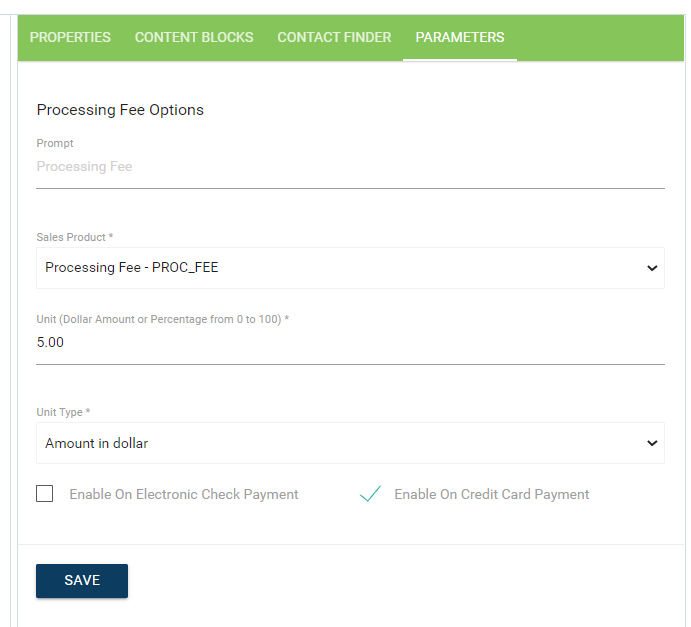
From the Parameters tab, you will find the following new fields:
- Prompt - Label for "processing fee" that user will see
- Sales Product - select a product that exists in iMIS. Make sure GL account is set correctly in iMIS! Amount should be $0.
- Unit - enter the numerical value that will represent a flat dollar amount or percentage (5 for $5 flat amount of 5 for 5%)
- Unit Type - based on the numerical value added above, specify how the unit should be applied - Amount in dollar or Percentage of Total Amount
- Enable on Electronic Check Payment - check if you want the fee applied when user submits payment via ACH
- Enable on Credit Card Payment - check if you want the fee applied when user submits payment via credit card
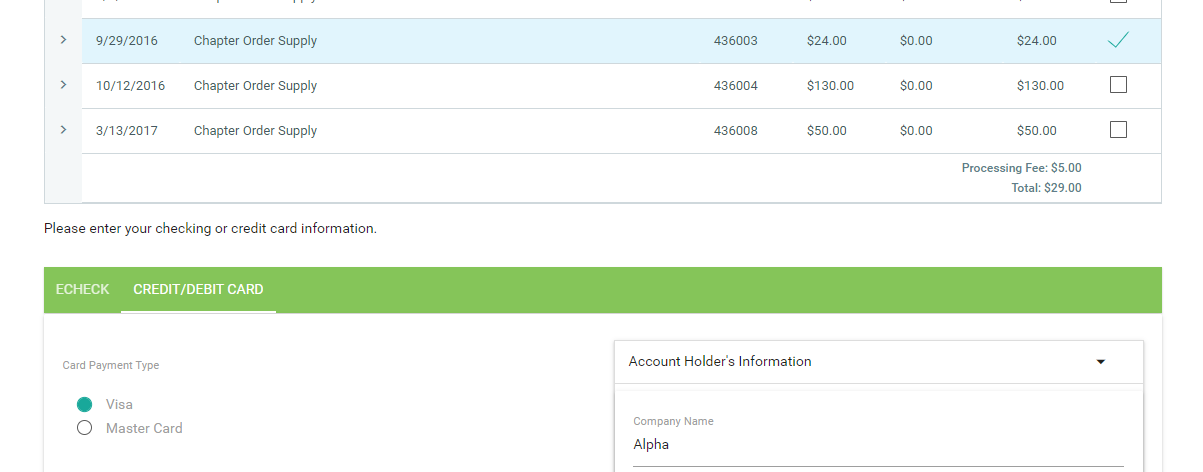
Example using Amount in dollar
Settings from Parameters tab
When making payment, user will see processing fee added.
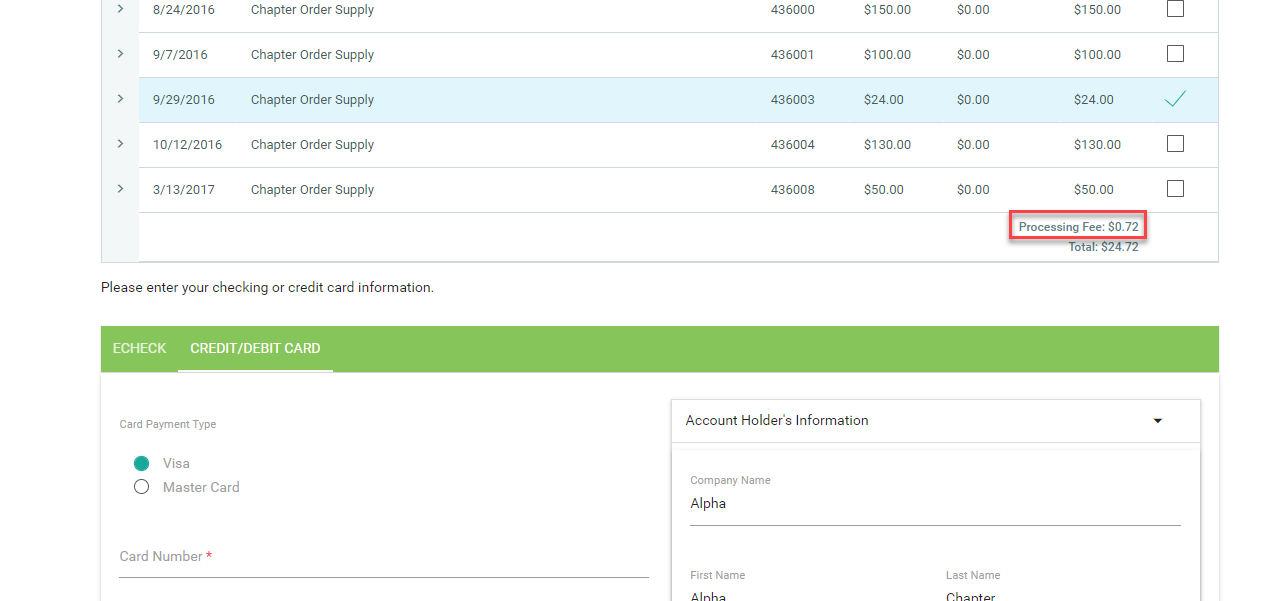
Example using Percentage of Total Amount
Settings from Parameters tab

When making payment, user will see processing fee added.
Financial Statement column headers now align with data
The headers within the core Financial statement page (~/ICE/Dashboards/DashboardOperations.aspx) are now aligned with the data.
Profile feature within new Member Forms
The new member forms feature presented in version 5.1 can now be used for member/chapter profiles.
- Go to Profiles > Member Forms > Actions > Create
- Select EditProfile as Form Type
- Set a Title and Description to identify how this page will be used. In our example, we called it "ProfileTest"
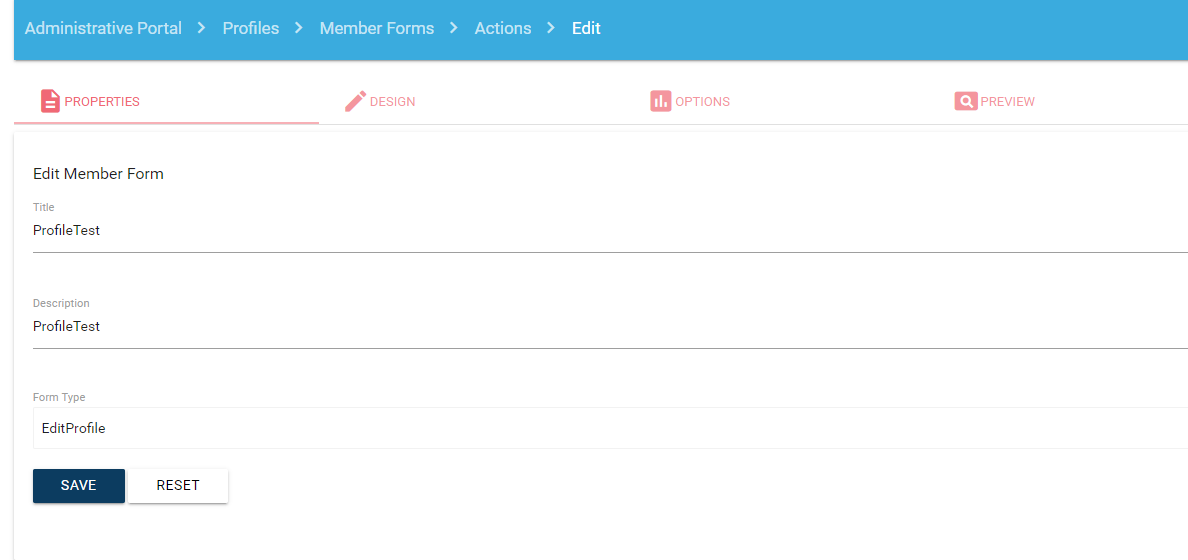
- Select the Design tab
- On the left side, select a source that contains the field you would like to appear on the profile
- To add a field to your form, select it on the left and drag it to the right in the area you would like. You will see a green border showing you a location where the field can be placed.
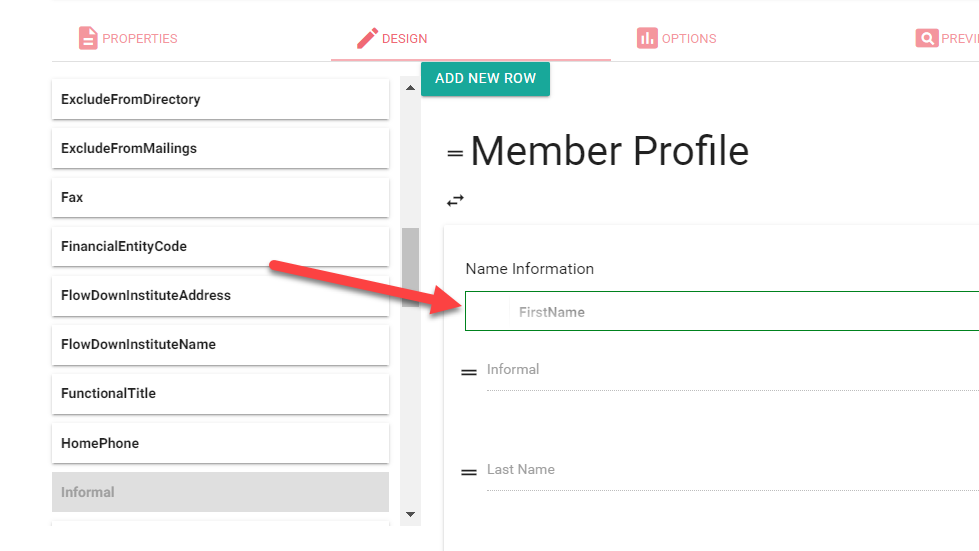
- Release of your mouse click will take you to the field properties window.
- You can modify the label which is what the user will see.
- You can select if the field should be required or read only.
- You can identify the format of the field under Render As.
- NOTE: when selecting State/Province or Country, select Dropdown under Render As. The state and country lists used in iMIS will automatically be used for these fields unless you specify other general lookup validation tables.
- You can add Regex validation
- You can specify conditional validation to require a field if a criteria is met.
- When using a multi-instance table, add your fields in order vertically with Edit Design. They will show in same order horizontally on the preview tab.
Edit Design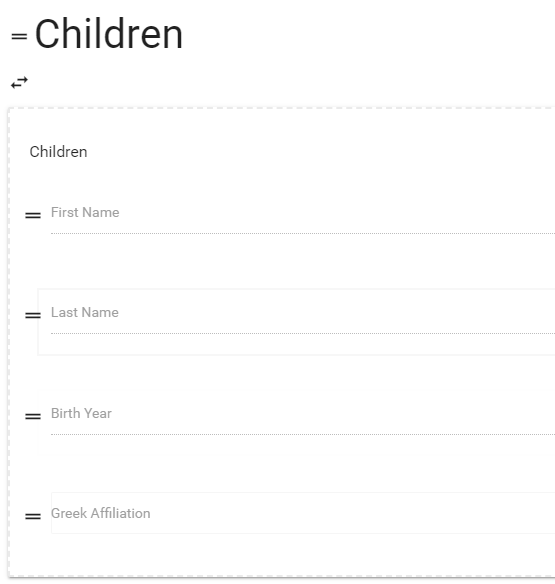
Preview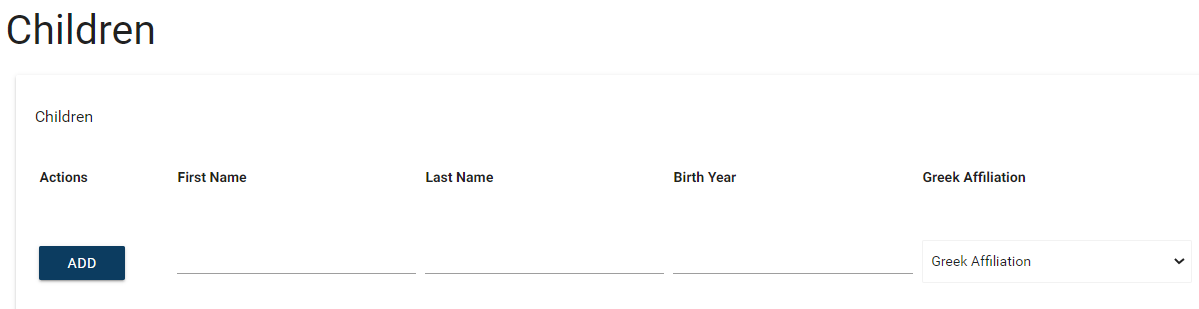
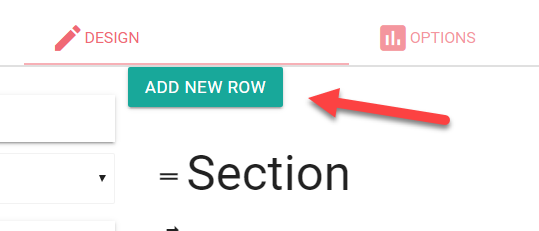
- Use the Add New Row button to include a new section to separate your field groupings if desired
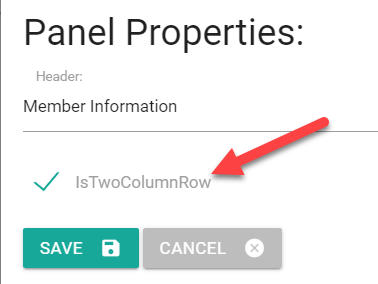
- Click on the Section header to change the text that will appear above your field grouping.
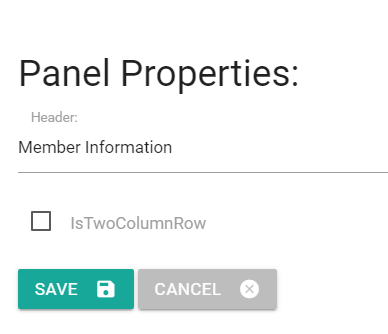
- When editing the section header, you can also select to add another column to your page if desired.
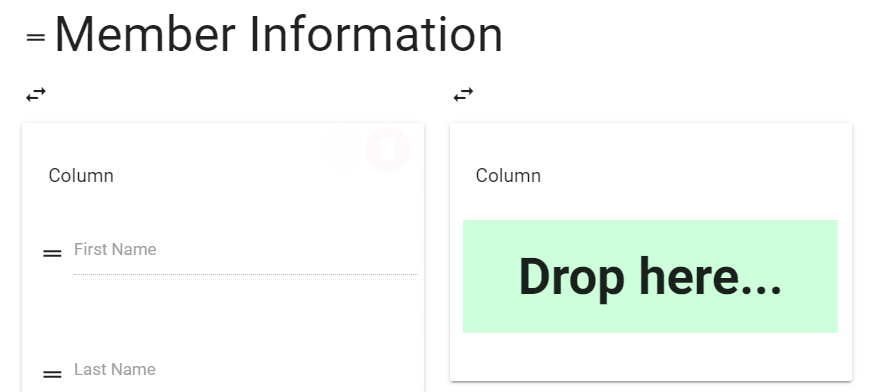
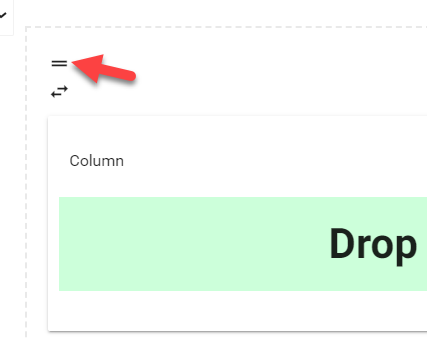
- To move a Section, select the "=" to the left of the section header and drag the entire section to the desired new location
- Select the Preview tab to view your form within ICE admin.
- Now you are ready to add your form to the sitemap! Got to Sitemaps > Manage > Select applicable sitemap where you want to allow profile edit
- Select the menu area you would like to add a new item under and use the green plus sign to add a new sitemap node.
- Select the
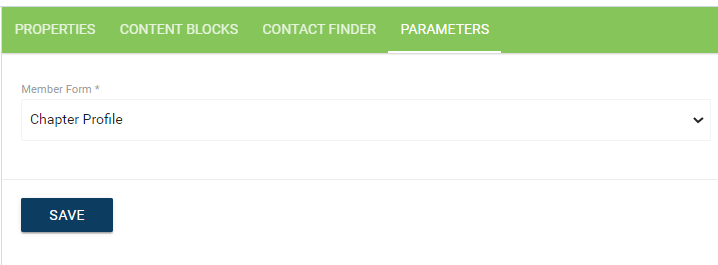
- ~/ICE/Actions/ManageProfiles.aspx URL control for managing individual member profiles
- ~/ICE/Actions/EditProfiles.aspx URL control for managing a chapter profile
- On the Parameters tab, select the profile member form that you created above. After hitting Save, the URL on the properties tab will be updated with a form key.