Demographics
Overview
Demographics are used to define what is displayed to your members. They are used to translate iMIS terms into ICE terms (and terms that your members can understand). In many cases the demographics themselves need to be defined in a view directly in the database or set up by the development team, but there are about 100 "standard" ICE demographics that have placeholders. The demographics come from the Name, Name_Address, and custom demographics tables in iMIS. You can think of these as Qualifiers defined in the Workflow module, with the ultimate goal being to create re-usable objects.
Definition
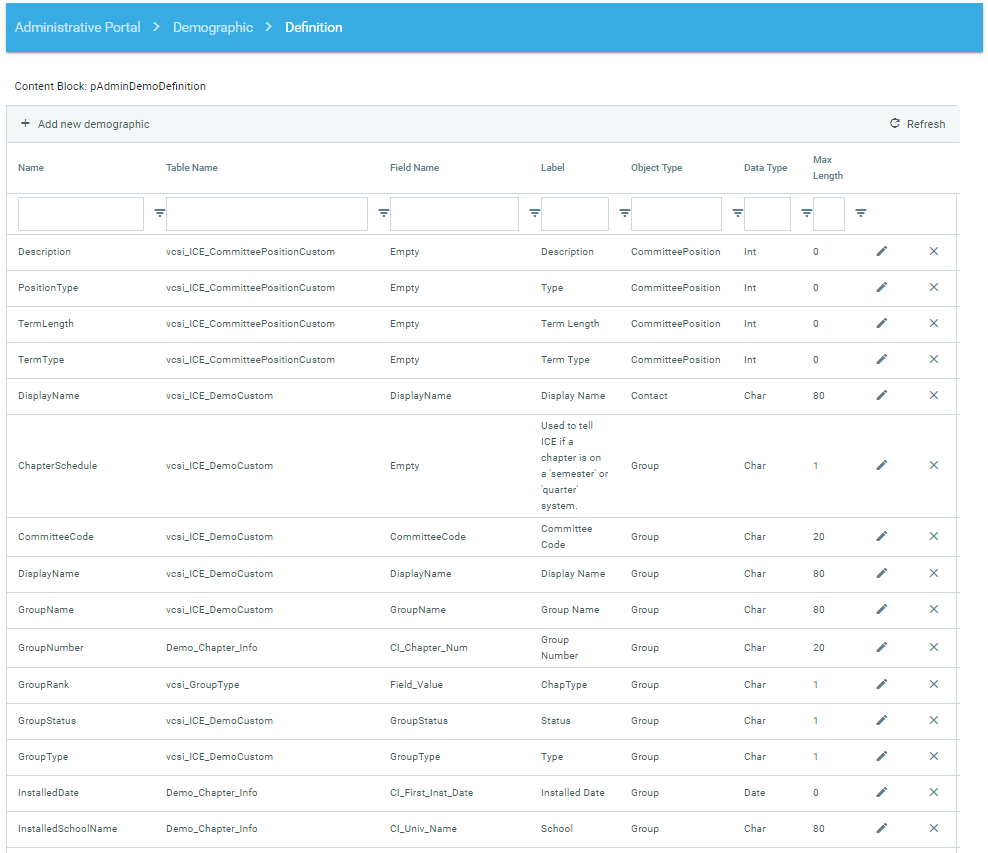
The demographic definition maps the standard ICE demographics to the corresponding value in your database. Since all clients have different custom demographics, this table serves as the main "roadmap" to define consistent terms and to determine where to store data collected from the member.
Demographics have a number of additional parameters compared to simple configuration values. Demographics have object types, data types, field lengths, update criteria, and several flags. These additional values control the behavior of the demographic including how it is read and written. Assistance may be required to create views that will produce the desired demographic.
Demographic fields can also be used as merge fields in ICE notification emails. Learn more in the notification section.
To edit or add demographics:
Find the demographic that you wish to edit using one of the query fields at the top of the grid, then click the filter icon. Note: there is no wildcarding, nor negative setting for filtering options.
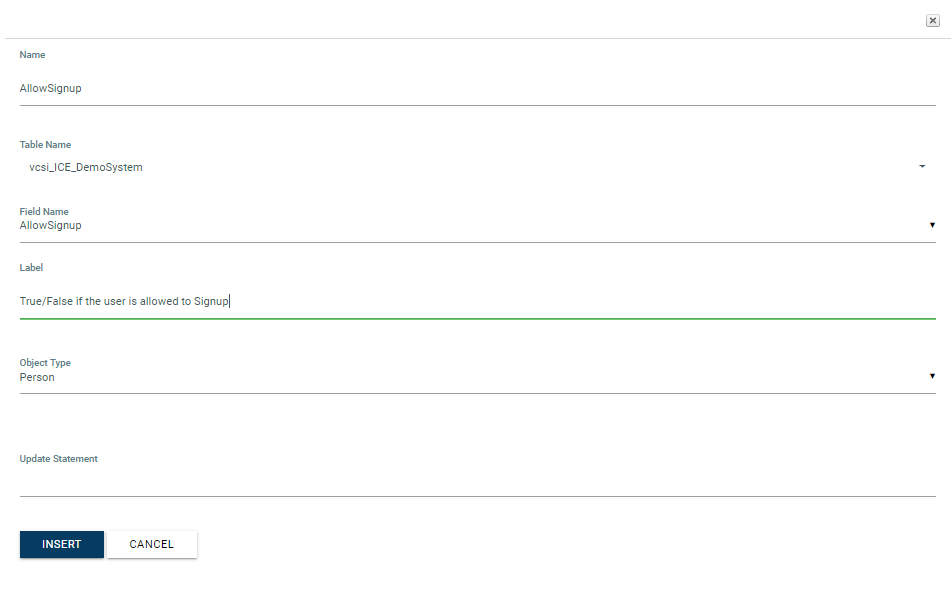
Click Edit to modify the record or select Add new record to create a new demographic.
Enter the following information:
Name: give the Demographic a name. Only used in ICE admin. (no spaces)
Table Name: iMIS table where the data is stored. Select from the dropdown.
Field Name: iMIS field. Select from the dropdown.
Label: Will be displayed to the user.
Object Type: Select Person if demographic is for a member or Group if demographic is for a chapter.
Update Statement: SQL command to execute a specific action.
Click Update to save the change.
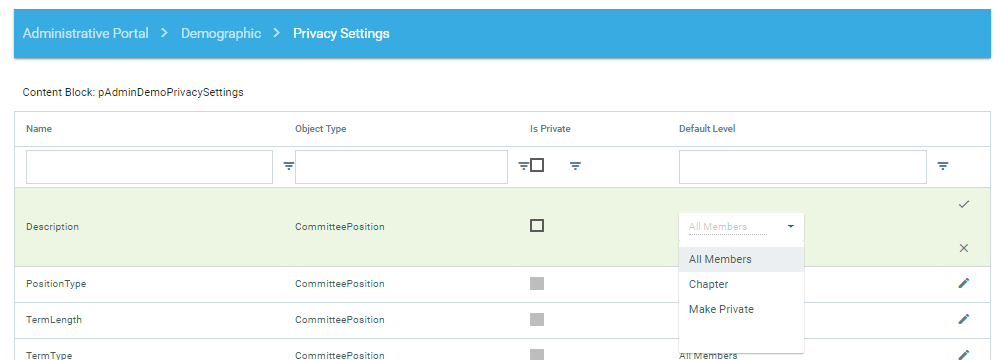
Privacy Settings
Demographic privacy settings determine the default privacy values for each demographic field. This functionality is only used by other products such as ePV (FIVE) custom pages.

To edit privacy settings:
Find the field that you wish to modify
Click Edit
Check the "Is Private" box to secure the field from viewing.
Select the group from the dropdown to define the default level of privacy.
Click Update to save the change.
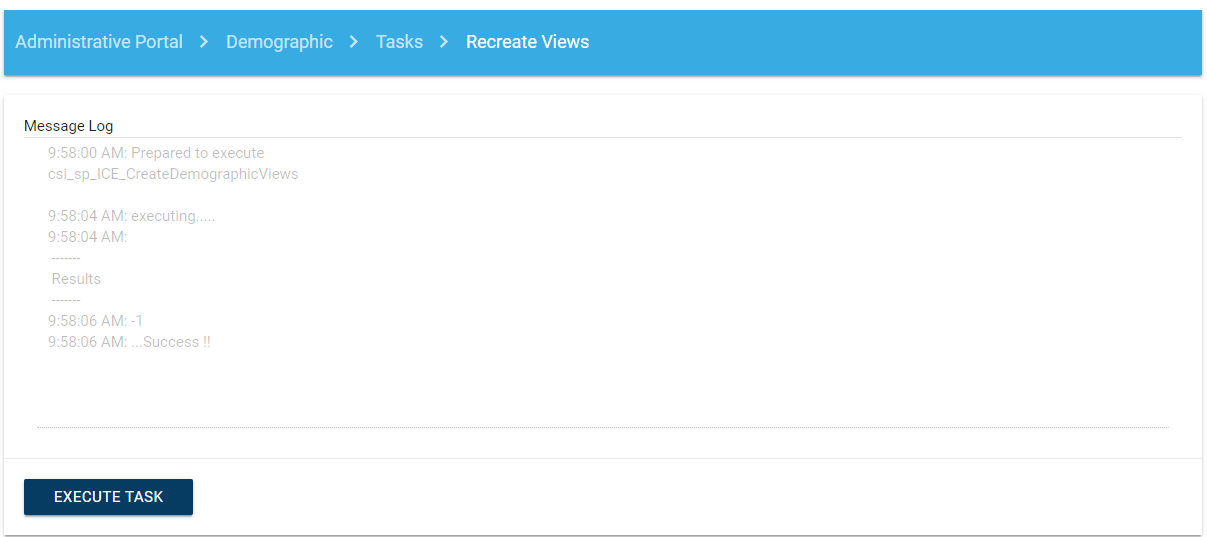
Tasks » Recreate Views
After adding, editing, or deleting a demographic pointer, it is necessary to re-create the ICE underlying custom views.
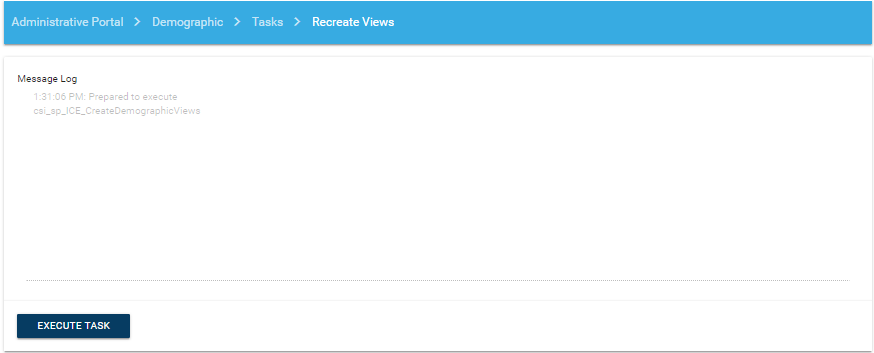
Select Demographic > Tasks > Recreate Views
Click Execute Task