
Content Blocks
Content blocks are text boxes in ICE that can be used to display information or instructions to users.
Content Block Editor
Content is grouped together in "blocks" in ICE. Each block is identified by a code. The standard codes are based on the following legend:
Code Starts With | Description |
|---|---|
p | Admin Site |
r | Reports |
w | Widgets |
s | Snapshots on Task Center |
Best Practice
When editing content blocks for pages that have the 5 step process, go to the Sitemap Node and select the Content Blocks tab for easy editing of the content blocks in order.
To define a new content block:
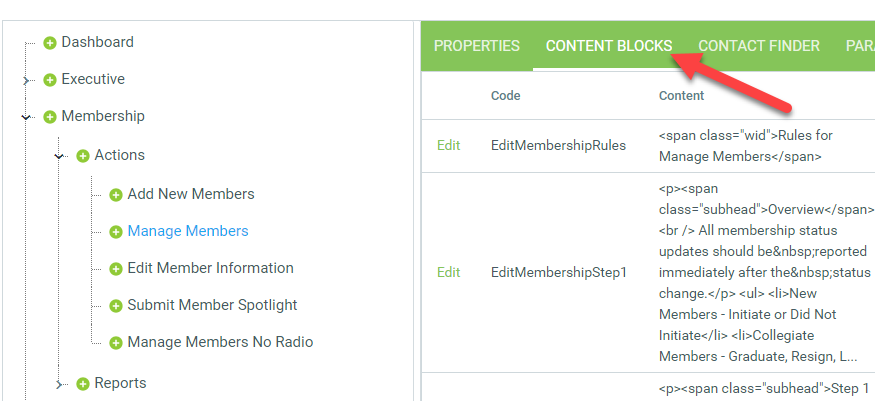
Select Content > Content Blocks
Click Add new record
Enter the Code for the content, using the naming convention above. Note: Once you have defined the code, you cannot modify it.
Best Practice
Do NOT assign duplicate codes to content blocks. This will produce unpredictable results or empty content blocks in ICE.Enter the Title of the content to be displayed to the user (optional)
Enter the Description (for internal information)
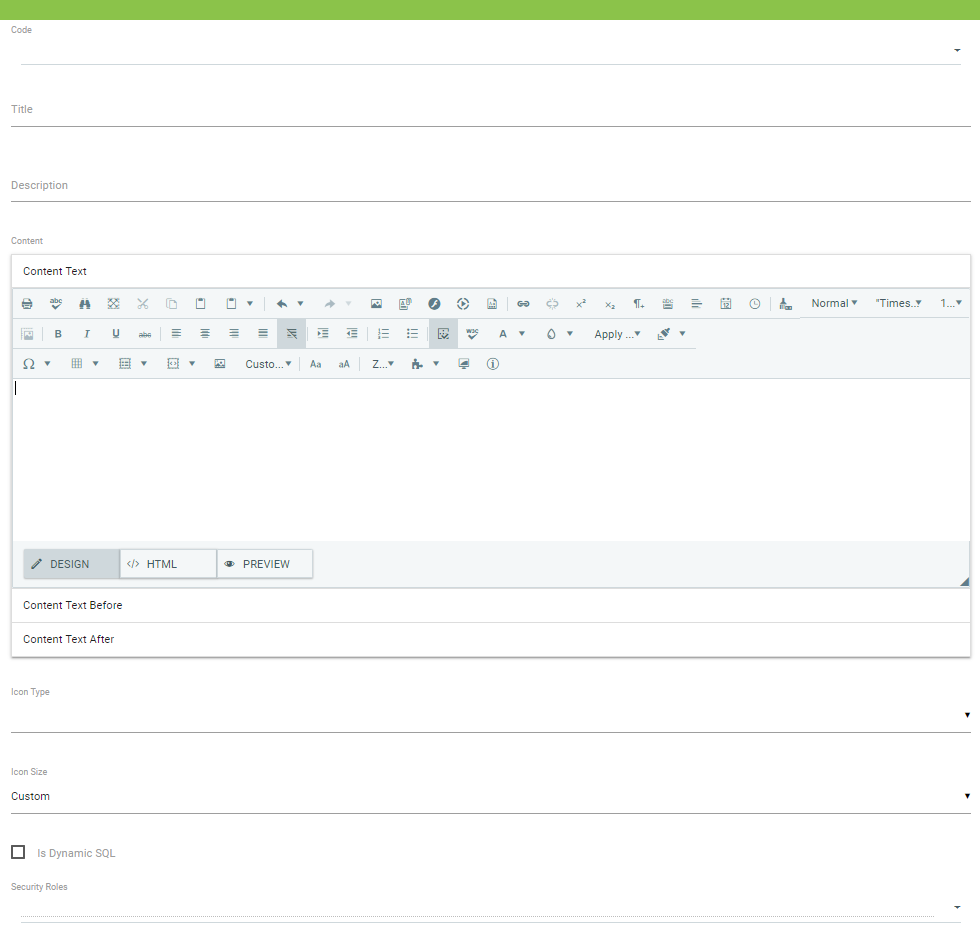
Enter the desired content in the editor. Make sure to use consistent fonts and themes. The information will be displayed exactly as you input in the box. Use the pencil icon, the HTML icon, and the magnifying glass to toggle between the different views. Note: Make sure to copy the SQL statement from Visual Studio into the HTML mode.
The default font can be included in the master ICE template. To use default font, remove any <span style> tags from the code.
Select the Icon Type from the drop down list
Select the Icon Size from the drop down list
Check or Uncheck the "Is Dynamic" checkbox if the content block contains an SQL statement.
When using a dynamic content block, all text should be included in the SQL statement or included in the text above and below sections if they are not dynamic.
Click Insert to save the changes.
Tasks » Refresh Content Blocks
Execute this task to refresh the content blocks after adding or editing. 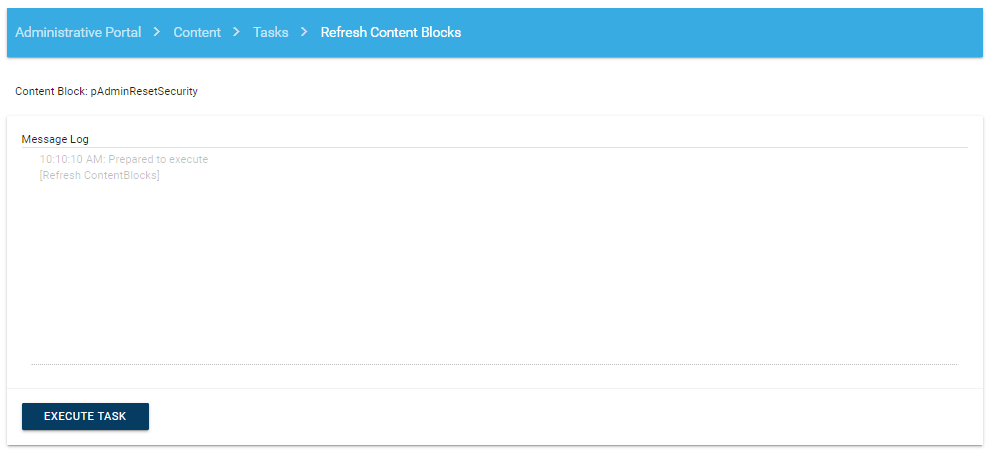
Adding Images to Content Blocks
Image storage
The images are stored in a virtual directory on the server in which ICE is installed. Similar to where reports and documents are stored, this is within the client "Custom" folder. Once images are uploaded through the ICE interface, they will be seen in the images directory on the server.
Adding Images
Images can be added to most content blocks except for those using dynamic SQL.
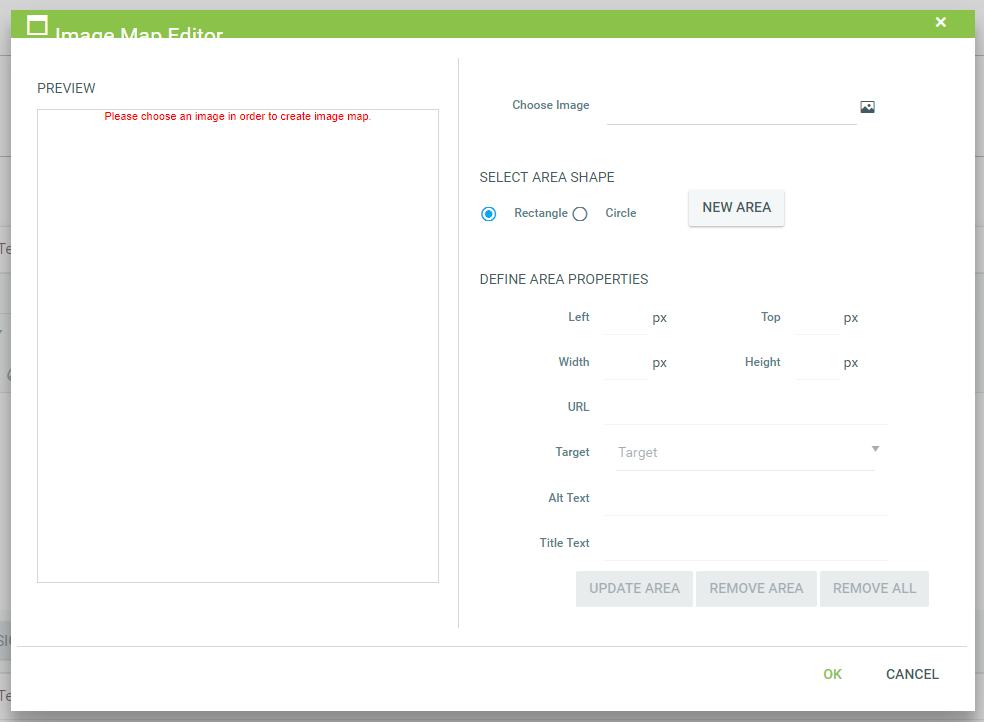
By clicking on the image map tool, you can browse the image editor for your images that you wish to insert either before the standard Content area, or after the standard Content area.

Click on the Choose Image icon:
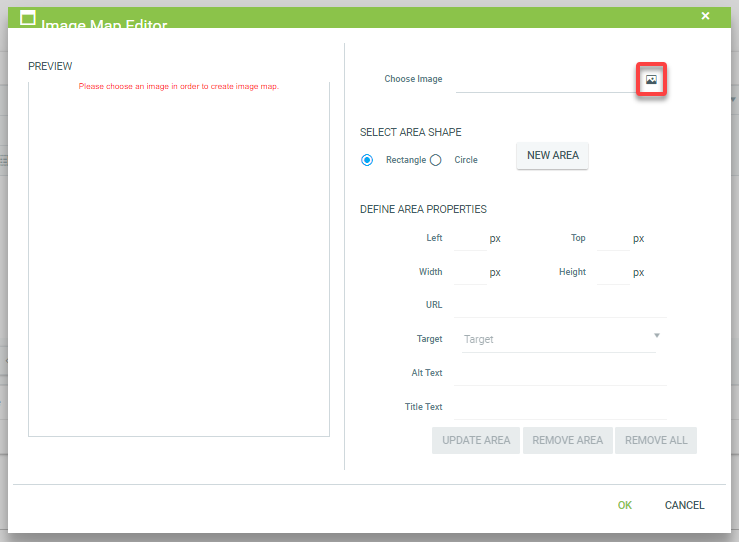
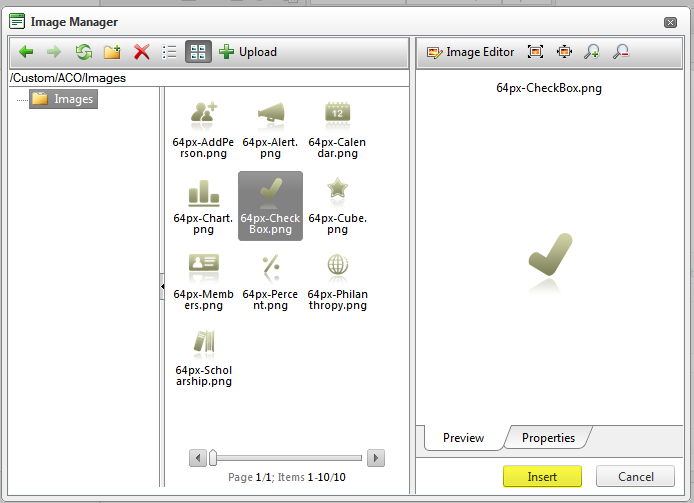
Either click + Upload to browse your local computer for an image, or choose an existing image by selecting the image and choosing Insert:
Click OK to add the image to the content block:
Formatting Images
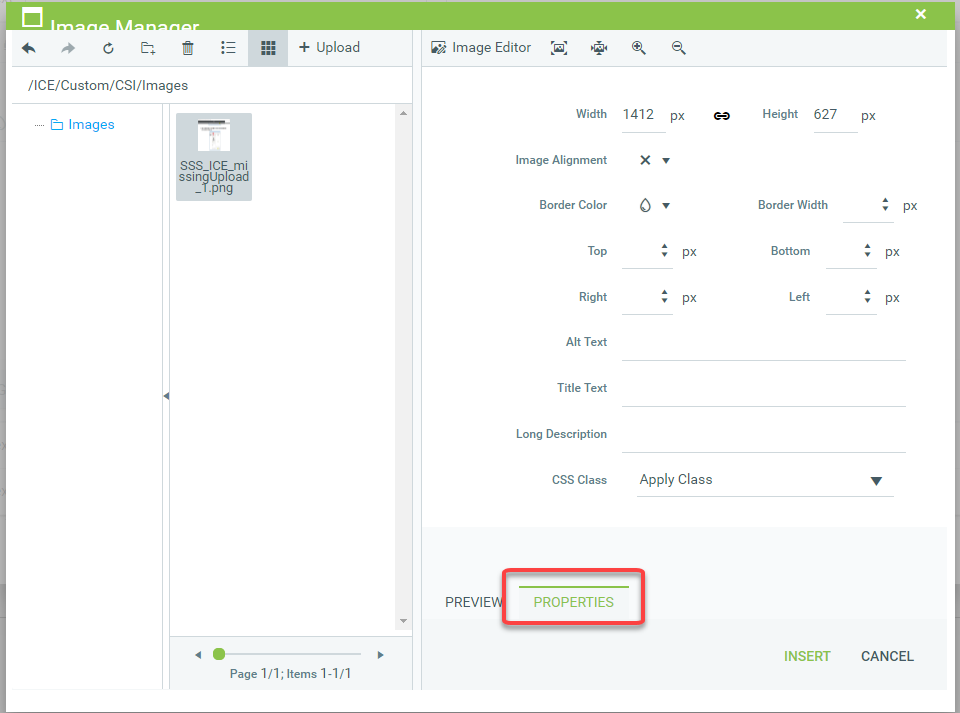
To format an image, simply select the image in the editor and click on the Properties button:
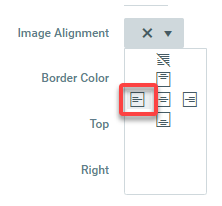
Format the image to your preference. For example, if you would like the picture to float to the left of the text, make sure you select Image Alignment and align left:
Make sure to click Save before exiting the editor window!
Adding Icons to Snapshot Content Blocks
The icons that will be used must be stored within the ICE files. The icon storage path is: App_Themes > ClientTheme > images > icons
(App_Themes/ClientTheme/images/icons/iconname.png)
The best way to access the content blocks on the Dashboard page is to go to Sitemap > Manage > Edit sitemap.
Select the Dashboard menu item.
Click on the content blocks tab

Switch to HTML view:
Within the first select SQL statement, place the following:
select '<img alt="" style="float: left; padding: 0px 5px 5px 0px;" src="http://www.website.org/Website/App_Themes/ClientTheme/images/icons/iconname.png" />' +
The "style" tags will make the icon wrap the text around it, and add some padding so the text does not sit against the icon.
The editor will look something like this: 
Switch back to Design view to see if the image is loading:
Save.
Visibility Settings
Ability to designate a security permission for a content block where only users with the security permission can see the content block. This feature is most commonly used on the landing page within ICE where you can display multiple content blocks. Using the security roles (aka permission) option allows you to show or hide a content block on the landing page based on permissions of the user who is logged in.
Select a content block to Edit
Scroll to bottom of Edit Screen
Select the appropriate security role(s) aka permission that should be able to see this content block

Make sure to run the update security and reset person security under Security > Tasks when updating security settings.
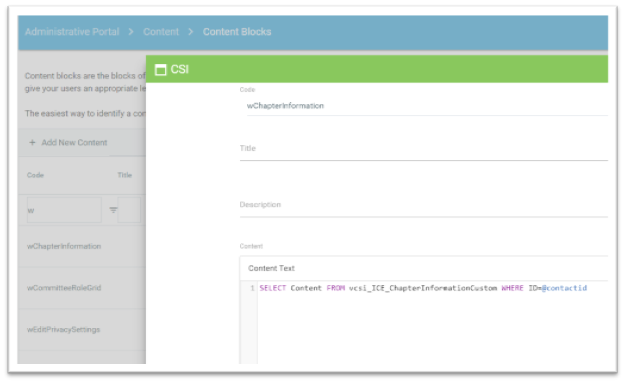
Chapter Information Header
The wChapterInformation content block contains a query that can be modified per your specifications.
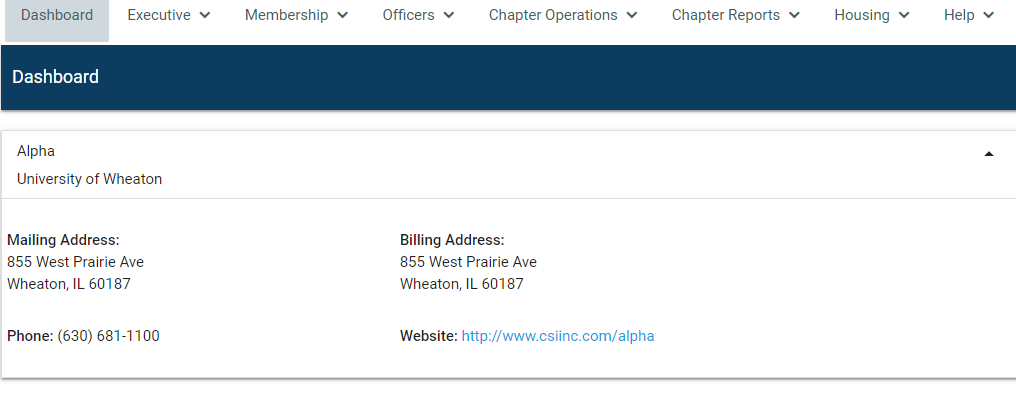
Go to ICE Admin > Content > Content Blocks
Select the wChapterInformation content block
Note the view being used in the query
The view could be modified per your specifications, i.e. you can specify which address purposes to show
New Member Import
Requirement
New Member Import license is required. See the New Member Import section for more information.
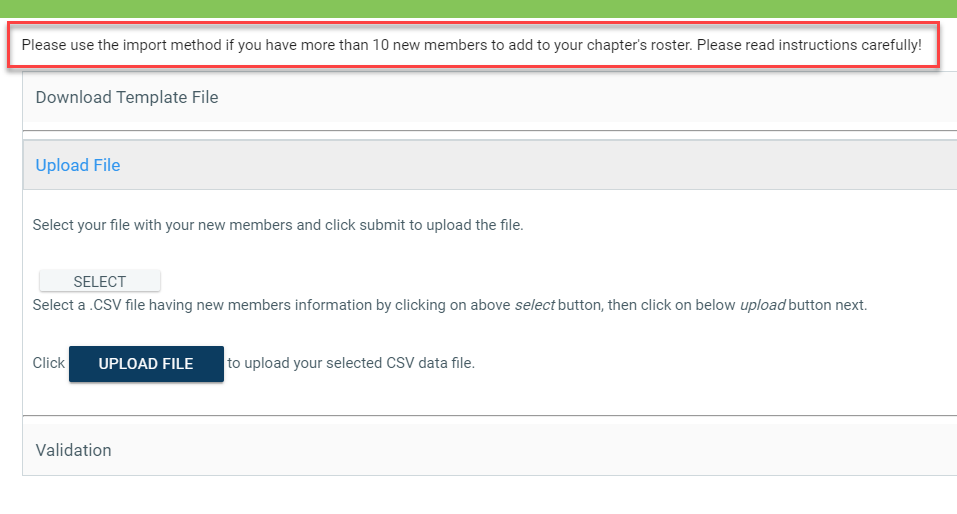
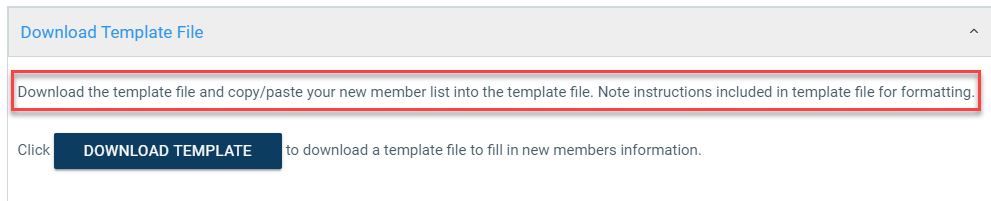
In ICE Admin, go to Content Blocks to add text to the following content blocks:
NewMemberImport_GeneralInstruction
Content block to appear at top of window for general instructions
NewMemberImport_DownloadInstruction
Content block to appear in Download Template File section
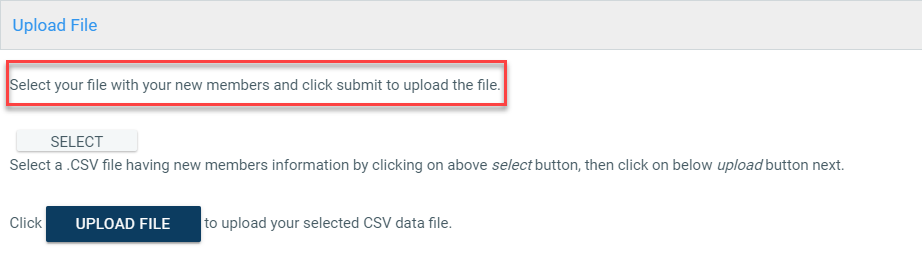
NewMemberImport_UploadInstruction
Content block to appear in Upload File section
NewMemberImport_ValidationInstruction
Content block to appear in Validation section

New Member Search Page
New content block for new member search page to provide instructions for page. The new member search page is the landing page for new members to start the ICE claim account process. This enhancement will not be applicable to clients that are not using ICE for new members to claim their online accounts.
Go to ~YourICEURL/Public/NewMemberSearch.aspx
You will see the content block text at the top of the page
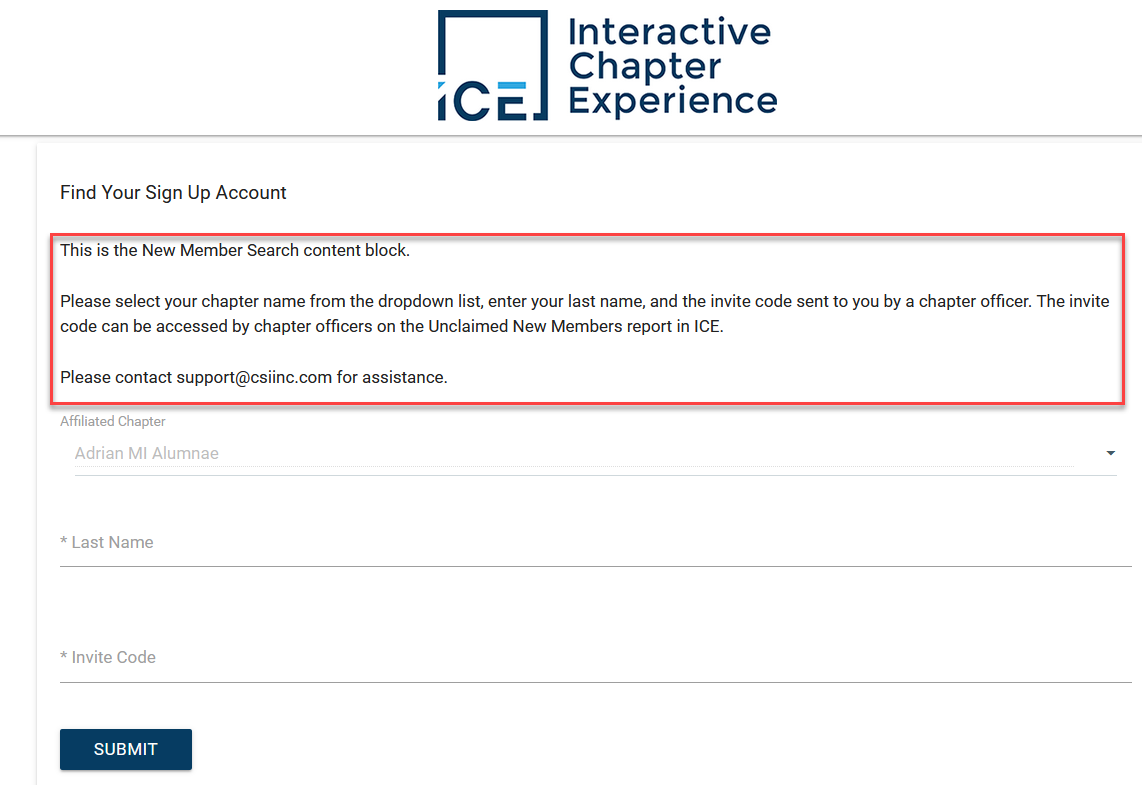
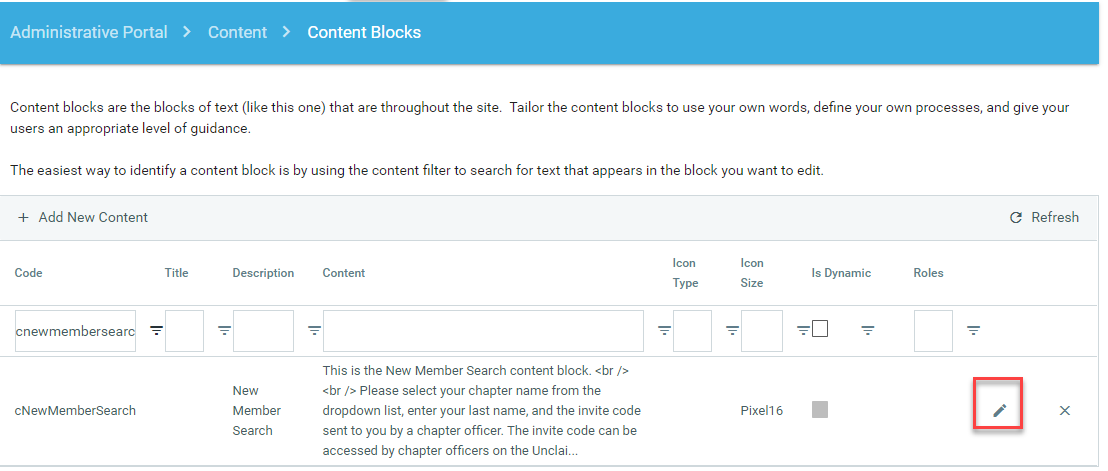
To update the text in the content block, go to ICE Admin > Content > Content Blocks
Filter code for cNewMemberSearch
Select Edit
Update text as desired.
